Apple Final Cut Pro 6 User Manual
Page 1686
Chapter 14
Assemble and Insert Editing Using Edit to Tape
203
III
 Mark In: Click this button, or press I, to set the frame on your tape where recording
will start.
 Mark Out: Click this button, or press O, to set the frame on your tape where
recording will stop.
 Go to In Point: Click this button, or press Shift-I, to move the tape to the In point
you set.
 Go to Out Point: Click this button, or press Shift-O, to move the tape to the Out point
you set.
Destination Track Controls
These controls allow you to specify which tracks on tape are edited to when performing
an insert edit. In addition to video and timecode, up to 16 audio tracks can be output to
supported video and audio decks.
Note: When you perform an assemble edit, all tracks on your recording deck are
simultaneously record-enabled and the destination track controls are disabled.
 Timecode Insert: When this control is selected, the timecode of the clip or sequence
to be output is edited to tape along with its audio and video. The timecode edited to
tape is taken from the section of the clip or sequence being output. Turn on this
option only if you want to overwrite the timecode already on the destination tape.
This feature works with devices that support serial device control protocols such as
RS-422, as well as some DVCPRO HD devices.
Important:
When insert editing video and audio into an existing program on tape,
you generally want to disable Timecode Insert in order to leave the existing
timecode unchanged.
 Video Insert: When this control is selected, the video track on tape is replaced by the
video output from your computer. Turning off this control prevents the video of your
clip or sequence from overwriting the video already on your destination tape.
 Audio Insert: This pop-up menu allows you to individually record-enable audio tracks
on tape when insert editing. The number of audio tracks available in this pop-up
menu is determined by the Audio Mapping option in the currently selected device
control preset. Unavailable audio channels are dimmed. For more information about
Audio Mapping options, see “
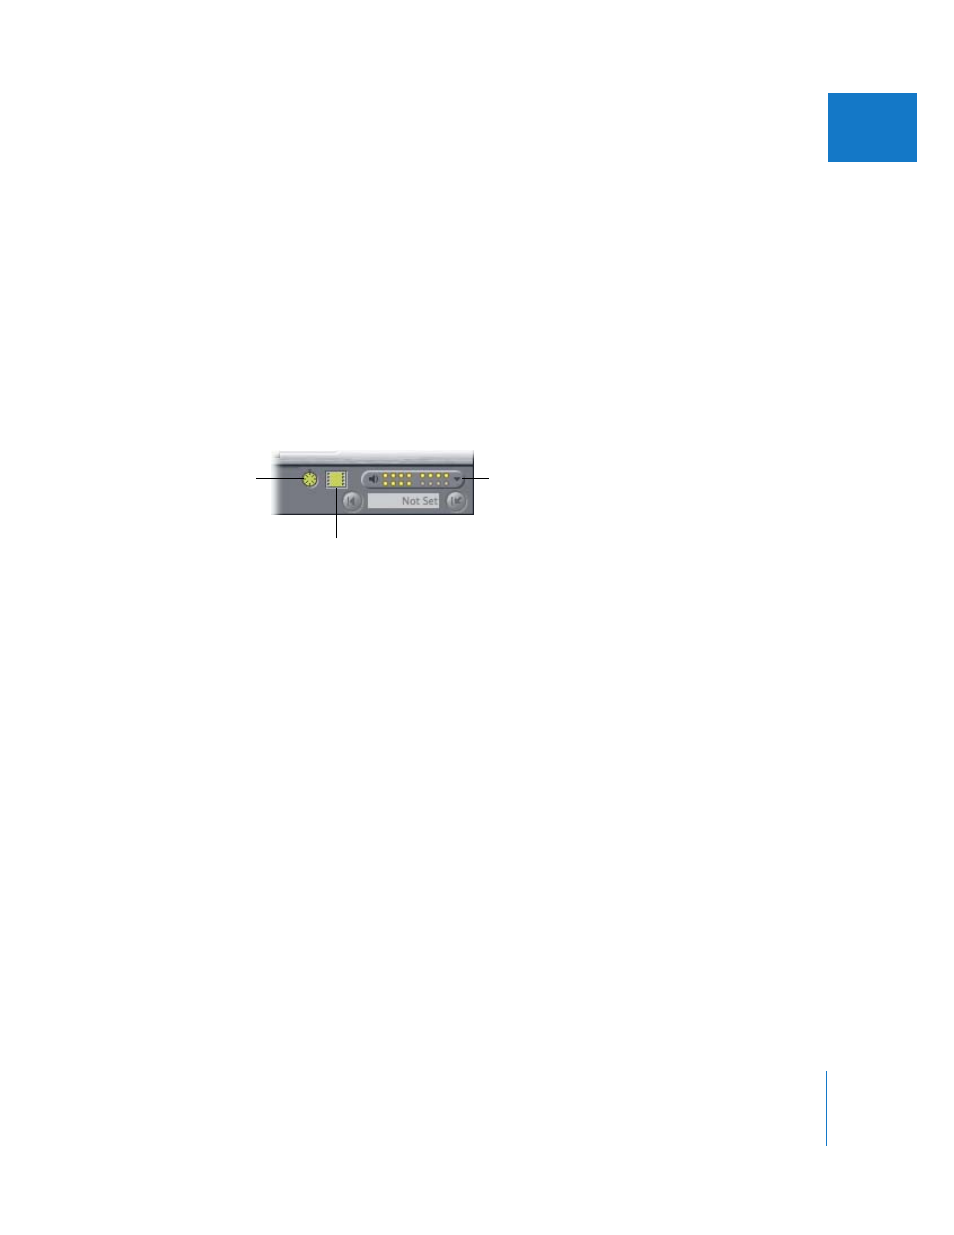
Choose your audio tracks
from this pop-up menu.
Click here to enable or
disable timecode.
Click here to enable
or disable video.