Controlling speed along a motion path, Controlling speed along a, Motion path – Apple Final Cut Pro 6 User Manual
Page 1102
Chapter 15
Adjusting Parameters for Keyframed Effects
317
II
Controlling Speed Along a Motion Path
The speed at which a clip travels along a motion path is determined by two factors:
 The spatial, or physical, distance between two keyframes in the Canvas.
The farther a clip has to travel in a given duration, the faster its apparent movement. The
less distance a clip moves, given the same amount of time, the slower it appears to go.
 The duration, or distance in time, between two keyframes in the Center parameter of
a clip’s Motion tab
Two keyframes 1 second apart result in faster motion than two keyframes
4 seconds apart.
You can modify a clip’s velocity, changing the quality of its movement. With no velocity
adjustments, clips move at full speed and then come to a full stop. This can result in
abrupt, artificial-looking motion. Final Cut Pro gives you the ability to change the
velocity of a clip’s motion over time, using velocity handles to modify the keyframes of
a clip’s motion path in the Canvas.
By adjusting a keyframe’s velocity in the Canvas, inertia can be added to a clip’s motion.
You can adjust the first keyframe of a motion path so that, instead of taking off at full
speed from a complete stop, the clip starts off slowly and then speeds up over time.
These speed changes are indicated by velocity tick marks along that clip’s motion path.
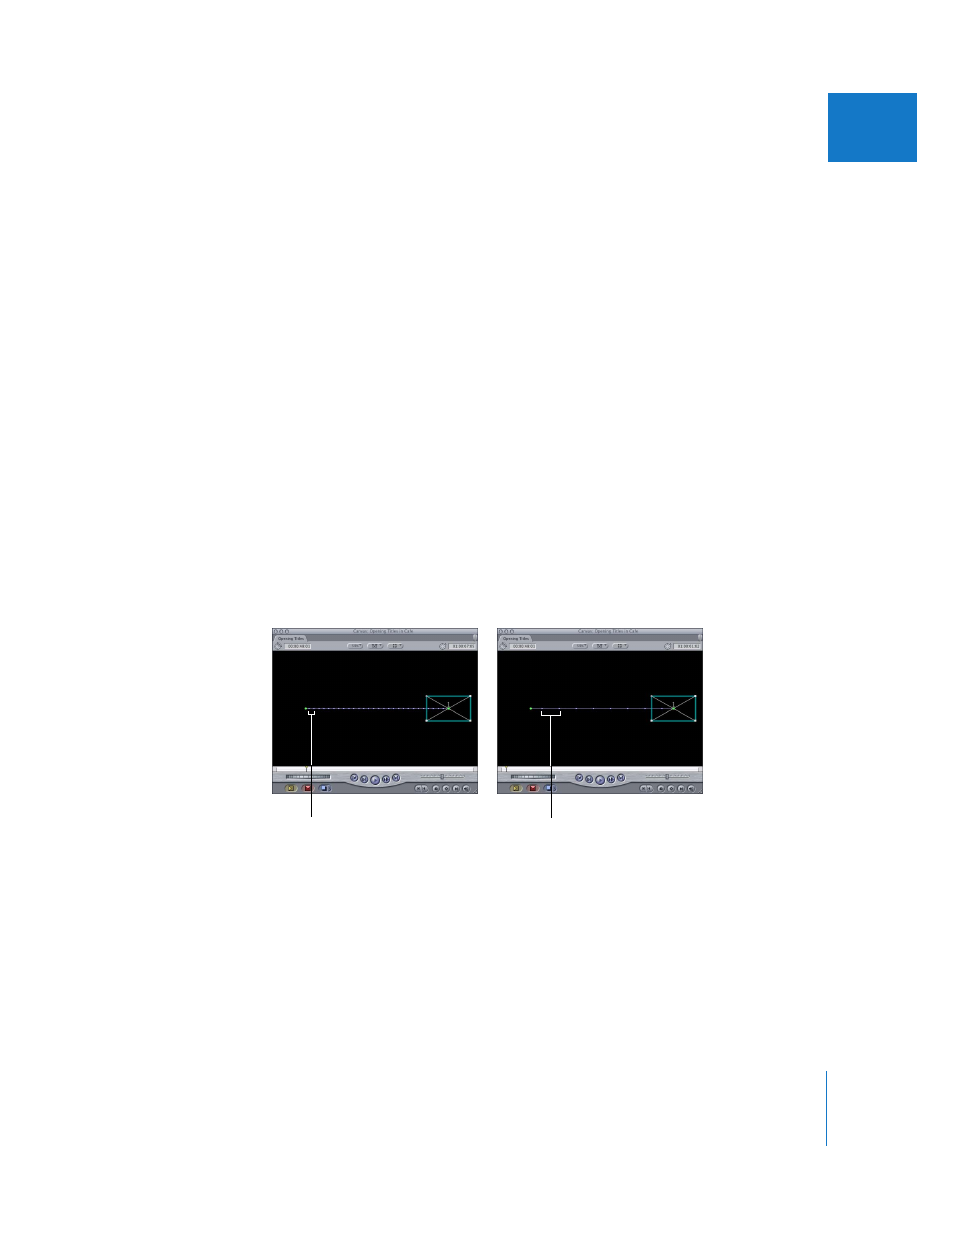
Note: In the two examples below, the motion is at a single constant speed.
Tick marks farther apart
indicate slower motion.
Tick marks closer together
indicate faster motion.