Apple Final Cut Pro 6 User Manual
Page 1378
Chapter 27
Color Correction
593
III
4
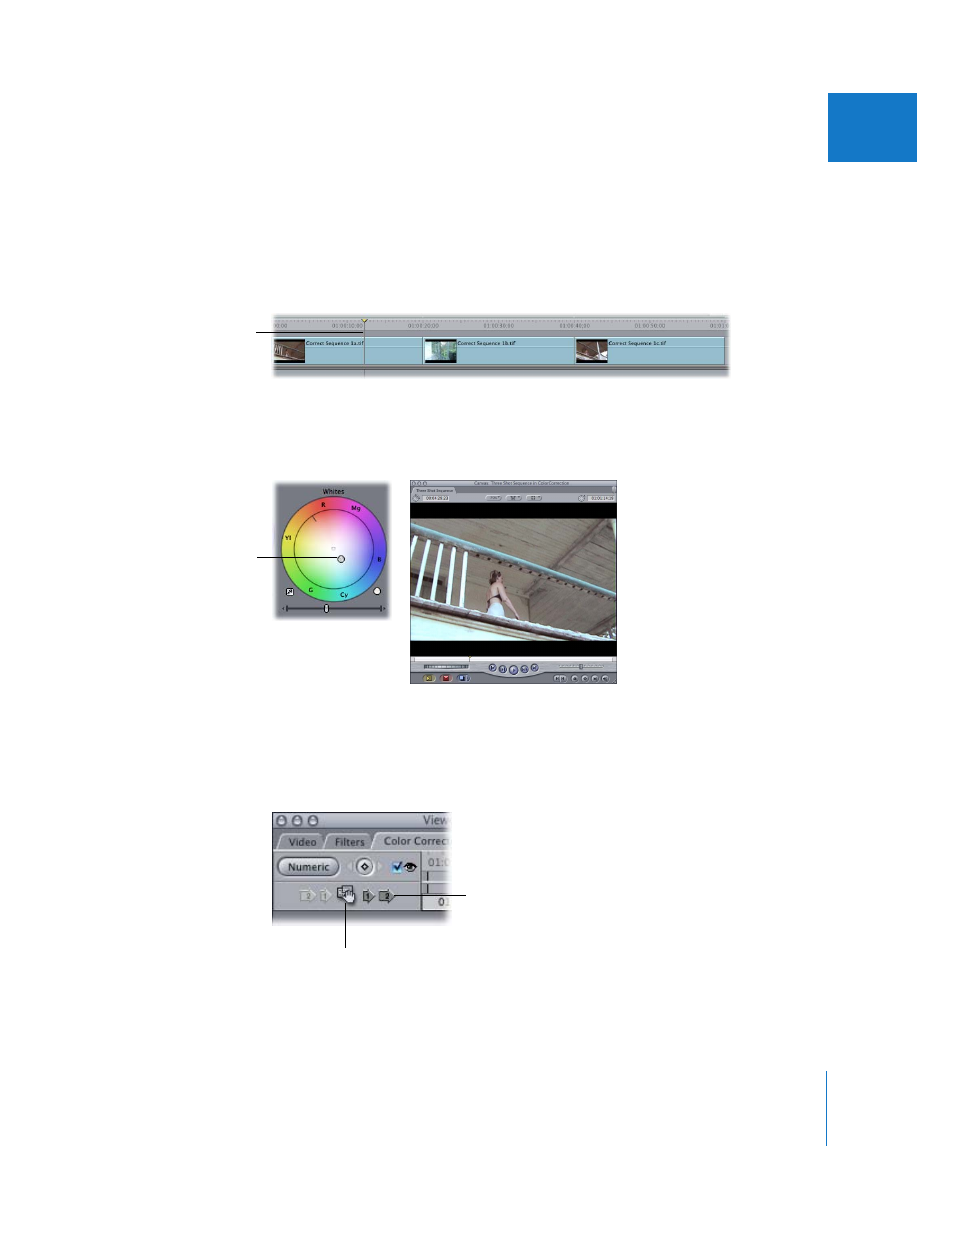
In the Timeline, move the playhead to the first clip of the scene (for this example, the
master shot) to open it in the Viewer. (With the Playhead Sync pop-up menu set to
Open, the clip automatically opens in the Viewer.) Then click the color correction tab in
the Viewer to show the visual controls for that clip’s color correction filter.
Note: Make sure that the playhead in the Timeline is over the first clip so that you can
see your adjustments output to your broadcast monitor as you make your corrections.
5
Perform your color correction. In this case, you’ll want to add a mix of blue and cyan to
cool down the shot of the woman on the balcony to match the tone of the shot
around the corner.
Because the third shot in the sequence comes from the same clip as the first shot, you’ll
want to use exactly the same color correction settings to ensure continuity.
6
Apply the filter settings from the current clip to the third shot of the sequence using
the Copy To 2nd Clip Forward button (Control-5) or the Drag Filter button.
Move the playhead so it’s
in the first clip.
Adjust the
Whites control
to add more cyan.
Drag Filter
Copy To 2nd Clip Forward