Overview: multiple windows tool configuration, Sub-window operations – Rockwell Automation 5370-CVIM2 Module User Manual
Page 436
Chapter 7
Inspection Tools
7–198
A window can be selected when the toolset edit panel is on the screen.
Starting from the main menu bar, the selection path to this panel is as
follows: Editors
→ Configuration → Setup → Tools. This selection path
is shown by the example in Figure 7.1 (page 7–2).
Here is a summary list of the basic selection and configuration steps for each
sub–window in a multiple windows tool, listed in their normal order of
performance:
1. Create (”Add”) a new sub–window or “Copy” and “Paste” an existing
one in the
Sub–Window results
list box.
2. Highlight the sub–window to be configured.
3. Select the sub–window operation.
4. “Pick and place” the sub–window.
5. Select the appropriate result limit ranges.
6. Select a sub–window label (optional).
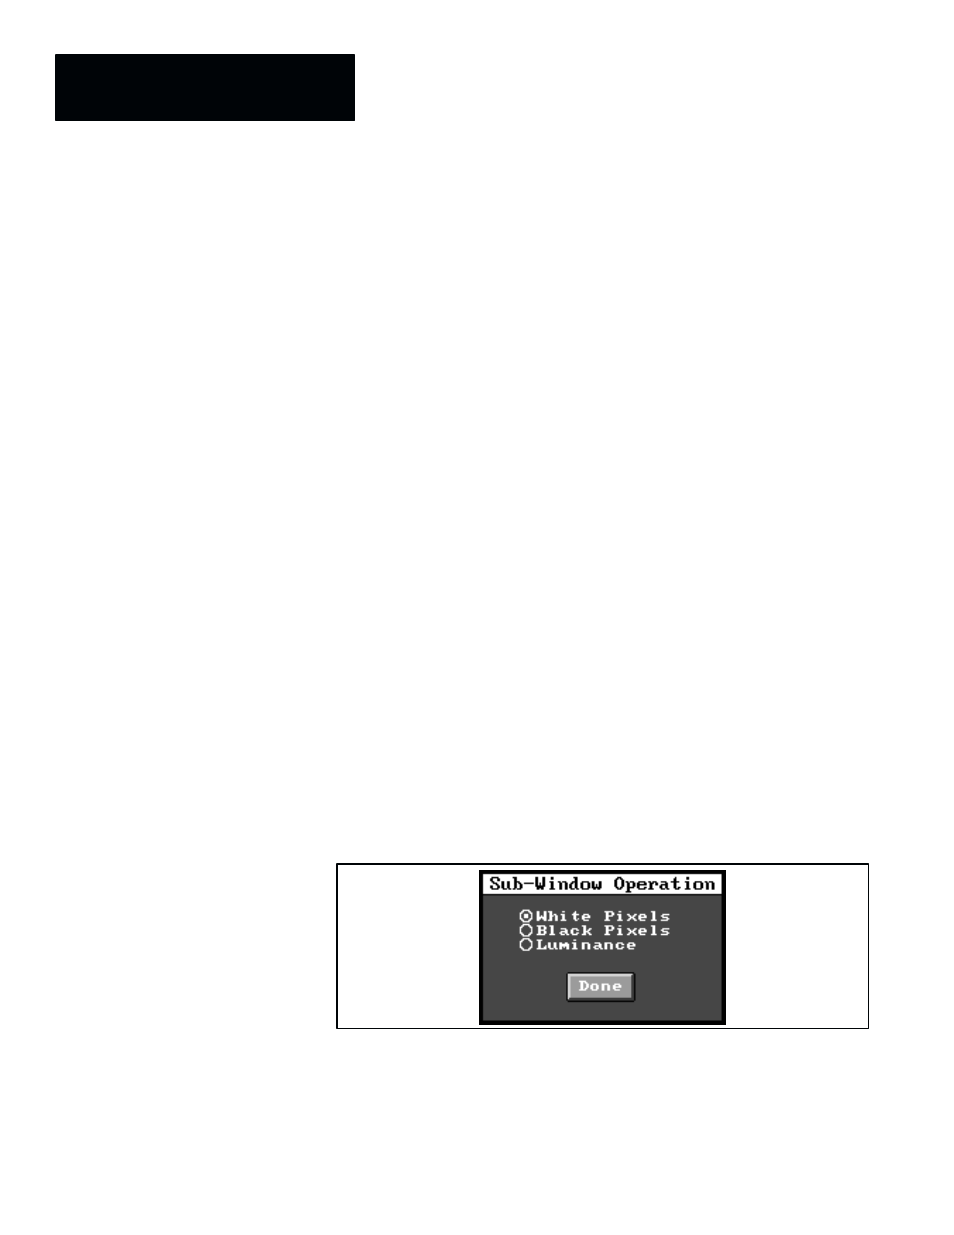
NOTE: The following functional restrictions apply to sub–windows:
•
They can perform only the
White
and
Black Pixels,
and
Luminance
operations.
•
Their shape can only be rectangular, and they cannot use a mask.
•
They cannot use a rotational reference tool (if one is assigned, a “clip
fail” error will occur, and the “
Results
” and “
Sub–Windows Results
”
values will be all zeros).
When you pick the
Operation
field in the multiple windows tool edit panel,
the
Sub–Window Operation
selection panel appears, as shown in
Figure 7.158.
Figure 7.158
Sub–Window Operation Selection Panel
These sub–window operations are identical to those for single windows. For
details about these operations, refer to the Window Operations section, pages
7–32 and 7–52.
Overview: Multiple Windows
Tool Configuration
Sub–Window Operations