Recording audio filter automation – Apple Final Cut Pro 5 User Manual
Page 954
Chapter 9
Using Audio Filters
167
I
To loop a section of a clip while making real-time filter adjustments:
1
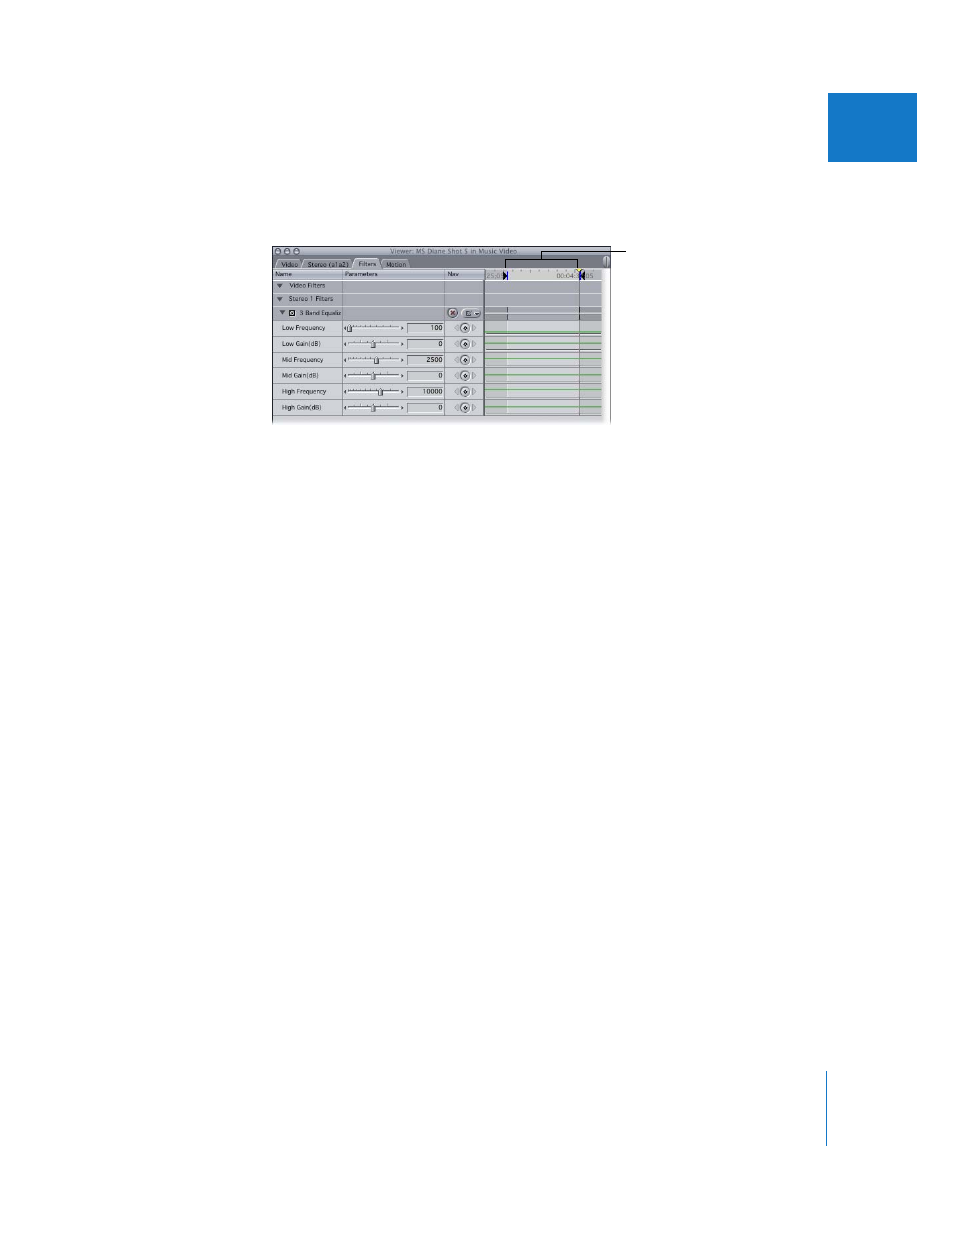
With your clip opened in the Viewer, set In and Out points in the keyframe graph area
of the Filters tab.
2
In the keyframe graph ruler, move the playhead to the In point.
3
Choose View > Loop Playback to enable looped playback.
4
To loop playback, choose Mark > Play > In to Out (or press Shift-\).
Playback loops repeatedly between the In and Out points, and you can make real-time
changes to any desired audio filter parameters.
To stop playback, press the Space bar or the J key, or click the Stop button in the Canvas.
Recording Audio Filter Automation
As long as the Record Keyframes checkbox at the top of the Audio Mixer is selected,
keyframes are recorded whenever an audio filter is adjusted during playback.
Automation recording begins when you position the pointer on an audio filter control
and press the mouse button, and continues until you release the mouse button. The
number of recorded keyframes depends on which option you select in the Record
Audio Keyframes pop-up menu in the Editing tab of the User Preferences window.
To record audio filter automation:
1
Choose Tools > Audio Mixer (or press Option-6).
2
Select the Record Audio Keyframes button at the top of the Audio Mixer.
∏
Tip: You can enable or disable the Record Audio Keyframes button during playback, if
necessary.
3
With your clip opened in the Viewer, move the playhead to the area of the keyframe
graph area in the Filters tab where you want to record audio filter automation.
It’s a good idea to start a few seconds before the section you’ll be mixing, to give
yourself time to get ready.
In and Out points in the
keyframe graph area