Apple Final Cut Pro 5 User Manual
Page 1561
210
Part III
Output
3
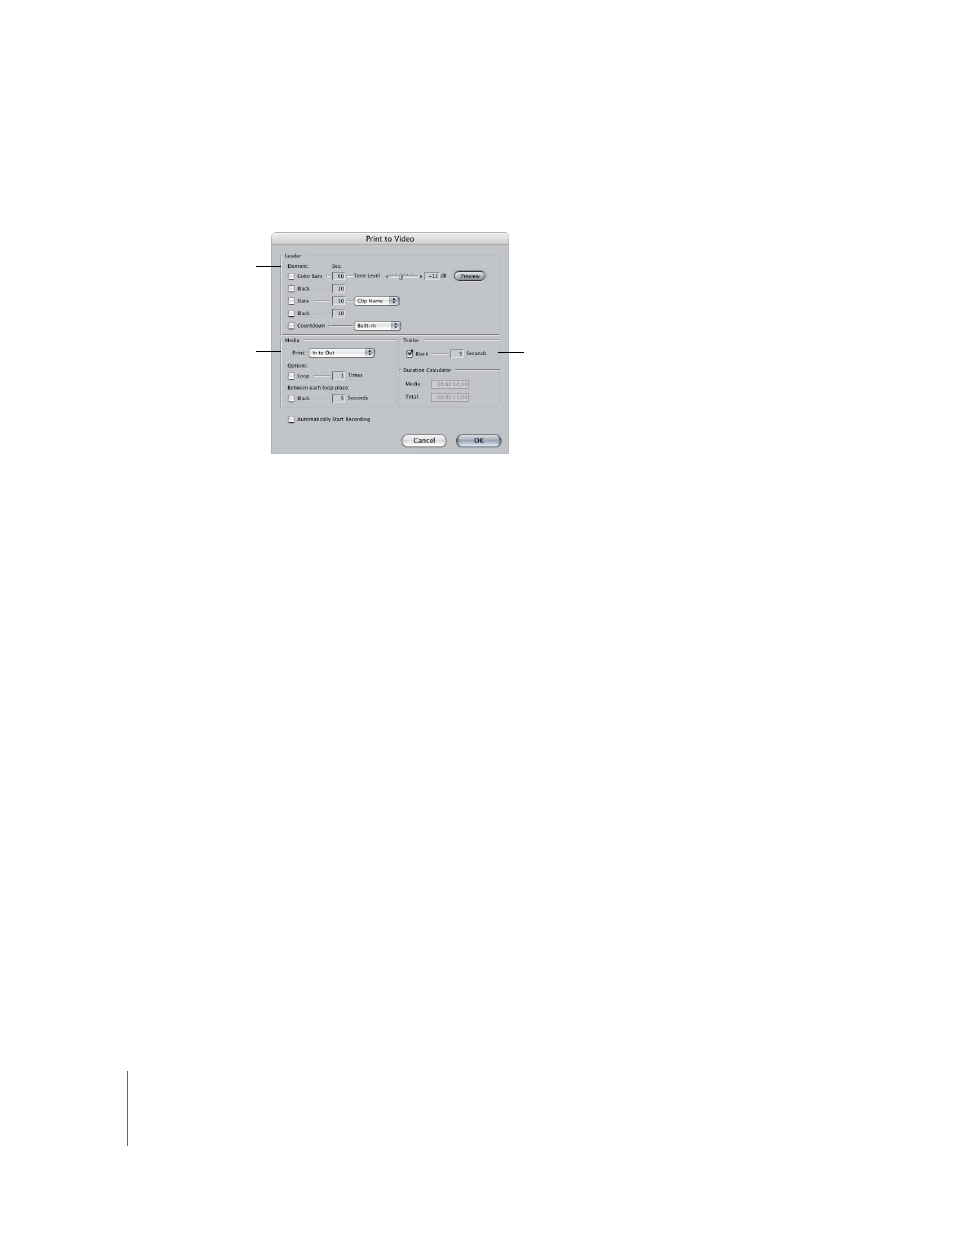
Choose File > Print to Video.
4
Select elements you want to print along with your sequence or clip.
All selected elements are sent to tape in the order listed. Make sure elements you don’t
need are not selected. Some of these items may require rendering before you can start
recording. For a complete explanation of the options available, see “
Important:
Make sure there is sufficient time on your tape by using the Duration
Calculator before proceeding.
5
When you’ve finished setting options, click OK.
Transitions and effects that require rendering, along with any added elements, are
rendered automatically prior to output. You can also choose to output unrendered real-
time effects at lower quality, saving time by avoiding rendering. Options for choosing
the quality of rendered effects when using the Print to Video command can be set in
the Render Control tab of the Sequence Settings window. For more information on
setting options in the Render Control tab, see “
Note: All audio that requires rendering is automatically rendered with a render quality
of High, regardless of the render quality setting.
6
When a message tells you to start recording, press the Record button on your
camcorder or deck. Wait a few seconds for your video device to reach a smooth
recording speed, then click OK to begin recording.
7
When playback is finished, press the Stop button on your camcorder or deck.
The last frame of your clip or edited sequence is held as a freeze frame until you stop
your recording device.
Enter options to add a
trailer at the end of the
clip or sequence.
In this section, select
the media you want
to print and choose
looping options.
In this section, select all
of the options you want
to add before the clip
or sequence.