Using the print to video command – Apple Final Cut Pro 5 User Manual
Page 1560
Chapter 15
Printing To Video and Output From the Timeline
209
III
To automatically start a camcorder or deck recording during Print to Video:
1
Choose File > Print to Video.
2
Select the Automatically Start Recording checkbox in the Print to Video window.
3
Click OK to begin recording to tape.
Note: The Automatically Start Recording checkbox is the same as the Auto Record and
PTV checkbox shown in a device control preset.
Using the Print to Video Command
Make sure you’ve read and followed the instructions in Chapter 13, “
,” on page 175 before you use the Print to Video command. Make sure
everything is working properly before you start recording.
To test playback:
m
Move the playhead to the position in the Timeline where you want output to begin,
then press the Space bar to play back your clip or sequence.
If you have an external monitor connected to your video device, the clip or sequence
will play on it, as well as on your computer’s monitor.
To print to videotape:
1
Select the desired sequence or clip in the Browser, or open your sequence and make
the Canvas or Timeline active.
2
To output part of a sequence or clip to video, set In and Out points to designate the
part you want to record to videotape.
For more information, see Volume II, Chapter 7, “Setting Edit Points for Clips and
Sequences.”
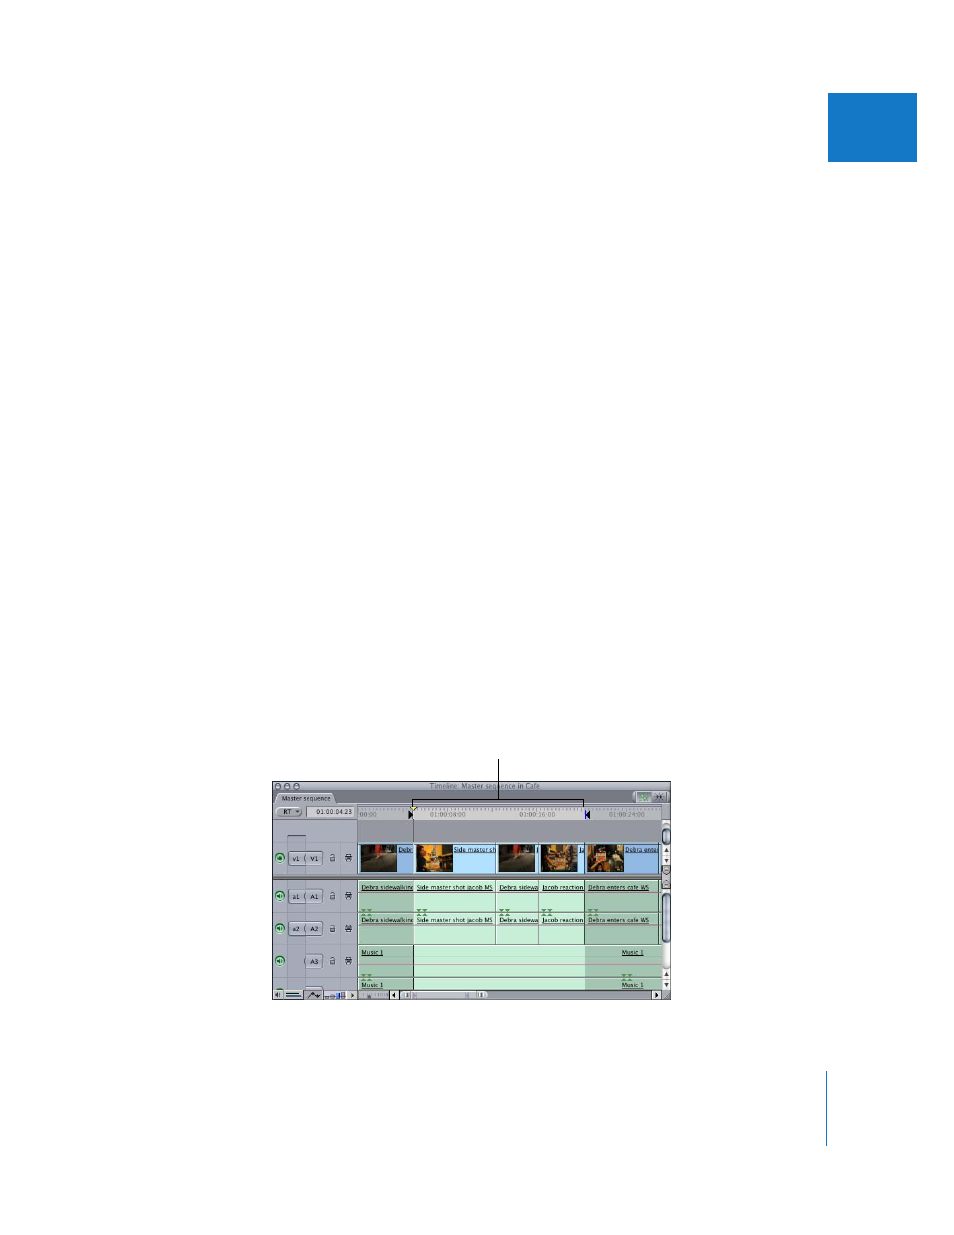
Mark In and Out
points, if desired.