Keyboard modifiers for variable speed adjustments – Apple Final Cut Pro 5 User Manual
Page 1112
Chapter 16
Changing Clip Speed and Time Remapping
325
II
4
With the mouse button still held down, drag left or right to begin moving a frame from
another part of the clip to the current playhead position in the Timeline.
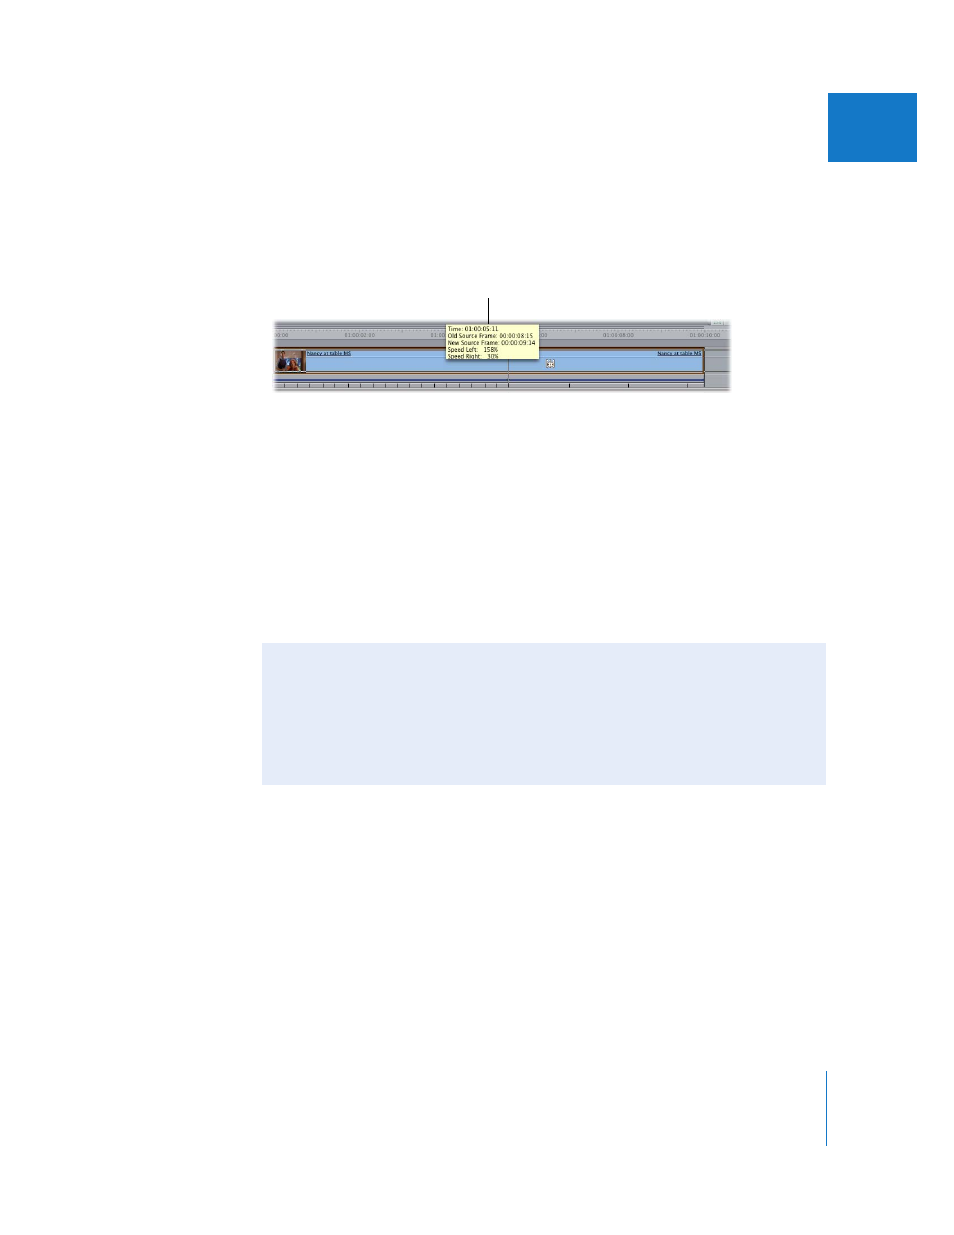
While you drag, the Timeline speed indicators change to show you the modified speed
to the left and right of the new time remap keyframe at the playhead, and a tooltip
appears with the following information:
 Time: The current position of the playhead in the Timeline.
 Old Source Frame: The timecode number of the clip’s media file frame when you
clicked the clip with the Time Remap tool.
 New Source Frame: The timecode number of the clip’s media file that will be placed at
the position of the playhead. While you drag, this frame is also shown in the Canvas.
 Speed Left: The playback speed, in percent, of the section of your clip defined by the first
time remap keyframe immediately to the left of the current position of the playhead.
 Speed Right: The playback speed, as a percentage, of the section of your clip defined
by the first time remap keyframe immediately to the right of the current position of
the playhead.
5
When you’ve dragged far enough to create the desired speed effect, release the
mouse button.
The Timeline speed indicators show the clip’s new speed settings.
Tooltip
Keyboard Modifiers for Variable Speed Adjustments
Two keyboard modifiers can be used to help you make precise variable speed
changes to a clip using the Time Remap tool:
 To gear down while using the Time Remap tool, hold down the Command key.
 To snap your time adjustments to 10-percent increments, hold down the Shift key after
you start dragging.