Apple Final Cut Pro 5 User Manual
Page 928
Chapter 8
Using the Voice Over Tool
141
I
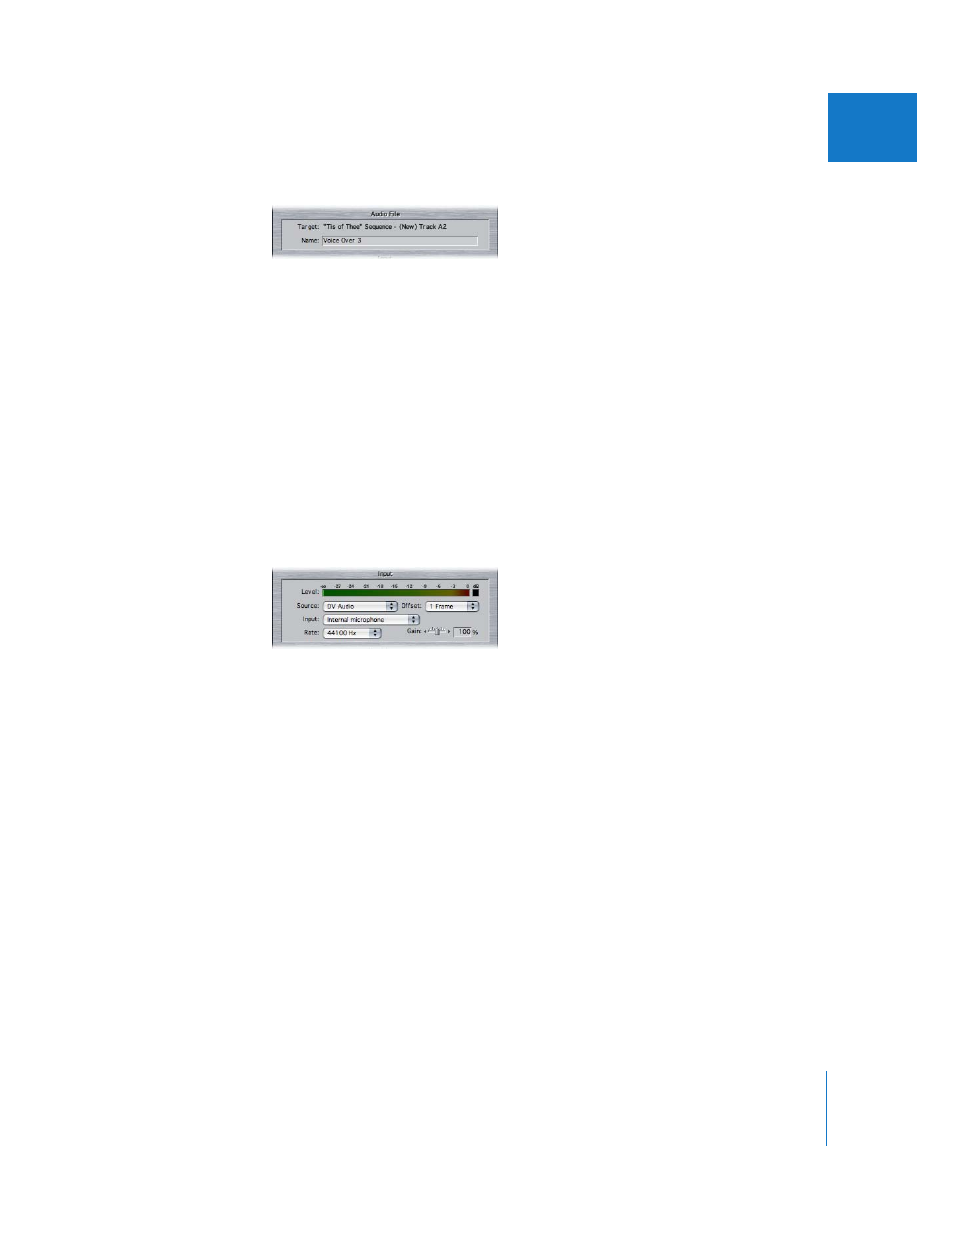
Audio File
 Target: This line displays the sequence name and track number where audio
recorded with the Voice Over tool will be placed. As subsequent takes are recorded,
the audio destination track automatically moves down to the next available track.
 Name: This text field displays the name that will be used for the recorded media file on
disk. To change the audio clip name, click in this field, then enter the desired name.
As subsequent takes are recorded, this name is automatically appended with
numbers. For example, the default name of “voiceover” changes to “voiceover 1” after
you record your first voiceover clip.
If the name in this field is already in use by another clip on the selected scratch disk,
an appropriate take number is automatically appended to the name. For example,
“Narration” is changed to “Narration 1.”
Input
 Level: This audio meter displays the input audio levels coming in via the chosen
audio interface device.
 Source: This pop-up menu lets you choose a connected Mac OS X–compatible audio
device to record your audio. For example, if you’re using a microphone connected to
an audio interface, you choose the audio interface here.
 Offset: This pop-up menu allows you to correct for audio signal latency (delay),
which is inherent in all digital audio interfaces. Even though your voiceover
performance may be perfect, latency can cause the recorded audio to be slightly
offset from the video. Different digital audio capture devices have different amounts
of latency. Typically, most USB capture devices have a latency of one frame; most DV
camcorders have a latency of three frames.