Installing a control surface – Apple Final Cut Pro 5 User Manual
Page 887
100
Part I
Media and Project Management
Installing a Control Surface
Once you have your MIDI interface connected to your computer, setting up a control
surface is simple.
To connect your control surface to your MIDI interface:
1
Connect the MIDI output port of the control surface to a MIDI input port on the
MIDI interface.
2
Connect a MIDI output port on your MIDI interface to the MIDI input port on your
control surface.
3
Make sure the control surface is turned on.
Configuring Final Cut Pro to Work With a Control Surface
Once a control surface is connected to your MIDI interface, you need to establish
communication between the control surface and Final Cut Pro. You set up control
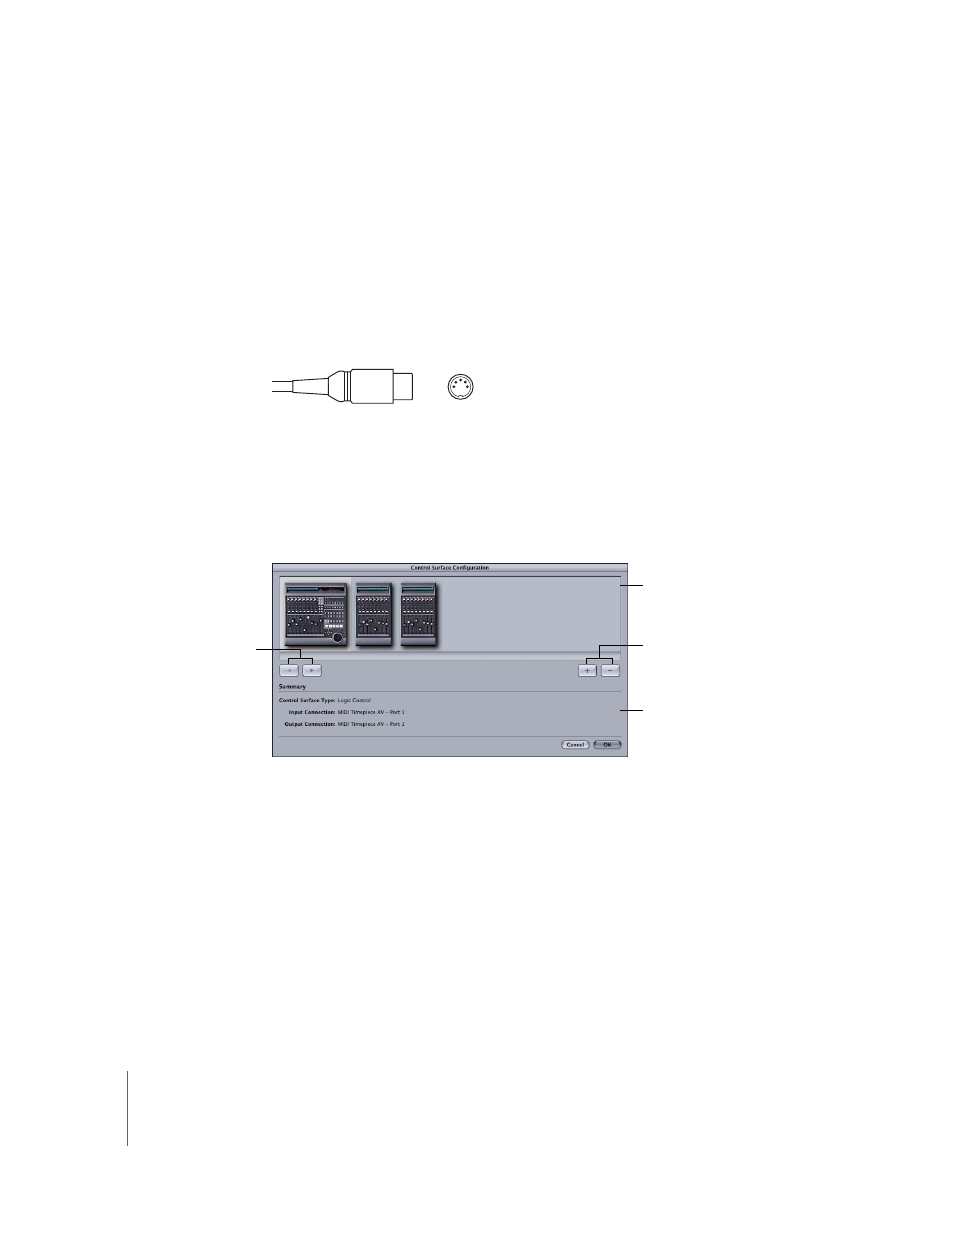
surfaces in Final Cut Pro in the Control Surfaces Configuration dialog.
 Control surface arrangement area: This area displays icons of the currently assigned
control surfaces. You can click a control surface icon to select it, and double-click the
icon to adjust its settings. If you have multiple control surfaces, you can drag a
control surface icon to rearrange its order.
The order of control surface icons affects the fader ordering on your physical control
surfaces. For more information, see “
Arranging Control Surface Order
 Add and Delete buttons: These buttons allow you to add or remove control surfaces
in your configuration. The number of control surfaces allowed is limited to the
number of MIDI ports on your MIDI interface.
 Shift Order Left and Right buttons: These buttons allow you to move the selected
control surface icon to rearrange its order.
 Summary area: This area displays information about the currently selected control surface.
MIDI Connector
Control surface
arrangement area
Add and delete
buttons
Shift Order Left and
Right buttons
Summary area