Example: using keyframes to make opacity changes – Apple Final Cut Pro 5 User Manual
Page 1050
Chapter 13
Adjusting Parameters for Keyframed Effects
263
II
To change the duration of the keyframe graph ruler:
m
Click or drag the Zoom control.
 To zoom out and show more of your sequence, click to the right of the control.
 To zoom in and show more detail, click the left side of this control.
Note: The current area of the keyframe graph area remains centered.
Example: Using Keyframes to Make Opacity Changes
This example illustrates how you can use Final Cut Pro to dynamically adjust opacity
over time to create sophisticated multilayered effects. You’ll layer two clips and adjust a
clip’s opacity over time. The topmost clip fades in, superimposes the other clip for a few
seconds, and then fades up (nearly obscuring the underlying image) before fading
away completely.
1
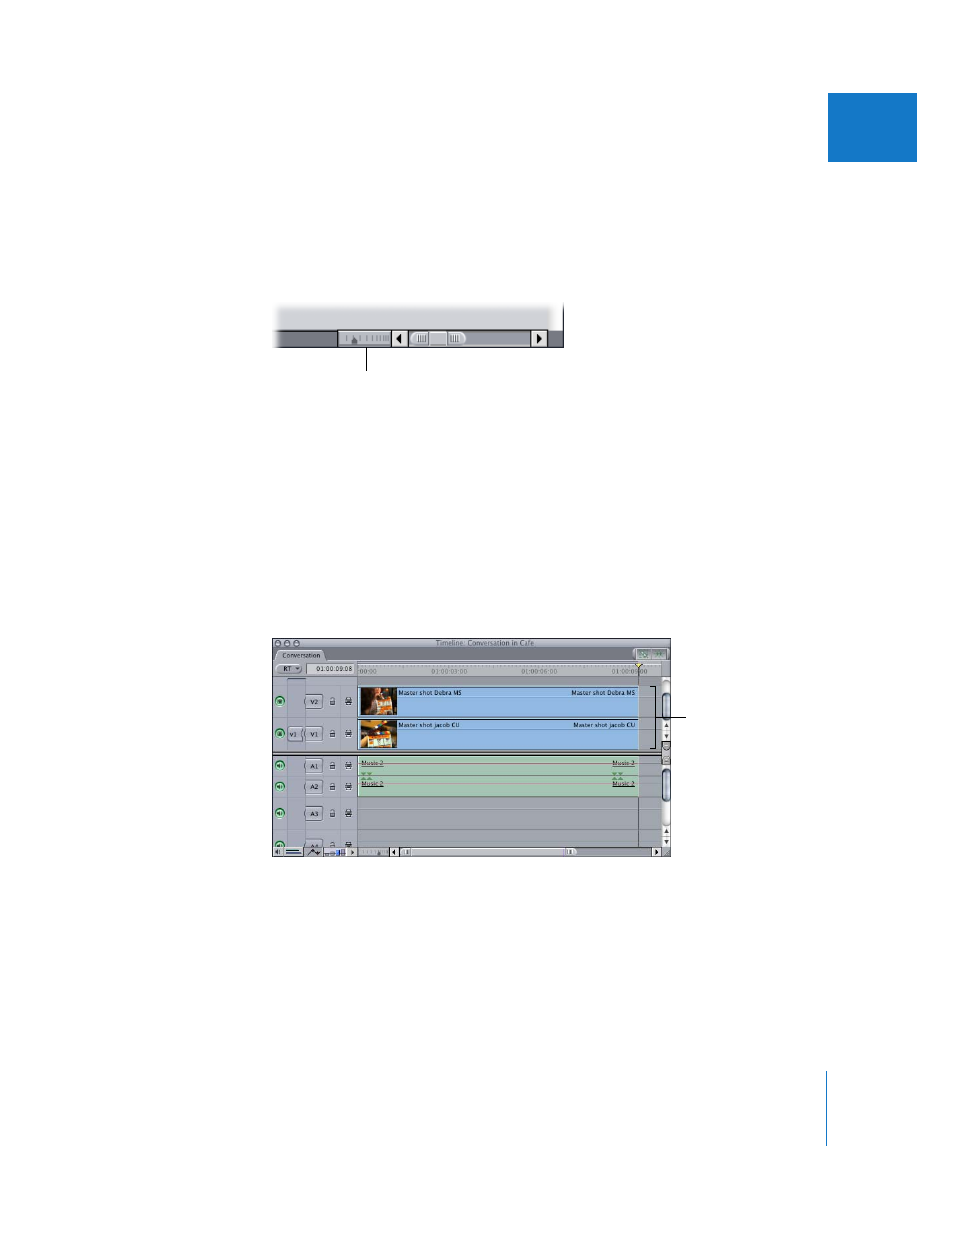
Edit two clips of equal duration into your sequence, each on its own video track.
Note: The clip you want to appear in front should be placed on track V2; the other clip
should be placed on track V1.
2
Open the clip on track V2 into the Viewer, then click the Motion tab.
3
Click the disclosure triangle for the Opacity parameter to reveal its overlay in the
keyframe graph area.
Zoom control
Layer the clips, with one
clip on track V1 and the
other superimposed on
track V2.