Setting keyframes – Apple Final Cut Pro 5 User Manual
Page 1043
256
Part II
Project Interchange
Setting Keyframes
Until you create at least one keyframe for a parameter (or setting) of a clip, changes you
make to that parameter affect the entire duration of the clip. Once you set the first
keyframe for a parameter, additional keyframes are generated automatically when you
make any subsequent changes to that parameter anywhere else in that clip. You generally
need to set at least two keyframes to make changes or effects that are useful or noticeable.
Note: For some parameters, you must click the disclosure triangle to view its keyframes
in the keyframe graph area.
∏
Tip: To better adjust and view the keyframes you’re setting, you may want to zoom
into the keyframe graph area (see “
Zooming In to the Keyframe Graph
To set a keyframe:
1
Open a clip into the Viewer, then click the Motion or Filters tab.
2
In the keyframe graph area, move the playhead to the position where you want to put
a keyframe.
3
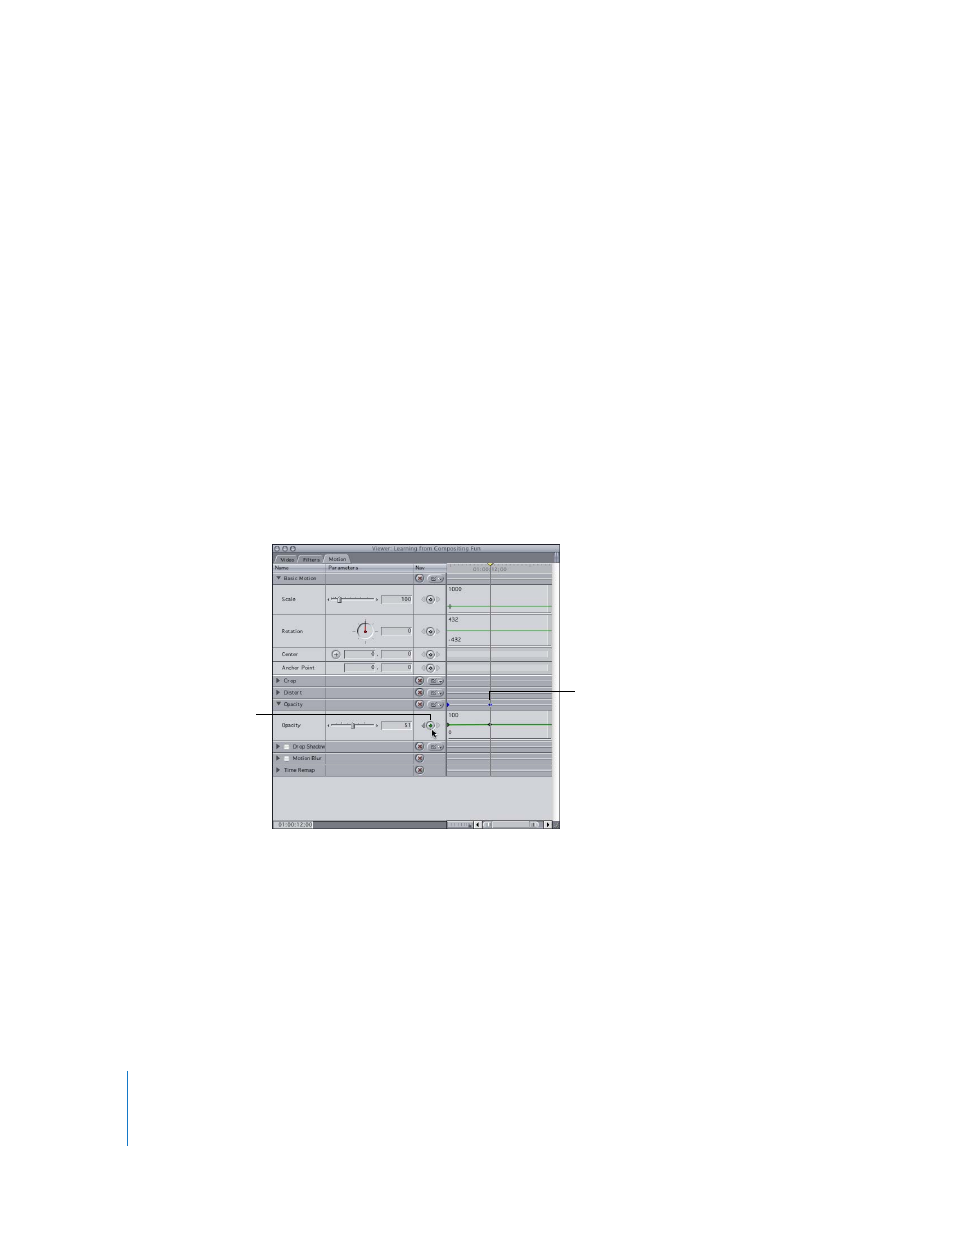
Click the keyframe button that corresponds to the parameter you are modifying.
∏
Tip: Any motion effect, audio parameter, or filter parameter can be adjusted in the
keyframe graph area of the Timeline.
For more information about adjusting keyframe graphs in the Timeline, see “
With the Timeline Keyframe Editor
The keyframe appears
as a small diamond in
the keyframe graph
area.
Click the keyframe button
for a setting to add
a keyframe at the
playhead’s current
location.