Adding markers to clips while logging – Apple Final Cut Pro 5 User Manual
Page 252
Chapter 18
Logging Clips
251
IV
Confirming Your Logging Information
Before you log a clip, you can choose to have Final Cut Pro confirm the clip name, Log
Note, and Good property before the clip is logged.
To have Final Cut Pro verify that the name and logging information is correct:
m
Select the Prompt checkbox next to the Name field.
Note: If the Prompt checkbox is unselected, Final Cut Pro logs the clip without asking
you to confirm, when you click the Log Clip button. For more information, see “
Adding Markers to Clips While Logging
As you log, you can set markers within clips to note significant parts for future
reference. Markers can be used for several purposes.
 Reference: Each marker can contain a name and associated note to help you identify
the content or other noteworthy information.
 Navigation: You can move the playhead from marker to marker in the Viewer and
the Timeline to quickly go to specific parts of a clip.
 Creation of subclips: You can also use markers to automatically create subclips, or
parts of a larger clip, in the Browser. For example, when you log a lengthy clip for
capture, you can arrange the markers to break the clip into smaller subclips for use
while you edit. For more information on creating subclips, see Volume II, Chapter 2,
“Creating Subclips.”
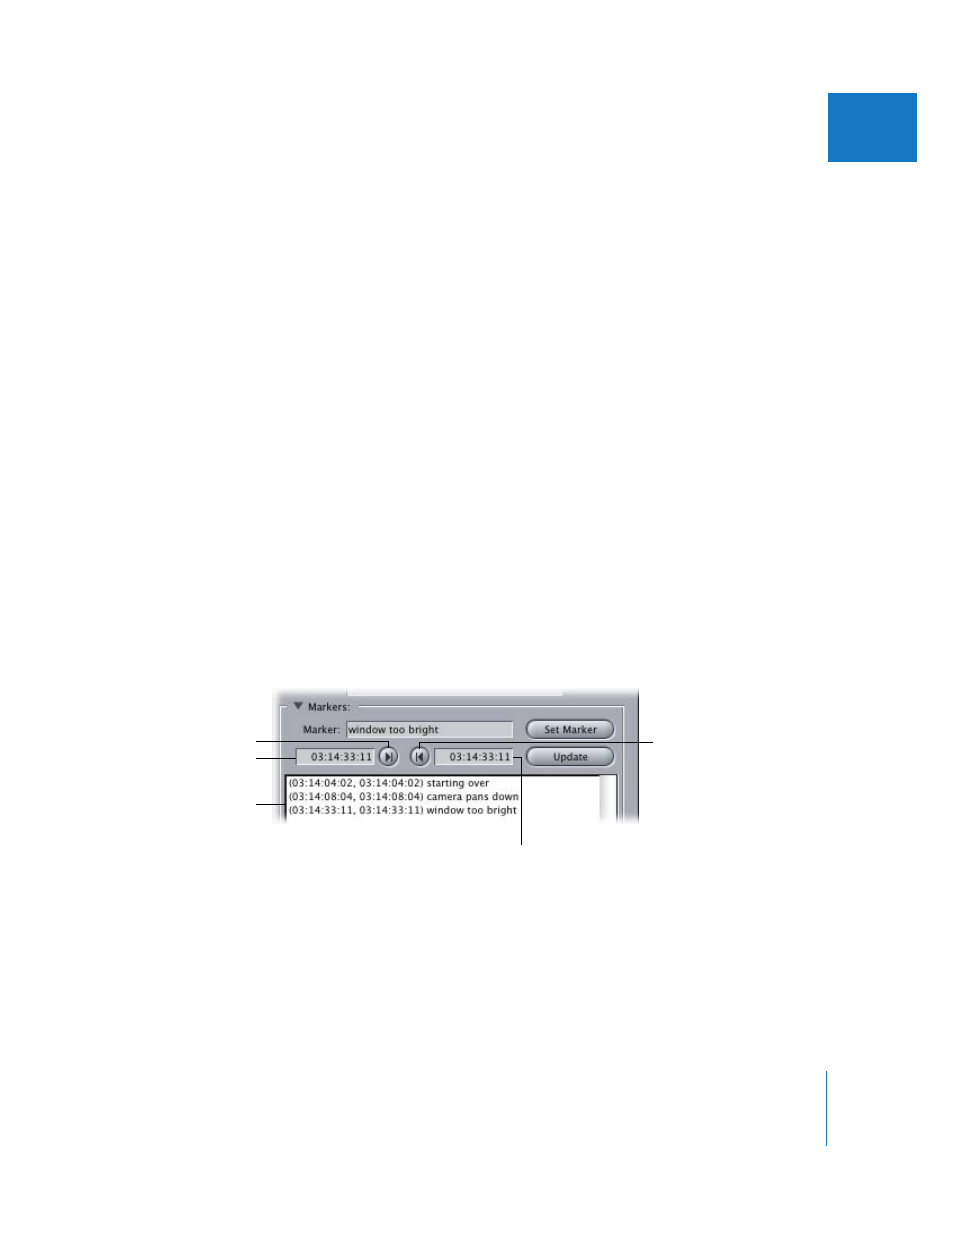
Marker Controls in the Logging Tab
Click the disclosure triangle next to Markers to see the marking controls.
 Marker: Enter a name or comments to go with the marker in this field. The marker
name remains until you change it.
 Set Marker: Once you’ve set the marker In and Out points, click this to create a
new marker.
 Set Marker In: Click this to set a marker In point, or enter a timecode number in this
timecode field.
Marker list (after clicking
the Set Marker button)
Marker In Point Timecode
field
Set Marker In
Set Marker Out
Marker Out Point
Timecode field