Apple Final Cut Pro 5 User Manual
Page 1247
460
Part II
Project Interchange
8
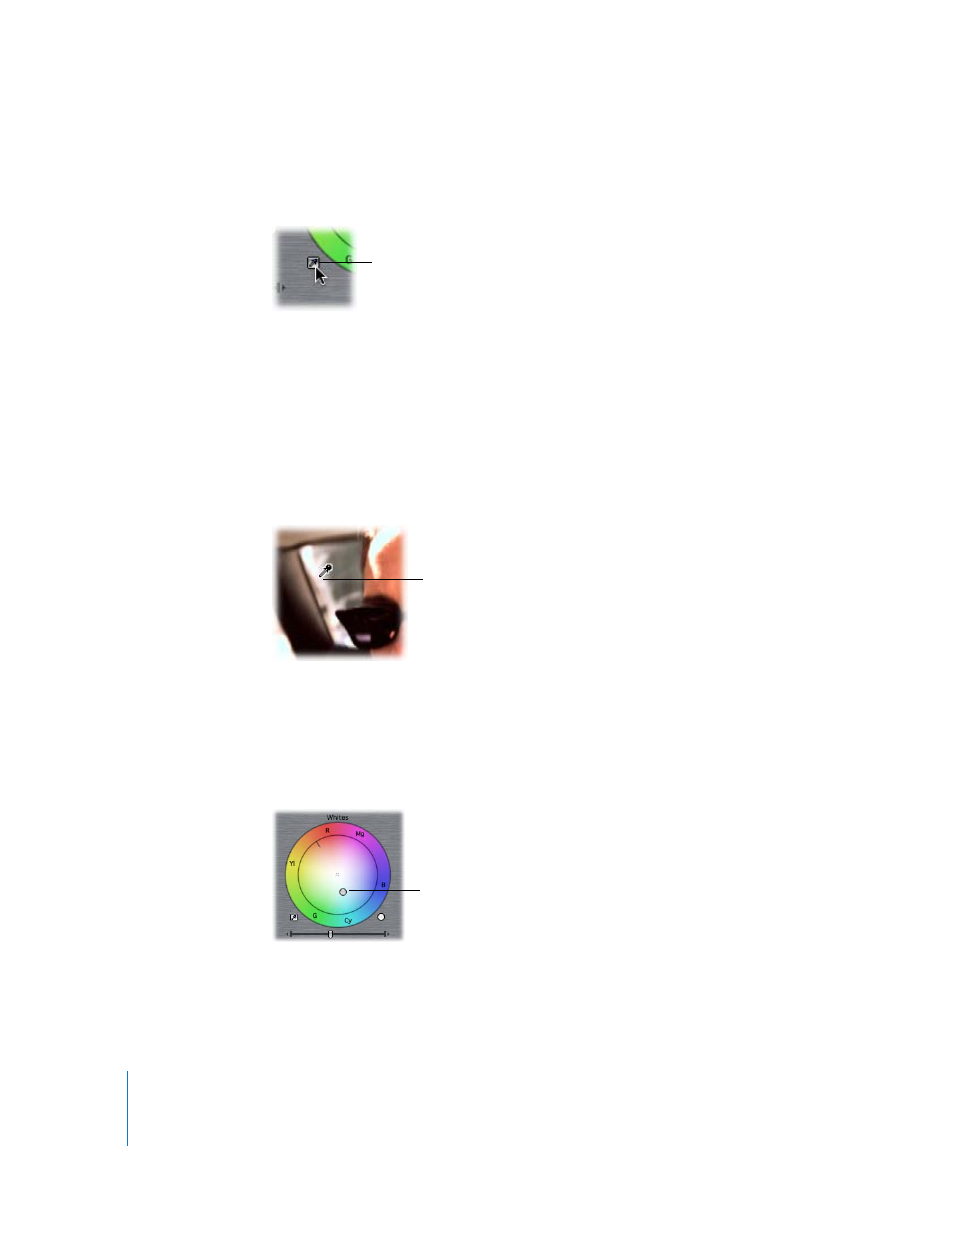
To begin to compensate for this, click the Whites Select Auto-balance Color button (the
eyedropper).
Note: When this button is selected, your pointer turns into an eyedropper when you
move it into the Canvas.
9
Click the eyedropper in an area of the picture that’s supposed to be white. Depending
on the image, you may not necessarily want to select the purest white in the image.
You want to find an area of the image where you can see the tint, even if faintly.
Don’t select an area that’s overexposed, such as a light source or a shiny highlight. This
does not give you the appropriate result. Instead, select a properly exposed area of
your picture that’s white, such as a well-lit shirt sleeve or white wall.
The Color Corrector 3-way filter moves the Whites Balance control to compensate for
whatever tint is affecting the highlights and bright areas of your picture.
Since the clip was tinted toward the reds, when you click the eyedropper on the white
piece of scenery outside the window, the Whites balance control indicator moves into a
mixture of blue and cyan and turns the whites of the image into true white.
Click the eyedropper near
the Whites control.
Click the eyedropper on
the white background in
the rear window.
The Whites balance
control indicator moves
to correct the whites.