Moving an entire motion path in the canvas, Creating and applying motion favorites – Apple Final Cut Pro 5 User Manual
Page 1068
Chapter 13
Adjusting Parameters for Keyframed Effects
281
II
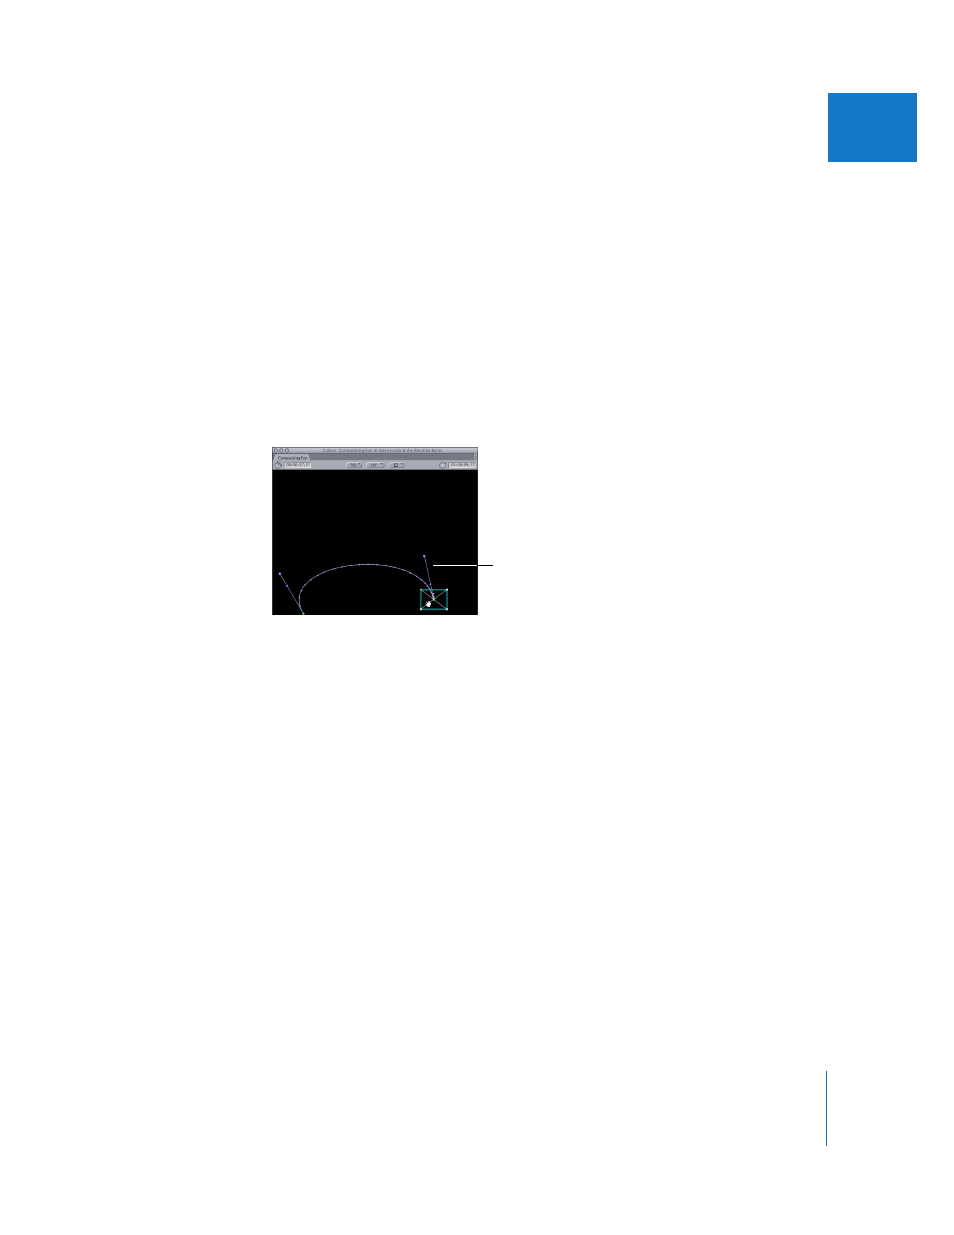
Moving an Entire Motion Path in the Canvas
If you’re happy with the shape of a motion path, but you want to move it to a different
position, you can move entire motion paths for one or more selected items directly in
the Canvas.
To move selected motion paths:
1
In the Canvas, do one of the following:
 Choose View > Image + Wireframe.
 Choose View > Wireframe.
2
Press and hold down the Command and Shift keys, click the clip in the Canvas, then
drag it to move the motion path.
Don’t click a keyframe or you’ll move the keyframe itself and not the entire motion path.
Creating and Applying Motion Favorites
If there’s a particular set of keyframed motion effects that you want to use over and
over again, you can create a motion favorite. For example, if you’re working on a
documentary that always moves a lower third graphic with the name of the current
speaker into the video frame along a particular motion path, you can save this motion
path as a favorite so that you can apply it to all the lower third titles in your project
without having to re-create the path from scratch every time.
To create a motion favorite:
1
Select a clip in the Timeline that has a series of motion effects keyframes that you want
to use as a favorite.
This clip can have as many keyframes in as many motion parameters as you want.
2
Choose Effects > Make Favorite Motion (or press Control-F).
All motion parameter keyframes from that clip are saved as a motion favorite in the
Favorites bin of the Effects tab of the Browser. By default, the motion favorite has the
name of the clip the motion keyframes were copied from, but you can change this name.
The pointer changes
to a hand while you
are dragging.