Apple Final Cut Pro 5 User Manual
Page 1245
458
Part II
Project Interchange
1
Move the playhead in the Timeline over the clip you’re working on so that you can see
your changes output to video as you work.
With an external broadcast monitor connected to your computer, and View > External
Video set to All Frames, whichever frame is at the current position of the playhead in
the Canvas will be output to video.
2
Select a clip to correct in the Timeline, then apply the Color Corrector 3-way filter.
For more information on applying filters, see Chapter 11, “
3
Open the selected clip in the Viewer by double-clicking it, or by selecting it and
pressing Return.
4
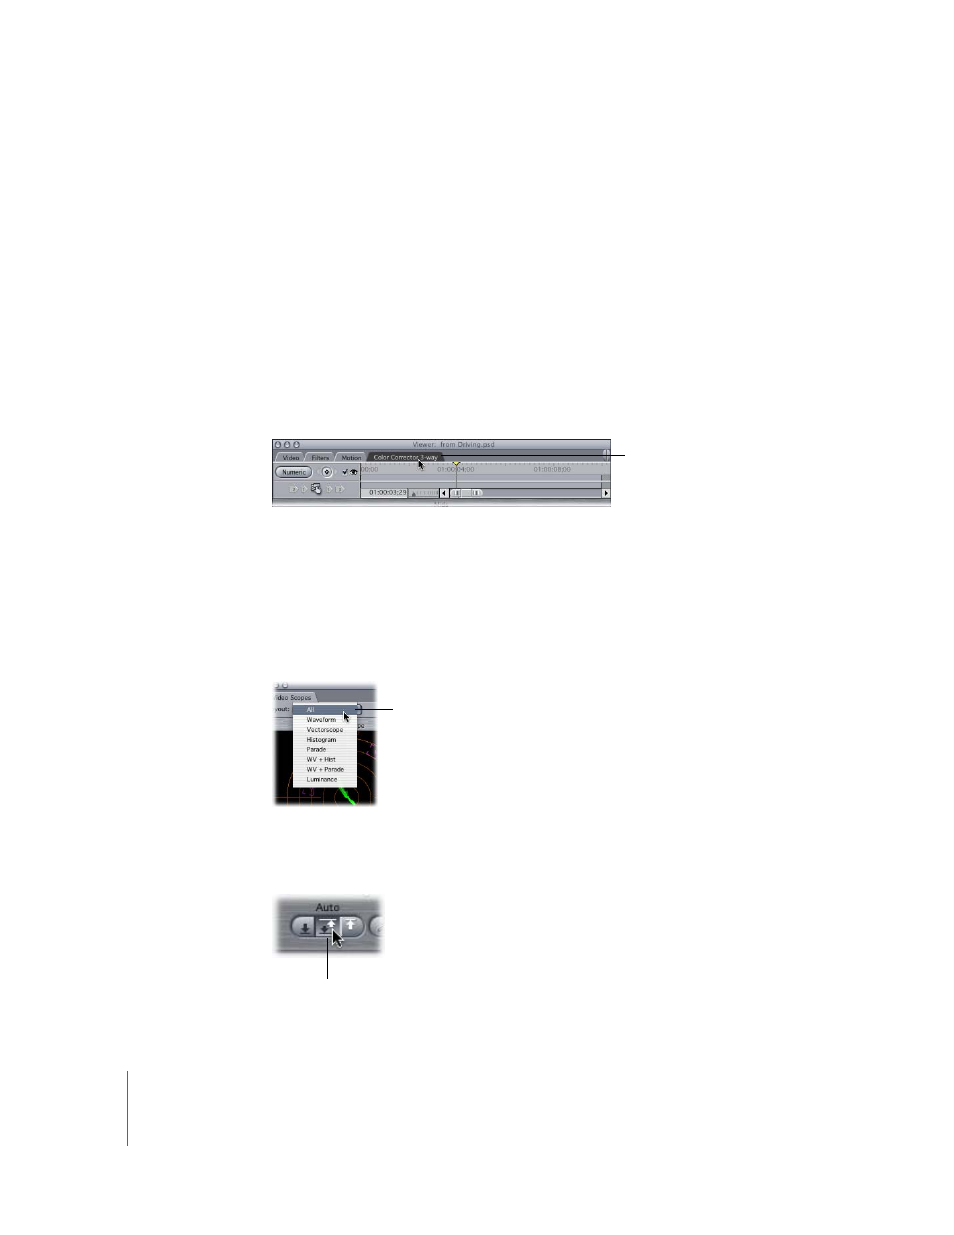
Click the Color Corrector 3-way tab at the top of the Viewer to access the Color
Corrector 3-way filter visual controls.
5
Choose Window > Arrange > Color Correction.
This displays the Video Scopes tab in the Tool Bench. While color correcting, it’s
helpful to have the Video Scopes tab open to get a more detailed analysis of your
video as you work.
6
In the Layout pop-up menu of the Video Scopes tab, choose All to make sure that all
the scopes are available.
You are now ready to begin adjusting the image.
7
Click the Auto Contrast button to maximize the range from white to black in your clip.
Click the Color Corrector
3-way tab to view its
visual controls.
Choose All so that all video
scopes are available for
you to use.
Auto Contrast button