How clips appear in the timeline – Apple Final Cut Pro 5 User Manual
Page 429
94
Part II
Rough Editing
Step 3:
Make rough adjustments to clips in the Timeline
In the process of assembling the rough edit, you typically find you want to change the
duration of some clips, trim the heads or tails of some clips, or divide clips into smaller
pieces and reposition them.
How Clips Appear in the Timeline
Before you begin editing and arranging clips in a sequence in the Timeline, it’s a good
idea to look at how clips are represented when they’re first edited into a sequence.
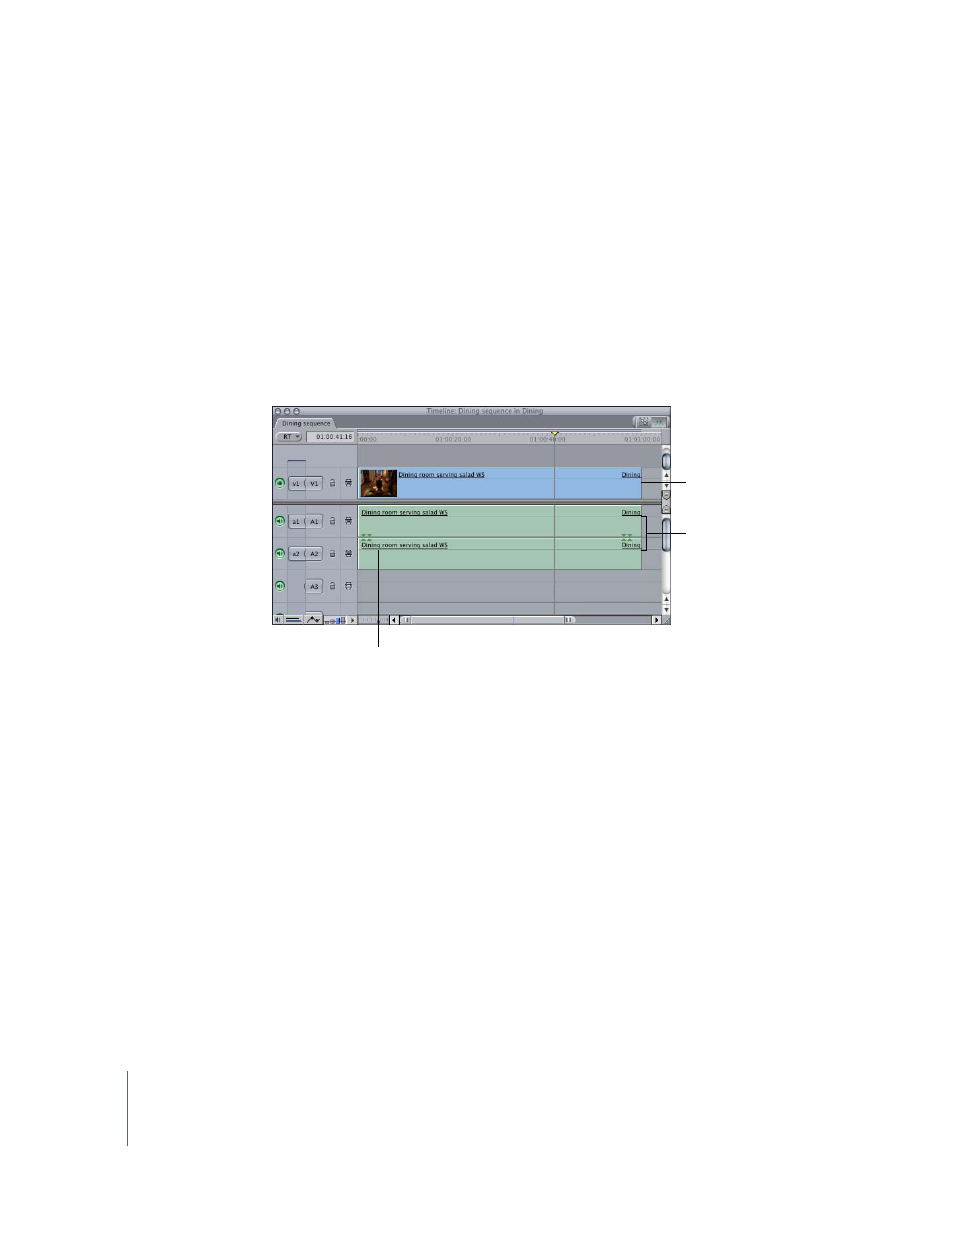
When you edit a clip into the Timeline, an affiliated copy of that clip is placed in your
sequence. The clip in the Timeline looks like this:
In the example above, a clip containing one video item and two audio items was
added to the sequence. Each of these items is called a clip item.
The video clip item is placed in track V1 of the Timeline, and the two audio clip items
are placed in tracks A1 and A2, respectively. Each of these items is named after the
master clip in the Browser from which it came. All three clip items are linked together,
which is indicated by the line under each clip item name. Linking clip items together
keeps the items in sync with each other.
Video clip item
Audio clip items
An underline indicates
items that are linked.