Using the timeline keyframe graph area, About the keyframe graph area, About the – Apple Final Cut Pro 5 User Manual
Page 1070: Keyframe graph area, About the keyframe, Graph area, Using the, Timeline keyframe graph area, P. 283)
Chapter 13
Adjusting Parameters for Keyframed Effects
283
II
Using the Timeline Keyframe Graph Area
Once motion parameters have been applied to a clip in your sequence, you can use the
Clip Keyframes control in the Timeline to display a keyframe graph area below each video
and audio track to allow you to view and edit parameters that are applied to your clips.
To display the Timeline keyframe graph area:
m
Click the Clip Keyframes control.
About the Keyframe Graph Area
This area can be divided into four parts relating to motion, filter, and speed parameters
applied to your clips.
 Filter bar: If a clip has one or more video or audio filters applied, a green bar appears
in this space for the duration of that clip. If keyframes are added to a filter in a given
clip, those keyframes appear as green diamonds on this bar, where they can be
edited or moved using the Selection tool.
 Motion bar: If any of a clip’s motion parameters are modified, a blue bar appears in
this space for the duration of that clip. If keyframes are added to the motion settings
for a given clip, those keyframes appear as blue diamonds on this bar, where they
can be edited or moved using the Selection tool. Motion bars are available only for
video tracks.
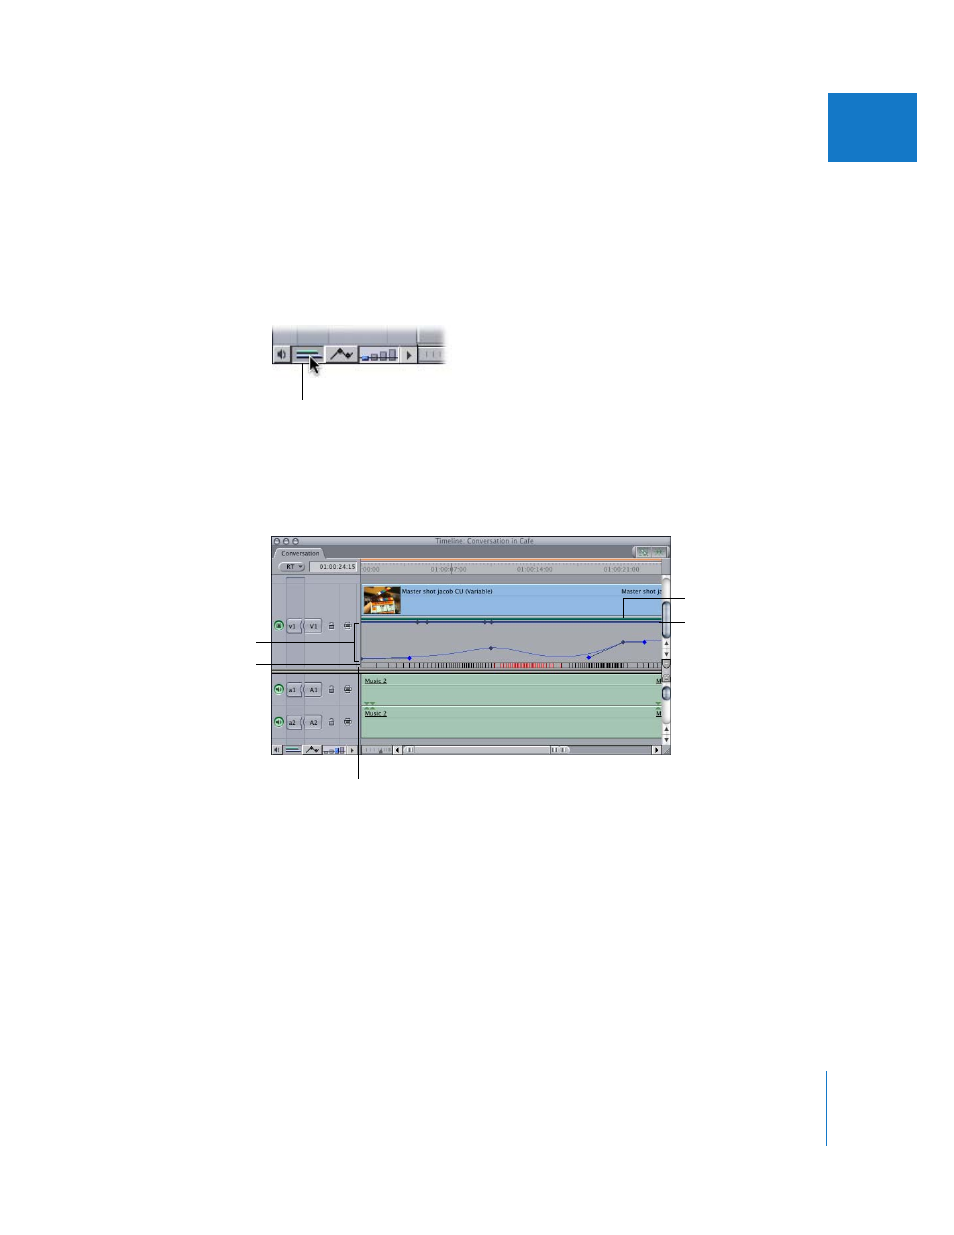
Clip Keyframes control
Video motion bar
(the lower blue bar)
Video filter bar
(the upper green bar)
Keyframe Editor Resize column
allows you to change the height
of the keyframe editor area.
Keyframe editor
Speed indicator area