Apple Final Cut Pro 5 User Manual
Page 1147
360
Part II
Project Interchange
To adjust the opacity of a clip (with no keyframes) in the Motion tab:
1
Do one of the following:
 Double-click the sequence clip you want to adjust to open it into the Viewer, then
click the Motion tab.
Note: When compositing clips in a sequence, make sure that you open clips from the
sequence to adjust their motion parameters, including opacity. If you do a match frame
edit or inadvertently open a clip from the Browser, you won’t be working on the clip as
it appears in your sequence. As a result, the clip in your sequence is unchanged.
 If clip keyframes are turned on and you’ve already adjusted the opacity overlay (or
any other motion setting) for a clip in the Timeline, double-click the motion bar
under that clip.
This opens the clip into the Viewer with the Motion tab automatically selected.
2
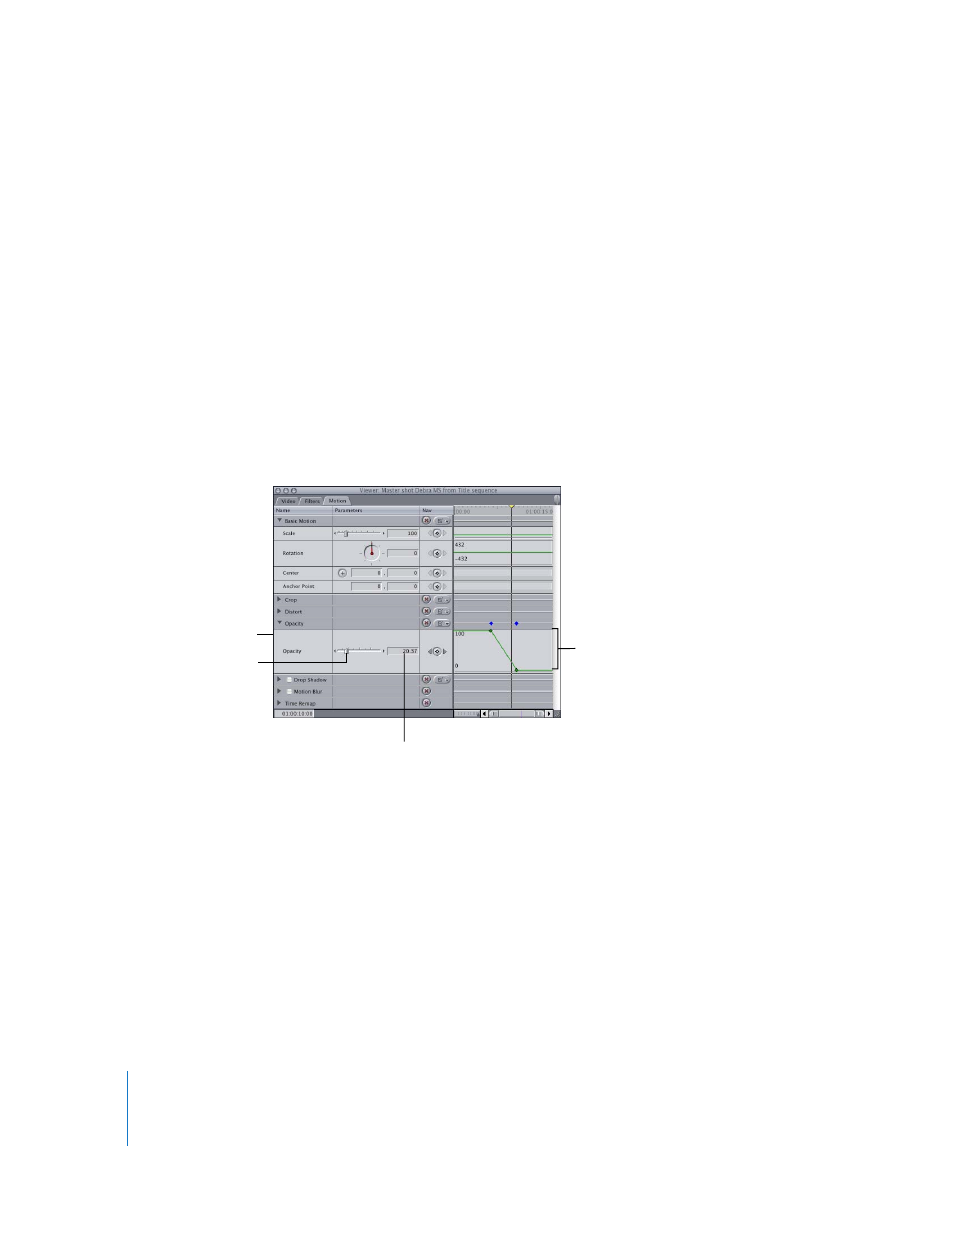
Click the disclosure triangle next to the Opacity parameter.
3
Adjust the opacity by doing one of the following:
 Drag the Opacity slider to the right or left.
 Click the arrows at the right and left of the Opacity slider.
 Type a percentage in the number field.
 Adjust the Opacity parameter’s keyframe graph line.
The pointer changes to the Resize pointer; a box shows the percentage of opacity as
you drag the overlay.
The opacity overlay in the Timeline can also be keyframed, enabling you to dynamically
change these parameters over time. For information on keyframing, see “
Motion Effects Using Keyframes
Opacity slider, with
arrows on either end
Opacity parameter’s
keyframe graph line
Opacity parameter
Number field for the
opacity percentage