Changing pan for an entire clip – Apple Final Cut Pro 5 User Manual
Page 906
Chapter 7
Mixing Audio in the Timeline and Viewer
119
I
Changing Pan for an Entire Clip
When you edit a new clip into a sequence, the default stereo value depends on what
kind of audio clip it is.
 If it’s a mono clip, its stereo pan is centered with a value of 0 by default. You can
change this level to whatever you like, from –1 to +1.
 If it’s a stereo pair, the pan value defaults to –1, putting the left audio track out of the
left channel, and the right audio track out of the right channel.
You can use three controls to adjust the pan of a clip. Each of these controls is mirrored
by the other controls as you make adjustments. If no keyframes are set in the clip in the
Viewer, using these controls adjusts the pan of the entire clip.
To adjust pan using the slider control:
m
Drag the Pan slider to the left or right to adjust the stereo placement of your clip.
 For a mono item, dragging the Pan slider left moves the audio toward the left stereo
output channel; dragging right moves it toward the right stereo output channel.
 For a stereo pair, dragging the Pan slider left or right transposes the left and right
channels of a stereo pair clip.
To adjust pan by entering a numeric value:
1
Enter a new value in the Pan field.
To enter a negative value, type – (minus) and the number.
 For a mono item, enter a value between –1 and 1. –1 moves the audio all the way to
the left stereo output channel. 1 moves the audio all the way to the right stereo
output channel.
 For a stereo pair, enter a value between –1 and 1. –1 is the original left and right
stereo placement captured with your clip. 1 reverses the left and right channels.
2
Press Return to apply this value to your clip.
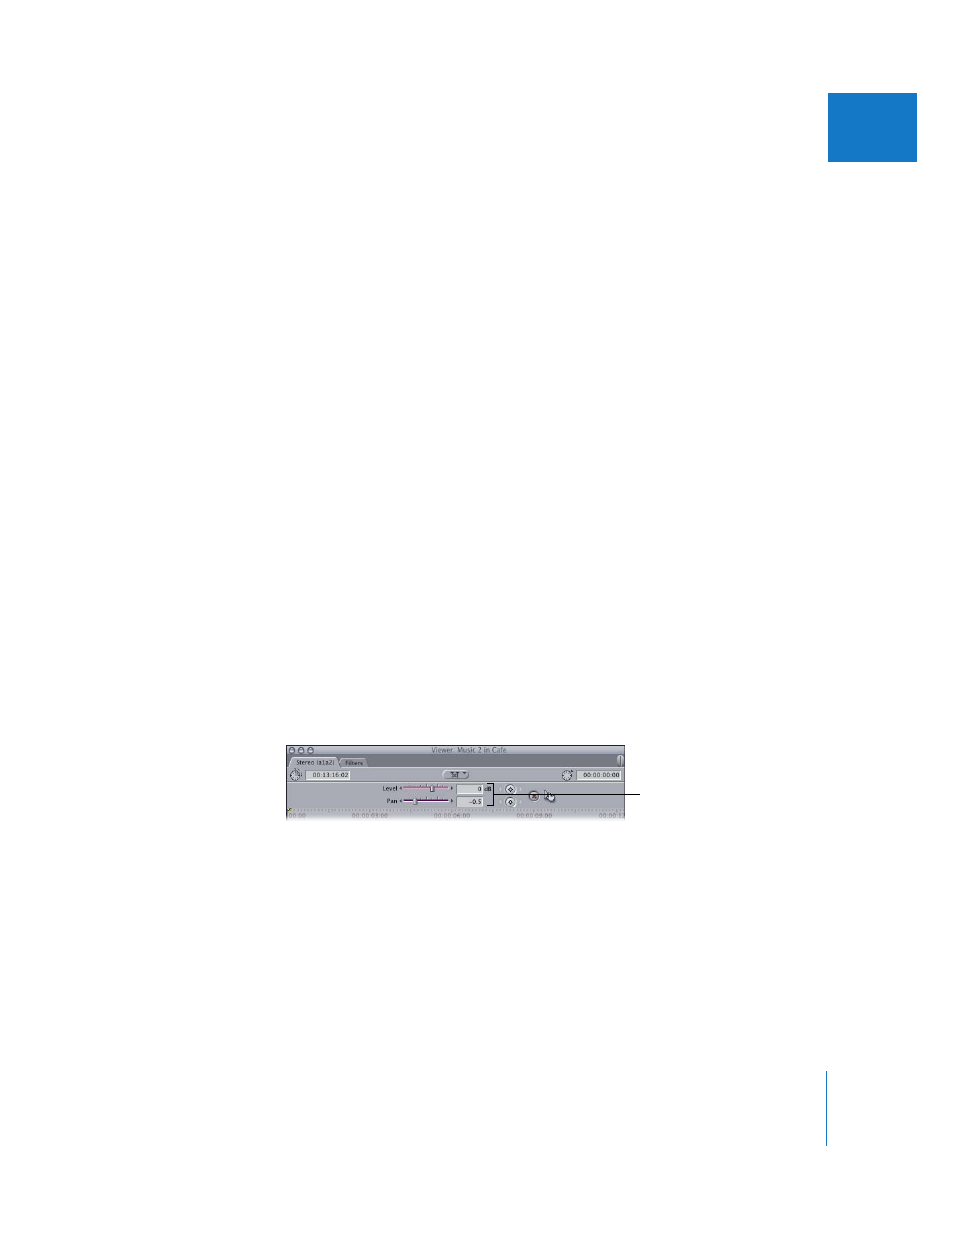
Enter a value in one
of these two fields.