Knock out objects within a group – Adobe InDesign CS3 User Manual
Page 410
INDESIGN CS3
User Guide
403
It is important to understand that you apply the blending modes to the individual objects, but apply the Isolate
Blending option to the group. The option isolates blending interactions within the group. It doesn’t affect blending
modes applied directly to the group itself.
1
Apply the blending modes and opacity settings to the individual objects whose blending you want to isolate.
2
Using the Selection tool, select the objects you want to isolate.
3
Choose Object > Group.
4
In the Effects panel, select Isolate Blending. (If the option is not visible, select Show Options in the Effects panel
menu.)
You can isolate the blending of objects in a PDF file that contains blending modes. First, place the PDF file with the
Transparent Background option selected in the Place PDF dialog box. Then apply the Isolate Blending option.
Knock out objects within a group
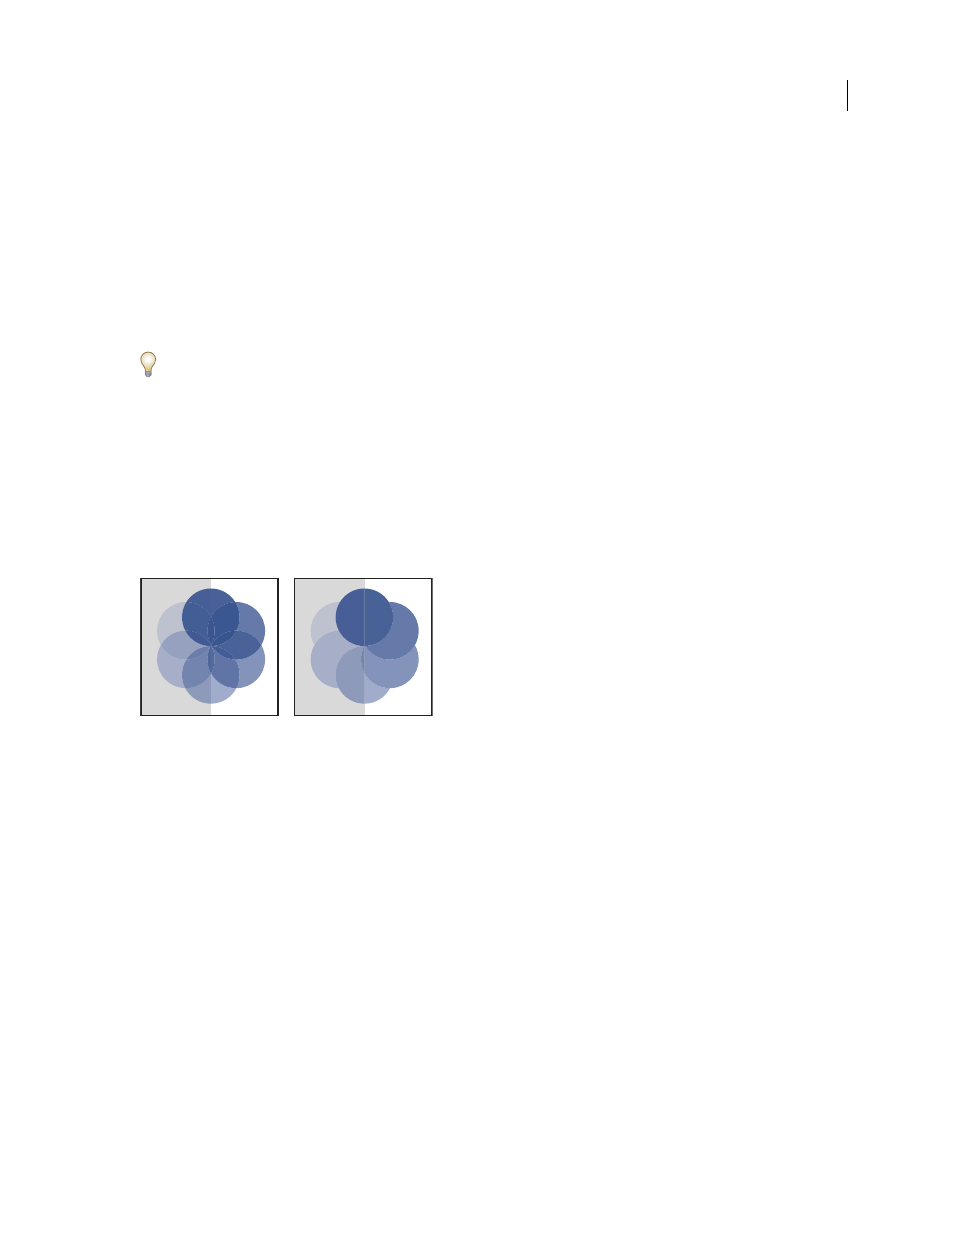
You use the Knockout Group option in the Effects panel to make the opacity and blending attributes of every object
in the selected group knock out—that is, visually block out—underlying objects in the group. Only objects within the
selected group are knocked out. Objects beneath the selected group are still affected by the blending or opacity that
you apply to objects within the group.
It is important to understand that you apply the blending modes and opacity to the individual objects, but apply the
Knockout Group option to the group.
Group with Knockout Group option deselected (left) compared to selected (right)
1
Apply the blending modes and opacity settings to the individual objects that you want to knock out.
2
Using the Selection tool, select the objects that you want to knock out.
3
Choose Object > Group.
4
In the Effects panel, select Knockout Group. (If the option is not visible, select Show Options in the Effects panel
menu.)
Specify a color space for blending transparent objects
To blend the colors of transparent objects on a spread, InDesign converts the colors of all objects to a common color
space using either the CMYK or RGB color profile for the document. This blending space enables objects of multiple
color spaces to blend when interacting transparently. To avoid color mismatches between different areas of the
objects on-screen and in print, the blending space is applied for screen and in the flattener.
The blending space is applied only to those spreads that contain transparency.
❖
Choose Edit > Transparency Blend Space, and then choose one of the document’s color spaces.
Note: For a typical print workflow, choose the Document CMYK color space.