Create a hanging indent – Adobe InDesign CS3 User Manual
Page 238
INDESIGN CS3
User Guide
231
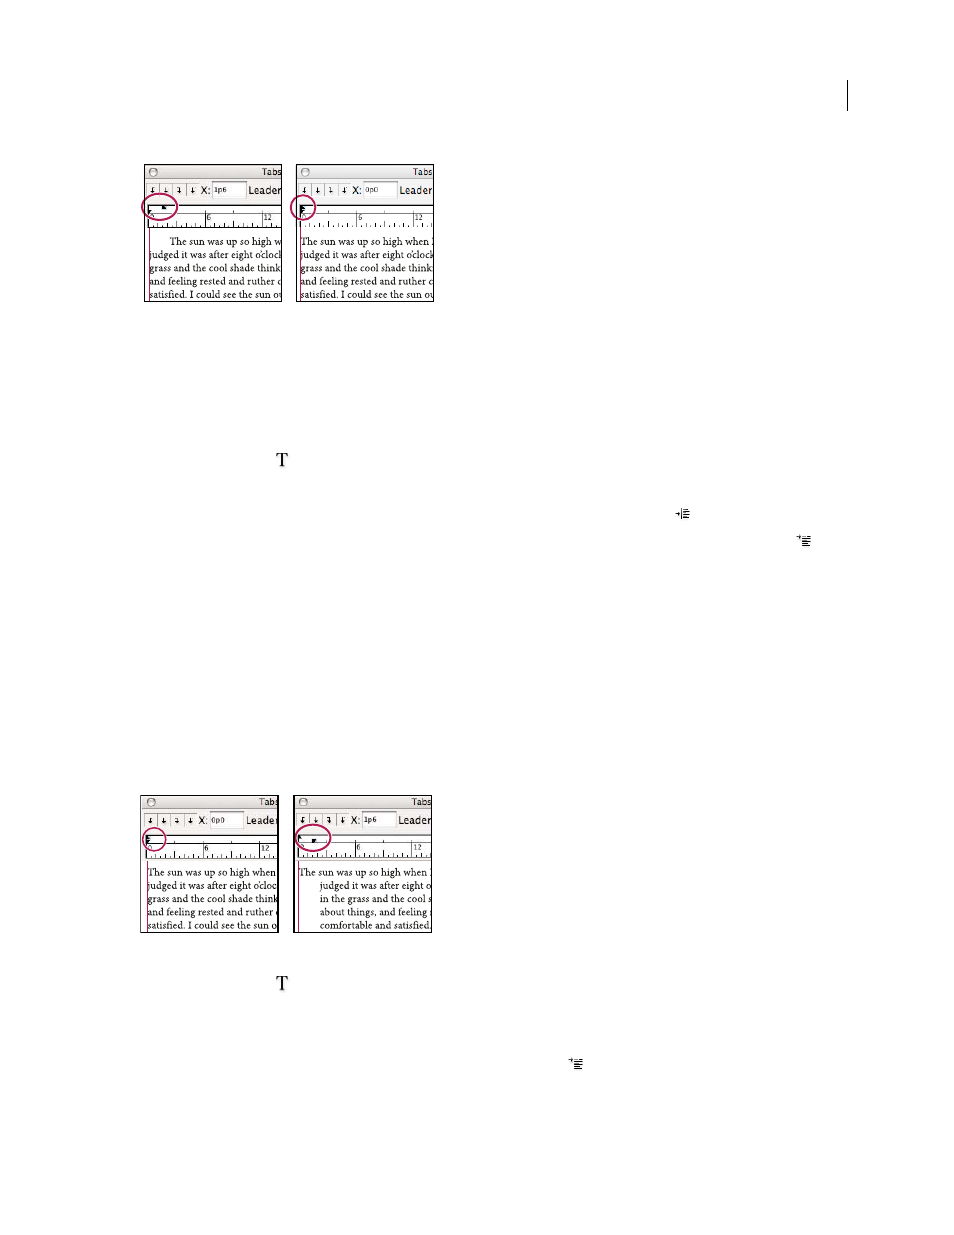
First-line indent (left) and no indent (right)
•
Select the top marker and type a value for X to indent the first line of text. Select the bottom marker and type a
value for X to move both markers and indent the entire paragraph.
For more information on using the Tabs dialog box, see “About tabs” on page 233.
Set indents using the Paragraph panel or the Control panel
1
Using the Type tool
, click in the paragraph you want to indent.
2
Adjust the appropriate indent values in the Paragraph panel or Control panel. For example, do the following:
•
To indent the entire paragraph one pica, type a value (such as 1p) in the Left Indent box
.
•
To indent only the first line of a paragraph one pica, type a value (such as 1p) in the First Line Left Indent box
.
•
To create a hanging indent of one pica, type a positive value (such as 1p) in the Left Indent box and type a negative
value (such as -1p) in the First Line Left Indent box. (See “Create a hanging indent” on page 231.)
Reset indents
1
Click in the paragraph in which you want to reset indents to the zero mark.
2
Choose Reset Indents from the Tabs dialog box menu.
Create a hanging indent
In a hanging indent, all the lines in a paragraph are indented except for the first line. Hanging indents are especially
useful when you want to add inline graphics at the beginning of the paragraph.
No indent (left) and hanging indent (right)
1
Using the Type tool
, click in the paragraph you want to indent.
2
In the Tabs dialog box or the Control panel, specify a left indent value greater than zero.
3
To specify a negative first-line left indent value, do one of the following:
•
In the Control panel, type a negative value for the first-line left indent
.
•
In the Tabs dialog box, drag the top marker to the left, or select the marker and type a negative value for X.