Adobe InDesign CS3 User Manual
Page 397
INDESIGN CS3
User Guide
390
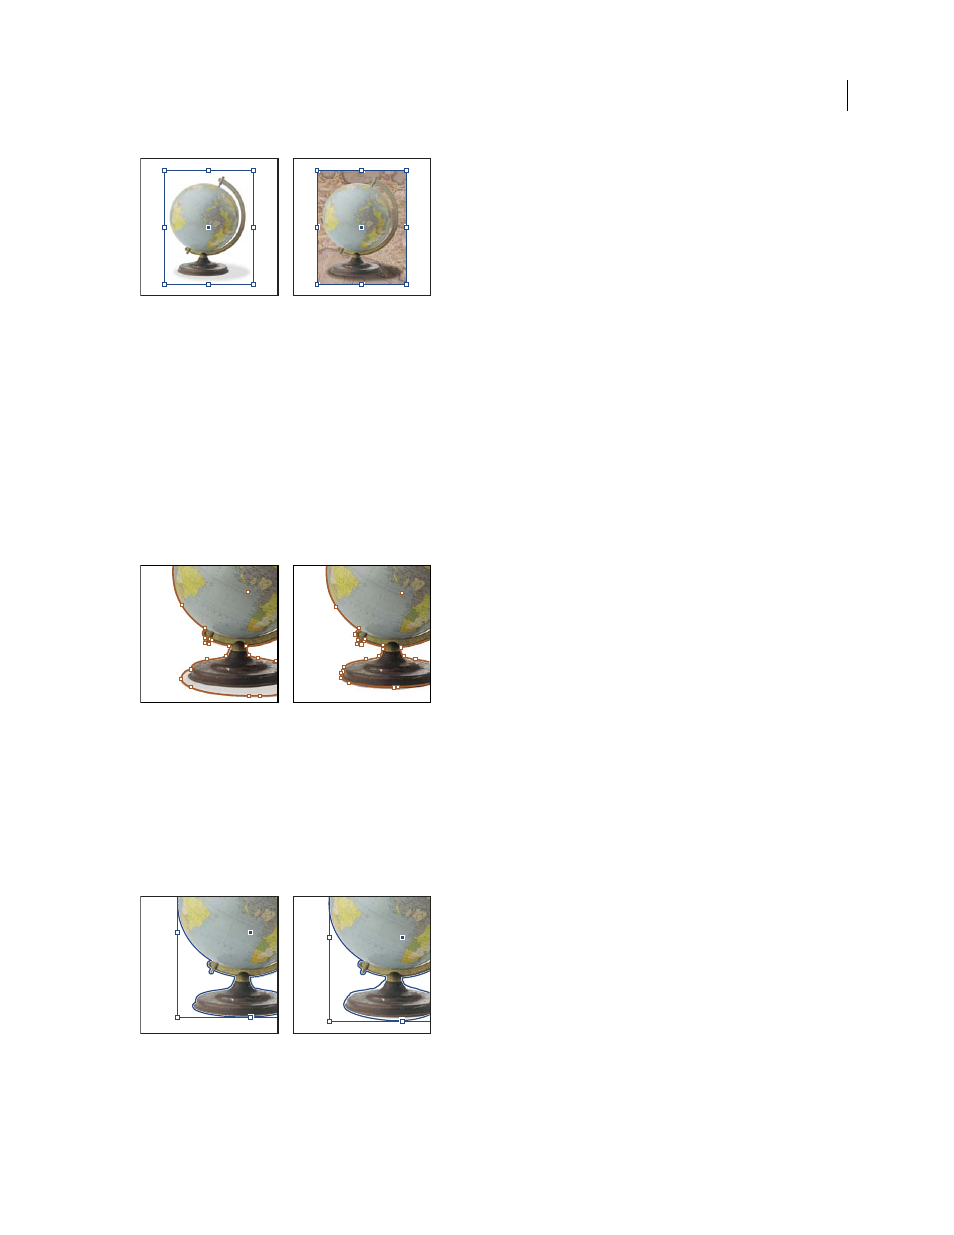
Good (left) and bad (right) candidates for automatic clipping path
1
Select an imported graphic, and choose Object > Clipping Path.
2
In the Clipping Path dialog box, choose Detect Edges in the Type menu. By default, the lightest tones are excluded;
to exclude the darkest tones, also select the Invert option.
3
Specify the clipping path options, and click OK.
Clipping path options
Threshold
Specifies the darkest pixel value that will define the resulting clipping path. Increasing this value makes
more pixels transparent by extending the range of lightness values added to the hidden area, starting from 0 (white).
For example, if you want to remove a very light drop shadow when using Detect Edges, try increasing the Threshold
until the shadow disappears. If light pixels that should be visible are invisible, the Threshold is too high.
Threshold levels at 25 (left) and 55 (right)
Tolerance
Specifies how similar a pixel’s lightness value can be to the Threshold value before the pixel is hidden by
the clipping path. Increasing the Tolerance value is useful for removing unwanted bumps caused by stray pixels that
are darker than, but close to the lightness value of, the Threshold value. Higher Tolerance values usually create a
smoother, looser clipping path, by increasing the range of values near the Tolerance value within which stray darker
pixels are included. Decreasing the Tolerance value is like tightening the clipping path around smaller variations in
value. Lower Tolerance values create a rougher clipping path by adding anchor points, which may make it harder to
print the image.
Tolerance levels at 0 (left) and 5 (right)