Wrapping text around objects, Wrap text around objects – Adobe InDesign CS3 User Manual
Page 202
INDESIGN CS3
User Guide
195
Wrapping text around objects
Wrap text around objects
You can wrap text around any object, including text frames, imported images, and objects you draw in InDesign.
When you apply a text wrap to an object, InDesign creates a boundary around the object that repels text. The object
that text wraps around is called the wrap object. Keep in mind that text wrap options apply to the object being
wrapped, not the text itself. Any change to the wrap boundary will remain if you move the wrap object near a
different text frame.
For a video on using text wrap, see
.
See also
“Create a compound path” on page 322
Wrap text around simple objects
1
To display the Text Wrap panel, choose Window > Text Wrap.
2
Using the Selection tool
or Direct Selection tool
, select the object you want to wrap text around.
3
In the Text Wrap panel, click the desired wrap shape:
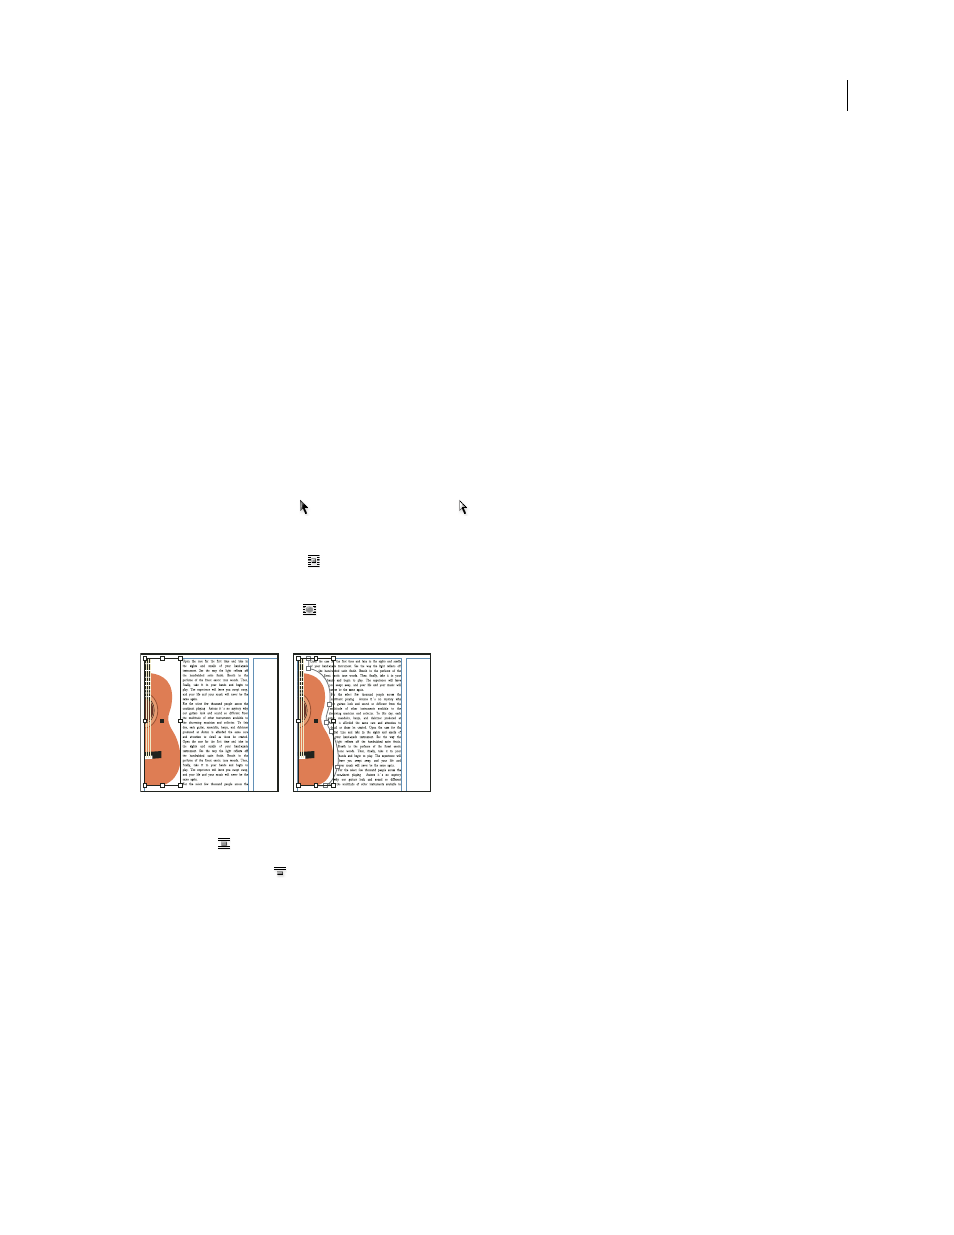
Wrap Around Bounding Box
Creates a rectangular wrap whose width and height are determined by the bounding
box of the selected object.
Wrap Around Object Shape
Also known as contour wrapping, creates a text wrap boundary that is the same shape
as the frame you’ve selected (plus or minus any offset distances you specify).
Wrap Around Bounding Box setting (left) compared to Wrap Around Object Shape setting (right)
Jump Object
Keeps text from appearing in any available space to the right or left of the frame.
Jump To Next Column
Forces the surrounding paragraph to the top of the next column or text frame.
4
From the Wrap To menu, specify whether the wrap is applied to a specific side (such as the right side or largest
area) or towards or away from the spine. (If you don’t see the Wrap To menu, choose Show Options from the Text
Wrap panel menu.)
This option is available only if you selected Wrap Around Bounding Box or Wrap Around Object Shape.