Adding projections to the mapinfow.prj file – Pitney Bowes MapInfo Professional User Manual
Page 402
"UTM Zone 9 (NAD 27 for Canada)", 8, 66, 7, -129, 0, 0.9996, 500000, 0
This is a basic list of the elements of a coordinate system, for review. There are some projections that
do not require all of the elements in the list. Following this list, you can see some entries from the .PRJ
file.
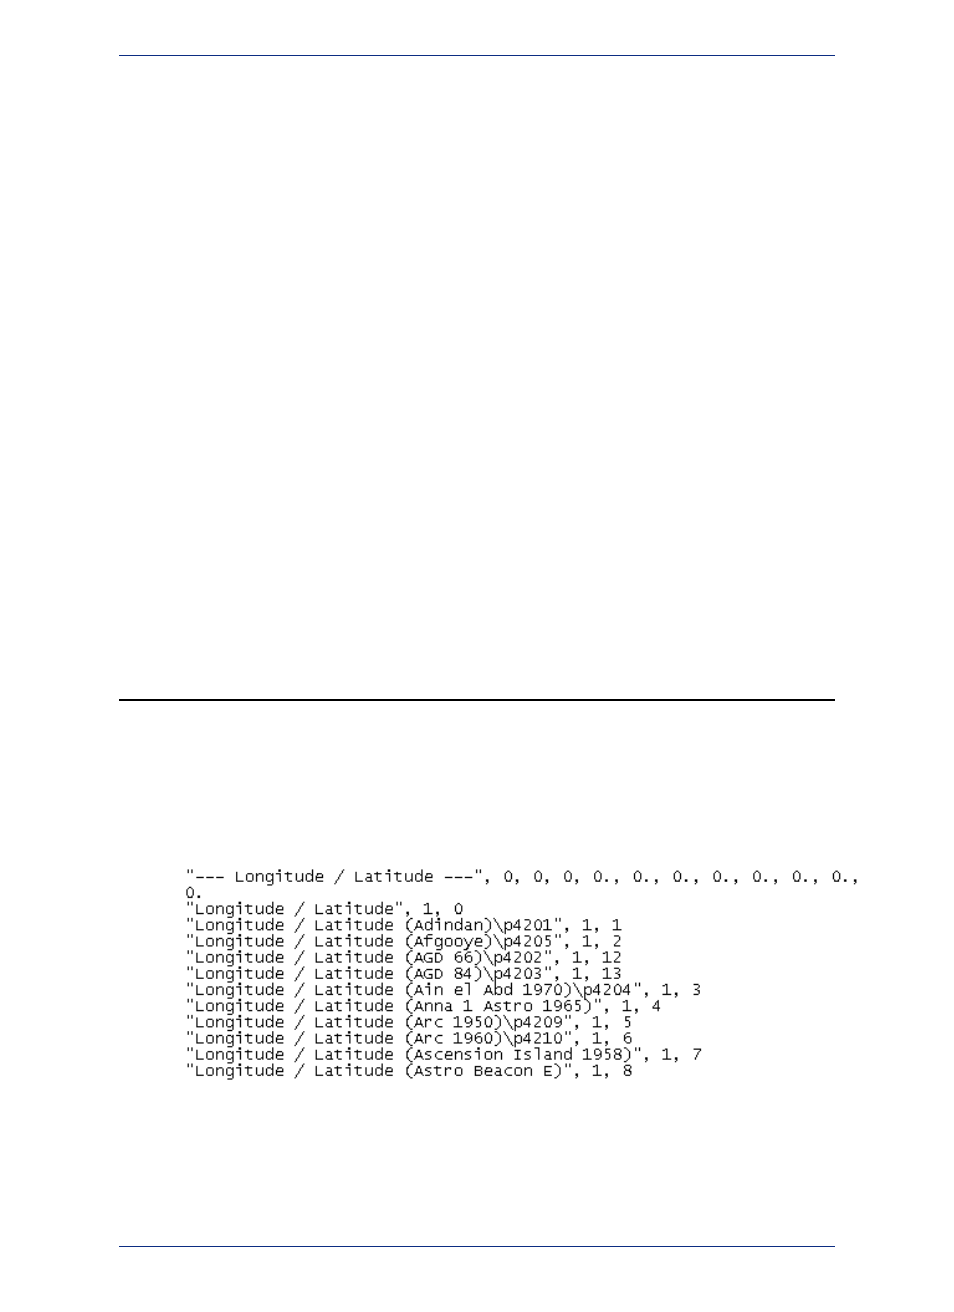
1. The first element in each list is the name of the projection in quotes.
2. The second element in each list is the number that identifies the projection number as indicated in
3. The third element in each list is the datum ID that identifies the appropriate datum for the projection.
See
for a complete list of supported datums.
4. The fourth element in each list is the units, which indicate the units of the projection. See
for
a current list of the supported units.
5. The next element in some lists is the coordinate system origin. See
for
a complete description of this entry.
6. The remaining elements are specific to particular types of projections. You can see their descriptions
in
Standard Parallels (Conic Projections)
,
Oblique Azimuth (Hotine Oblique Mercator)
,
False Easting and False Northing
and
.
Each element in a projection entry is separated by a comma.
Note:
Let us look at some specific coordinate systems to prepare you to create your own projection. It is
important to remember that the elements of a projection are different for each projection. Here are some
examples we have already seen:
There are additional examples in the Help System.
Note:
Adding Projections to the MAPINFOW.PRJ File
Once you understand the structure of the entries in the MAPINFOW.PRJ file, you are ready to create a
new projection entry for your coordinate system. You may want to make a copy of the MAPINFOW.PRJ
file in case you want to revert back to it later.
To create a new projection entry for the coordinate system in the MAPINFOW.PRJ file:
1. Open MAPINFOW.PRJ in a text editor or word processor. In this file, you are going to add the new
projection entries.
MAPINFOW.PRJ in Notepad
2. Scroll down in this list to find the type of projection you want to base your map on. See
for descriptions of the different projection types.
3. Add a new line at the end of the projection list you are modifying.
MapInfo Professional 12.5
402
Adding Projections to the MAPINFOW.PRJ File