Changing text alignment and spacing, Adding shapes to the layout designer window – Pitney Bowes MapInfo Professional User Manual
Page 327
3. Click OK to apply your changes.
To change the style for text in multiple frames, press the Ctrl key while selecting text frames, right-click
on one of the frames, and then select Text Style.
Changing Text Alignment and Spacing
You can control the horizontal alignment of the text within a text frame. The alignment determines the
appearance and orientation of the edges of the text as left-aligned, right-aligned, or centered. You can
also determine how much space occurs between the lines of text.
To control the alignment or spacing of text:
1. Select one or more text frames by clicking or shift-clicking on them.
2. On the Layout Designer window, only one of the following icons displays. Click on it to see a
drop-down menu with all of these alignment options and then select one.
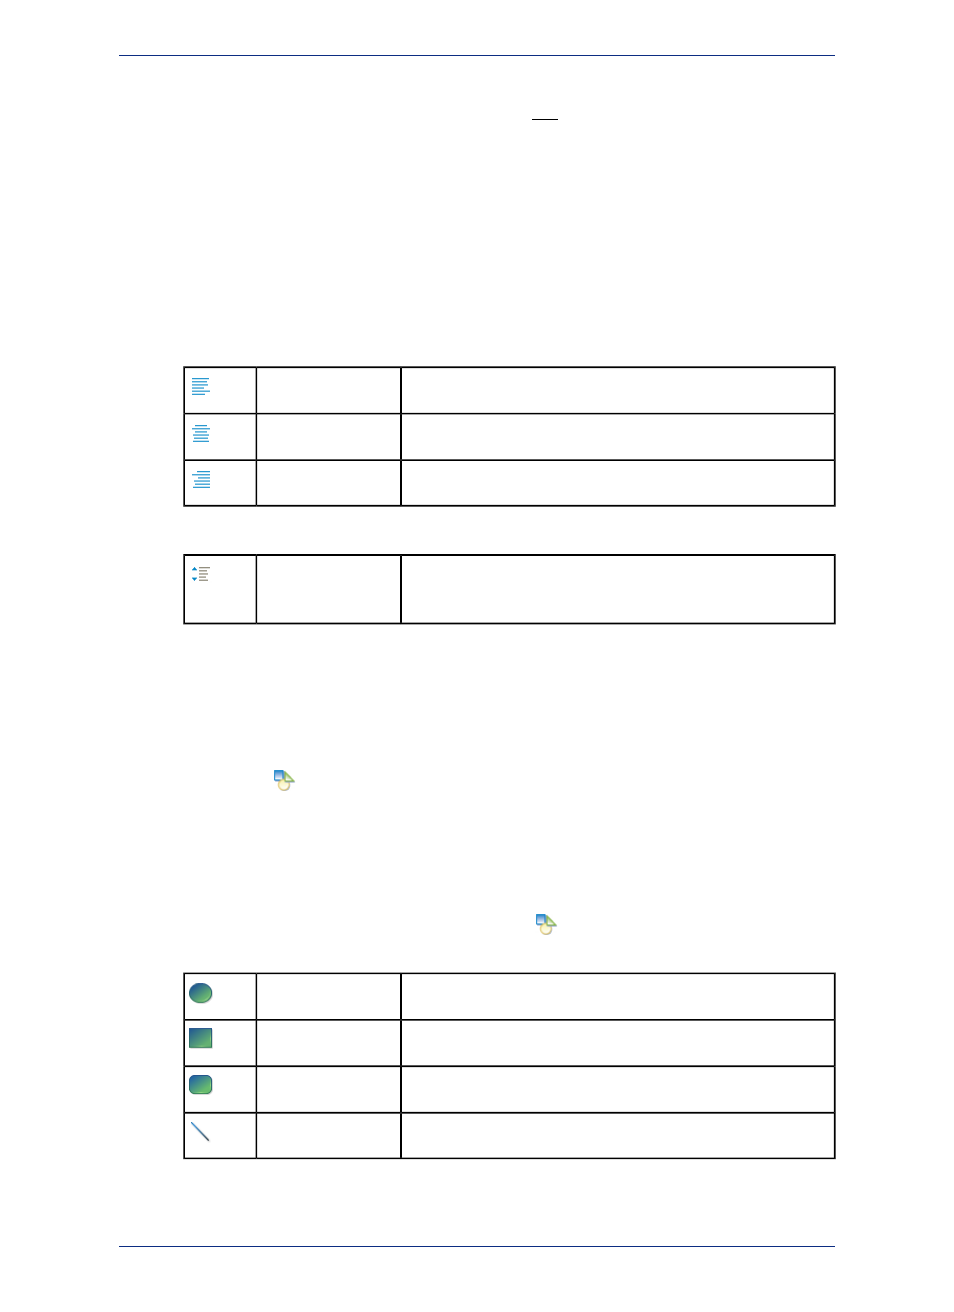
Left-justifies the text within a text frame.
Align Text Left
Centers the text within a text frame.
Center Text
Right-justifies the text within a text frame.
Align Text Right
3. Click the following icon to select from a drop-down list of line spacing options.
Sets the amount of space that displays between the lines of text
within a text frame. You can select Single Line, 1.5 Lines, or
Double Lines.
Line Spacing
The text refreshes using the new alignment and spacing.
Adding Shapes to the Layout Designer Window
You can add a shape to your layout, such as an ellipse, rectangle, rounded rectangle, or line by clicking
the Draw Shape
tool on the Layout Designer window toolbar. This is useful for adding borders to
your layout, design elements (such as shading behind a legend), or calling out and separating text or
areas of the layout for review, sign-off, or special attention.
To add a shape to your layout:
1. Set the fill color for the shape. On the Options menu point to Region Style and select Foreground
Color.
2. On the Layout Designer window, click Draw Shape
.
3. Select a shape from the list.
Select to insert a frame containing an ellipse shape.
Ellipse
Select to insert a frame containing a rectangle shape.
Rectangle
Select to insert a frame containing a rounded rectangle shape.
Rounded Rectangle
Select to insert a frame containing a line shape.
Line
4. Click and drag to draw the shape onto the canvas.
5. After drawing the shape, drag it to a different location or resize it by dragging one of its corners.
327
MapInfo Professional User Guide
Chapter 12: Stylizing Your Map for Presentations and Publishing