Installation of exhaust air hood – Rockwell Automation 7000L PowerFlex Medium Voltage AC Drive (C-Frame) - ForGe Control User Manual
Page 56
56
Rockwell Automation Publication 7000L-UM301D-EN-P - June 2014
Chapter 2
Drive Installation
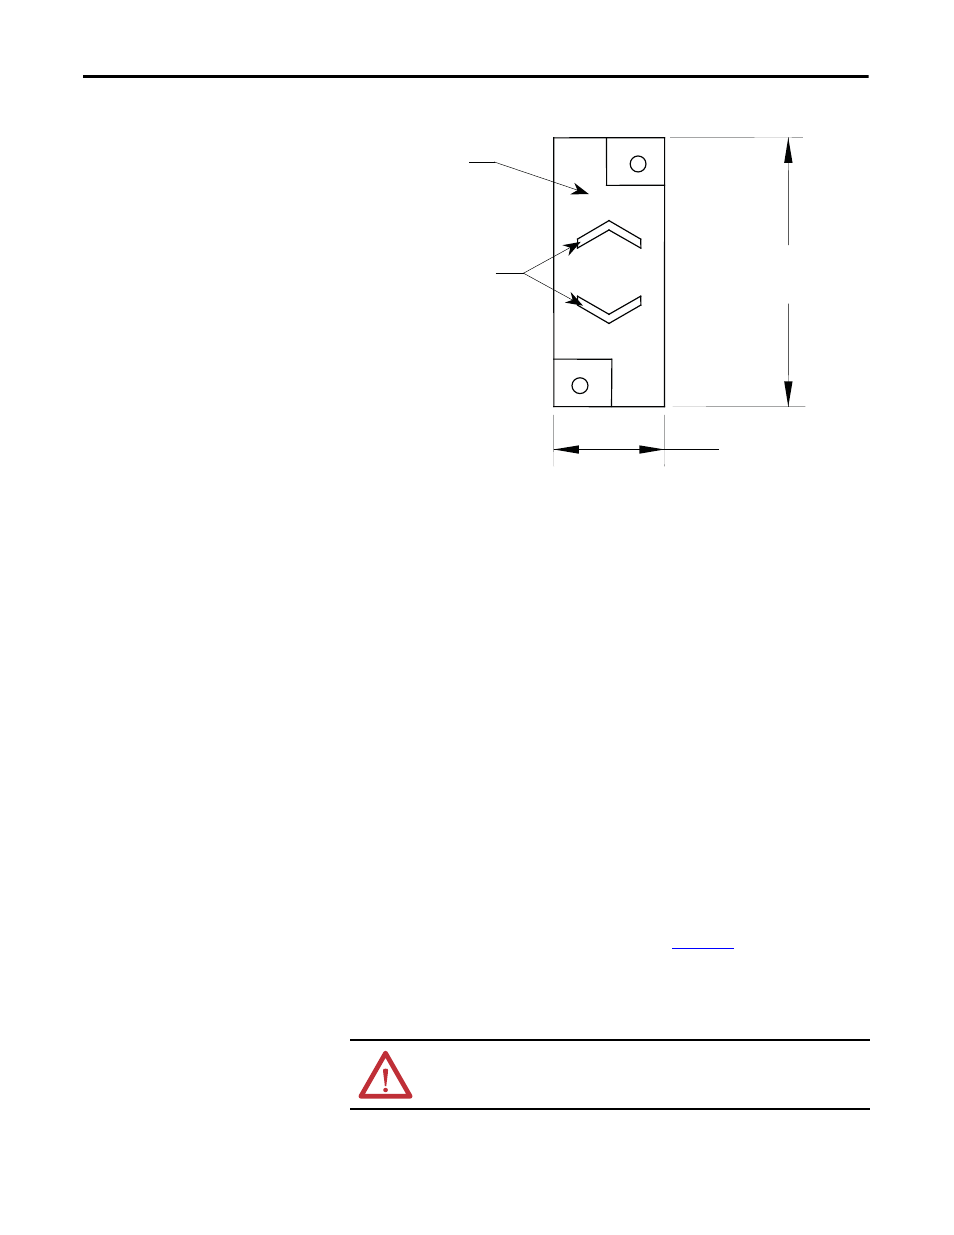
Figure 45 - Shock Indicator
Installation of Exhaust Air Hood
Even though this is a liquid-cooled drive, some sections still require air
circulation.
On the top of the cabinets with cooling fans, sheet metal exhaust hoods are to be
installed. The components to make up the exhaust hood have been packaged and
shipped with the drive and are to be found in the control/cabling cabinet.
The first step is to remove the protective plate covering the fan opening on the
drive. It is a flat cover plate bolted to the top plate. Remove the bolts and plate
and set aside for reuse.
Secondly, loosely assemble the two L-shaped panel components shipped with the
drive.
Locate the exhaust hood on top of the cabinet per
original cover plate previously set aside. (Care must be taken that the notches on
the bottom flange are oriented toward the sides of the drive). Affix assembly to
the drive top plate. Tighten all hardware.
TIP
For AFE Rectifiers with a line reactor cabinet, there may be a provision for small
fans in the roof of the cabinet. This cabinet will still have a full-size exhaust air
hood.
ATTENTION: Any screws that are accidentally dropped in the equipment must
be retrieved as damage or injury may occur.
Red Plastic Housing
Window Area appears Blue
if subjected to shock
51 mm
(2.0)
21 mm (0.8)