Assigning a trace, Setting the trigger, Assigning a trace setting the trigger – Rockwell Automation 7000L PowerFlex Medium Voltage AC Drive (C-Frame) - ForGe Control User Manual
Page 144
144
Rockwell Automation Publication 7000L-UM301D-EN-P - June 2014
Chapter 3
Operator Interface
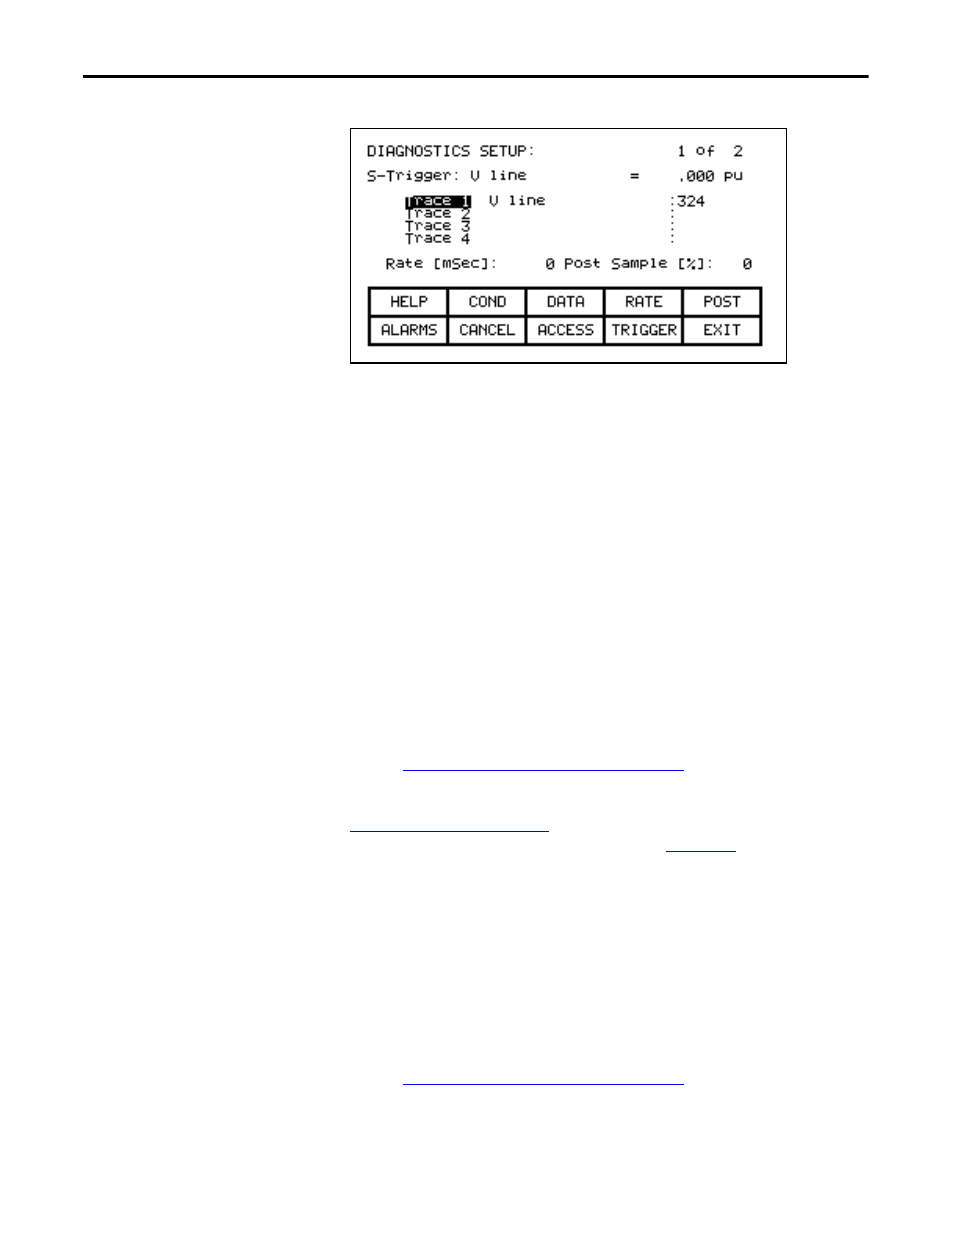
Figure 152 - Assign a Trace
From this screen, the tags to be monitored are assigned to a trace. The tag which
you assign to the first trace 'Trace 1' is used as the trigger parameter. By default,
when assigning a tag to Trace 1, the trigger value (i.e. data) will be set to the tag's
minimum value and the trigger condition will be 'equal to'. A tag must be assigned
to Trace 1 before the trigger value or condition can be set. From this screen you
may also set the interval between samples (i.e. Rate), and the location of the
trigger point within the view buffer. By default, the trigger will occur in the
middle of the buffer, however you may change this by indicating the percentage
of samples which will follow (i.e. Post) the trigger point.
Assigning a Trace
To assign a tag to a trace, use the [cursor up] and [cursor down] keys. Highlight
the desired trace and press the [enter] key. Since there are more traces then can be
seen on a single screen, use the up/down arrow keys to extend the list to the
additional traces on the screen. (If nothing happens then you have not gained the
required access to make changes. Press the [F8] key and refer to the section
entitled
Enter/Modify an Access Level on page 116
to gain access).
This will begin the selection process of a tag as described in the section entitled
Select a Parameter on page 110
. When you have completed the selection process,
the selected tag will be assigned to the trace, as in
. To remove a tag
from the highlighted trace, press the [delete] (Backspace) key.
Setting the Trigger
Once you have assigned a tag to Trace 1, you may proceed to set the trigger value.
Three items of information are required, the trigger type, the trigger condition
and the trigger value. These are selected for modification by pressing the [F9],
[F2] and [F3] keys respectively. (If nothing happens then you have not gained
the required access to make changes. Press the [F8] key and refer to the section
entitled
Enter/Modify an Access Level on page 116
to gain access).