Request printouts, Perform diagnostic trending, Request printouts perform diagnostic trending – Rockwell Automation 7000L PowerFlex Medium Voltage AC Drive (C-Frame) - ForGe Control User Manual
Page 142
142
Rockwell Automation Publication 7000L-UM301D-EN-P - June 2014
Chapter 3
Operator Interface
Request Printouts
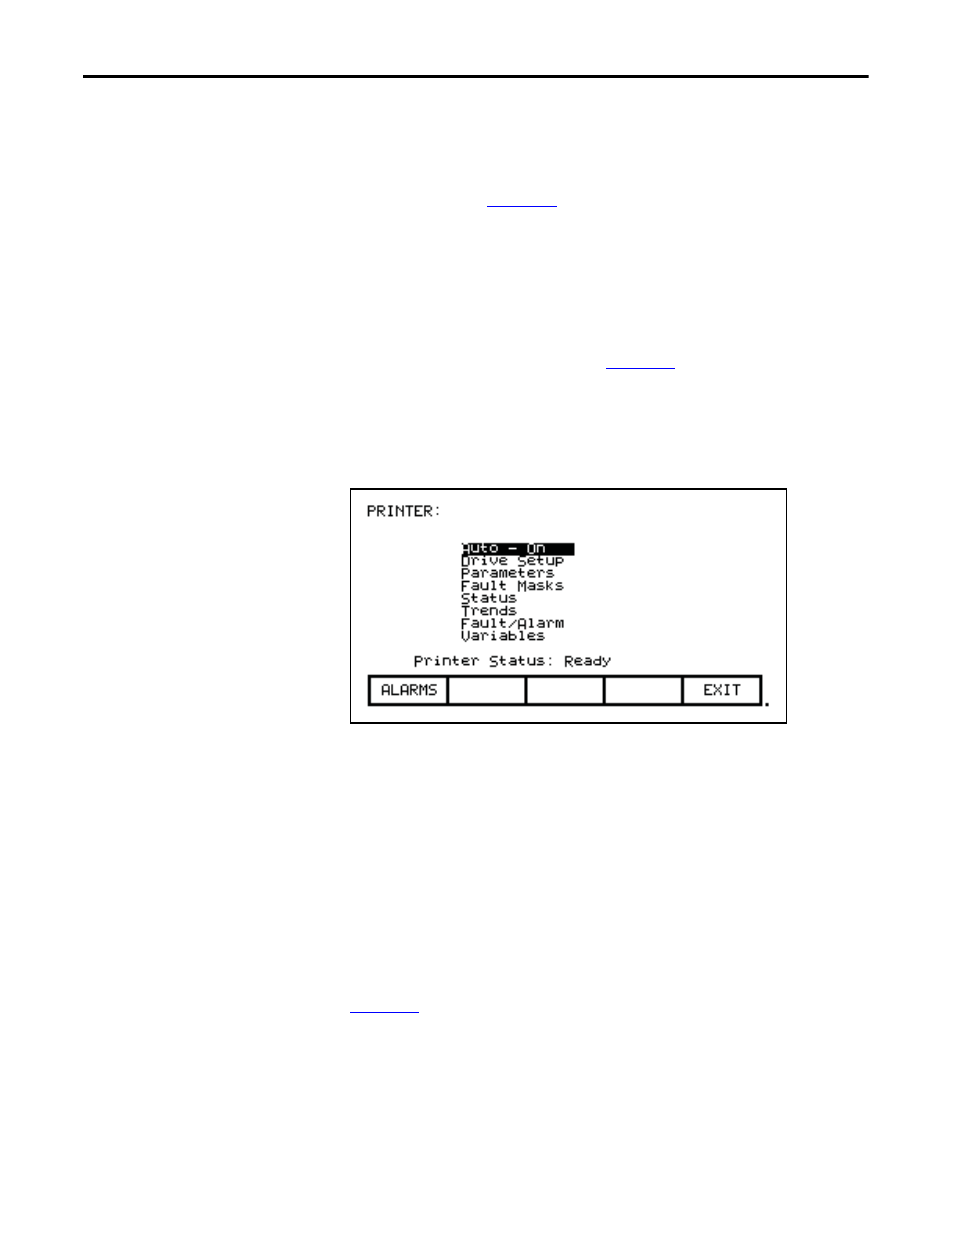
When the drive contains the optional printer, you can obtain hard copies of the
data that you are able to view on the terminal. The printouts are requested from
the PRINTER screen. Press [F3] while displaying the Top Level Menu.
The screen typical of
is displayed. It shows the current status of the
printer (A-B part #80025-290-01) and the type of reports that are available.
(Refer to the “Syntest SP401 Thermal Printer User Manual” for information
regarding the use of the printer hardware and a description of the various reports
available.) Using the [cursor up] and [cursor down] keys, select the desired report
and press the [enter] key. The report will be sent to the printer.
The printer can automatically print out the alarms as they occur. This feature is
selected as one of the report formats. In
, the "AUTO - ON" indicates
that this feature is currently enabled. To disable the feature, use the [cursor down]
key to select the text, and press the [enter] key. The text will change to "AUTO -
OFF" (if a printer is attached). The automatic alarm printout feature is now
disabled. Pressing the [enter] key again while selected will enable the feature.
Figure 149 - Typical Printer Screen
Perform Diagnostic Trending
The diagnostic trending operation of screens allows you to capture the
relationships of a number of parameters over a period of time. Within this
operation you will:
•
Define the Parameters to which the Trend Apply
•
Define the Trigger Condition to Begin the Trend
•
Define the Sampling Rate and position of the Trigger
•
View the results of the Trend
You will access the Diagnostic Trend operation from the Top Level Menu by
pressing the [F9] key. This results in the display of the screen shown in
.