CCTV Camera Pros Geovision 8.5 Multicam Digital Surveillance System User Manual
Page 157
Video
Analysis
139
3
2. Click
for the PTZ setup. Refer to Object Tracking earlier in this chapter.
3. Choose the camera view of the PTZ. In Figure 3-8, the images of the PTZ camera show in the
camera 2 view.
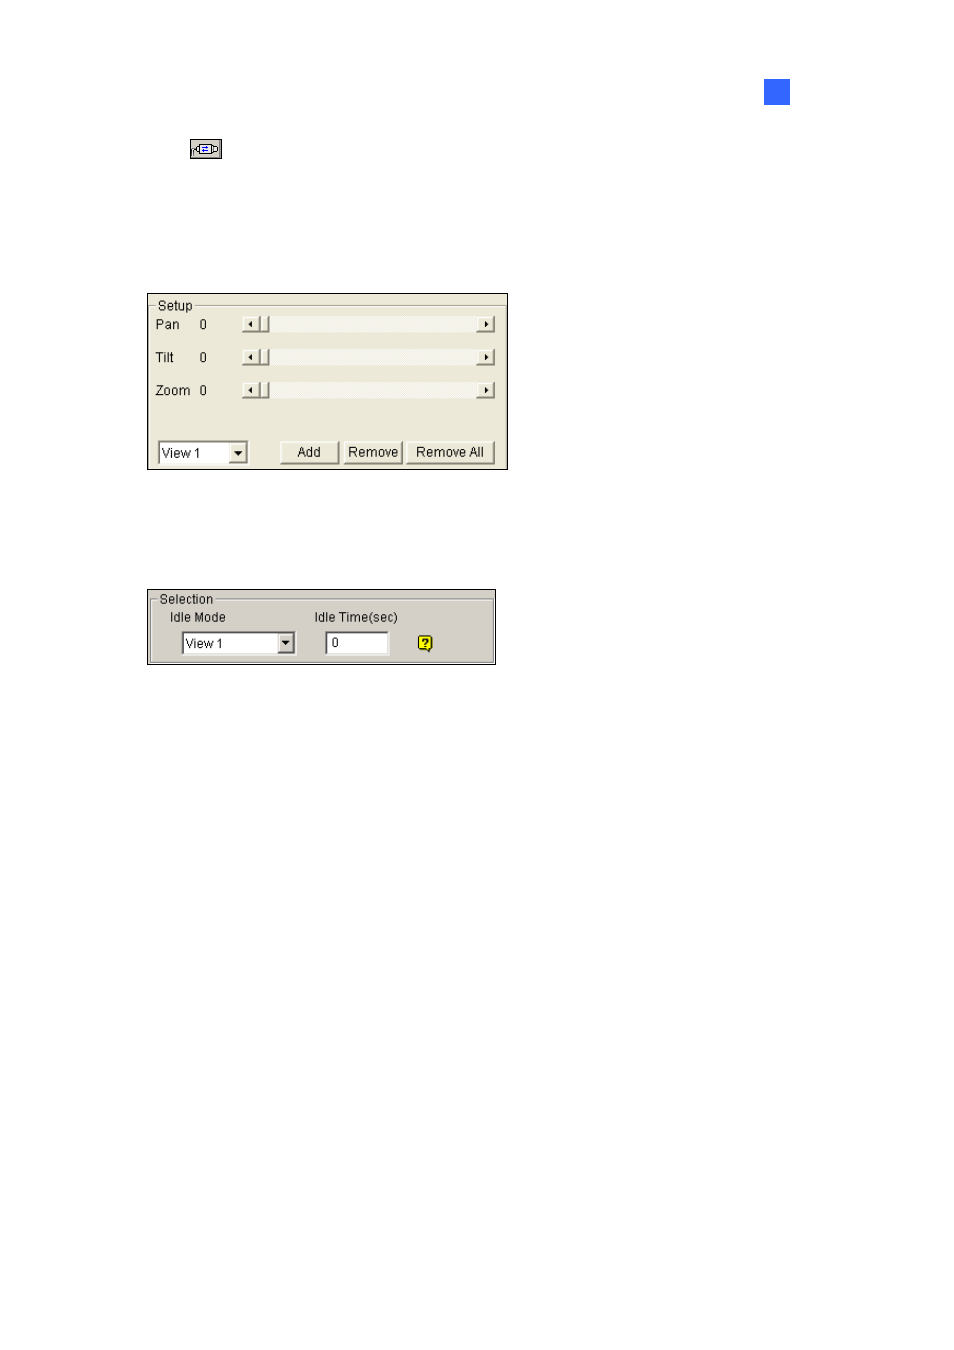
4. Use the sliders of Pan, Tilt and Zoom to set up the View 1 as shown below. Then click the Add
button to apply the settings. The View 1 will show in the upper-left corner of the right image.
Figure 3-9
5. Click the drop-down menu to set up View 2, 3, and 4, one at a time. Refer to Step 4.
6. Specify Idle Time (sec), indicating the zooming duration in seconds.
Figure 3-10
7. Click
the Idle Mode drop-down menu. The seven options included inside are: None, View 1, View
2, View 3, View 4, Tracking and Refresh View.
None: After zooming, the PTZ camera will remain on the same view until the next zooming
command.
Tracking: After the idle time, the PTZ camera will start tracking if it is also being applied for
the tracking function.
View 1, 2, 3, 4: After the idle time, the PTZ camera will go back to the preset View 1, 2, 3, or
4.
Refresh View: After the idle time, the 4 views will be refreshed.
8. Click
Schedule to set a schedule to enable the function. For details, see Video Analysis Schedule
later in this chapter.
9. Click
Test to check your settings. Use the mouse to outline a desired area in one of the four views.
The area will be magnified in the left view.
10. Click OK to apply the displayed selections and close the dialog box.