Promise Technology 2-Year Extended Warranty for VessR2000 RAID Head User Manual
Page 64
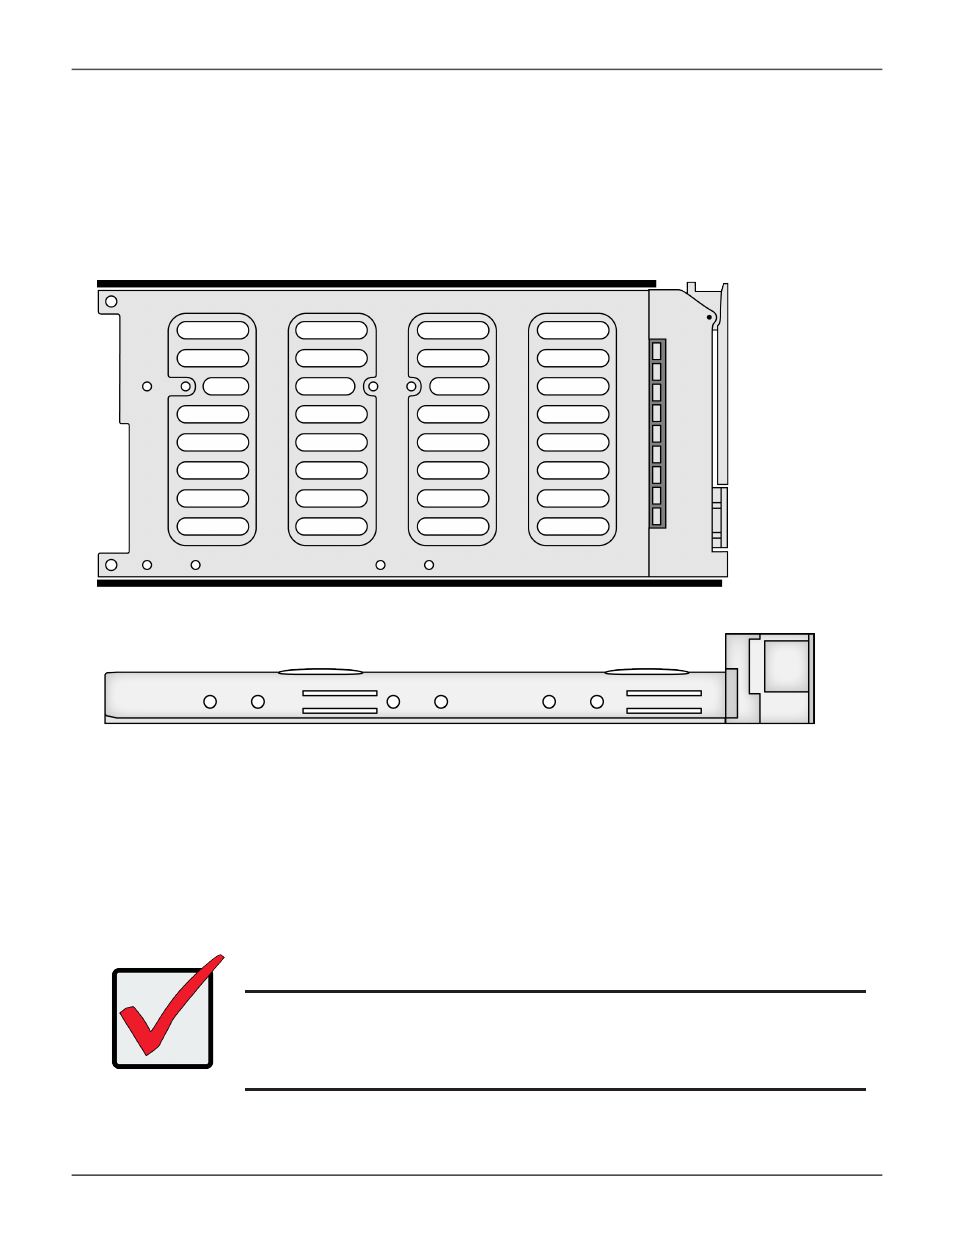
Drive carrier bottom view
Drive carrier side view
5. Position the drive in the carrier so the mounting holes line up.
• 2.5-inch drive mounting screws go through the bottom of the carrier.
• SAS-to-SATA adapter mounting screws go through the bottom of the carrier.
• 3.5-inch drive mounting screws go through the sides of the carrier.
6. Insert the screws through the proper holes in the carrier and into the drive or adapter.
• Use the screws supplied with the shipment or the SAS-to-SATA adapter.
• Install four screws per drive.
• Install two screws per adapter.
• Snug each screw. Be careful not to over tighten.
7.
With the drive carrier handle in open position, gently slide the drive carrier into the enclosure.
Important
Press the release button to push the drive carrier into position.
Proper drive installation ensures adequate grounding and minimizes
vibration. Always attach the drive to the carrier with four screws.
37
Product Manual