Installing your drives, Nstalling, Rives – Promise Technology 2-Year Extended Warranty for VessR2000 RAID Head User Manual
Page 63
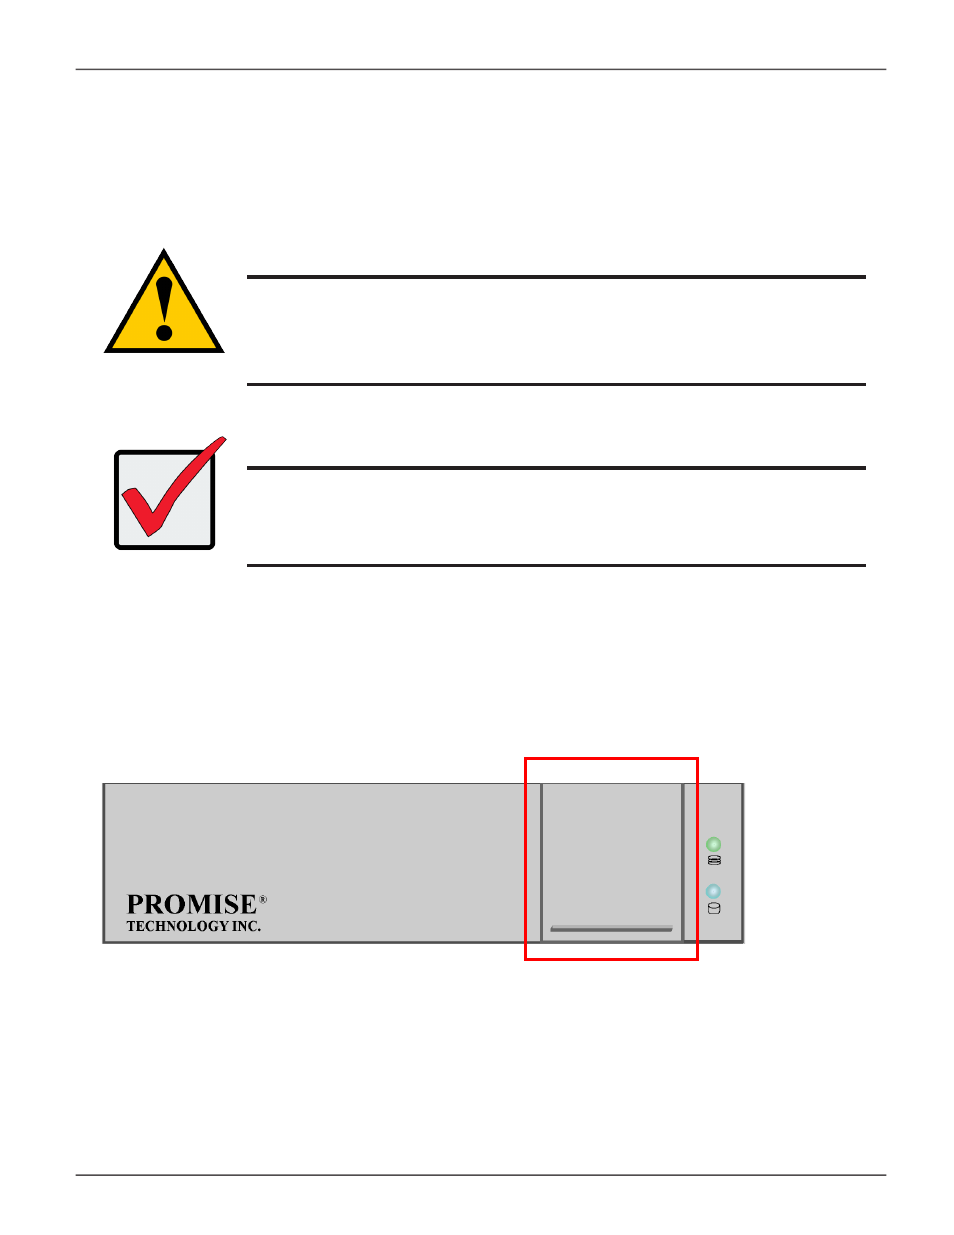
Disk carrier release button
Drive carrier front view
i
NstalliNg
y
our
d
riVes
The drive carrier accommodates 2.5-inch and 3.5-inch drives, with or without a SAS-to-SATA adapter.
Cautions
Swing open the drive carrier handle before you insert the drive
carrier into the enclosure.
To avoid hand contact with an electrical hazard, remove only one
drive carrier a time.
Important
SATA drives require a SAS-to-SATA adapter, available from PROMISE
Technology at SAS drives do not require adapters.
1. Press the drive carrier release button. The handle springs open.
2. Grasp the handle and gently pull the empty drive carrier out of the enclosure.
3. If you are installing SATA drives, attach a SAS-to-SATA adapter onto the power and data connectors of
each drive.
4. Carefully lay the drive into the carrier with the power and data connectors facing away from the carrier
handle.
36
Vess R2000 Series Product Manual
Promise Technologies