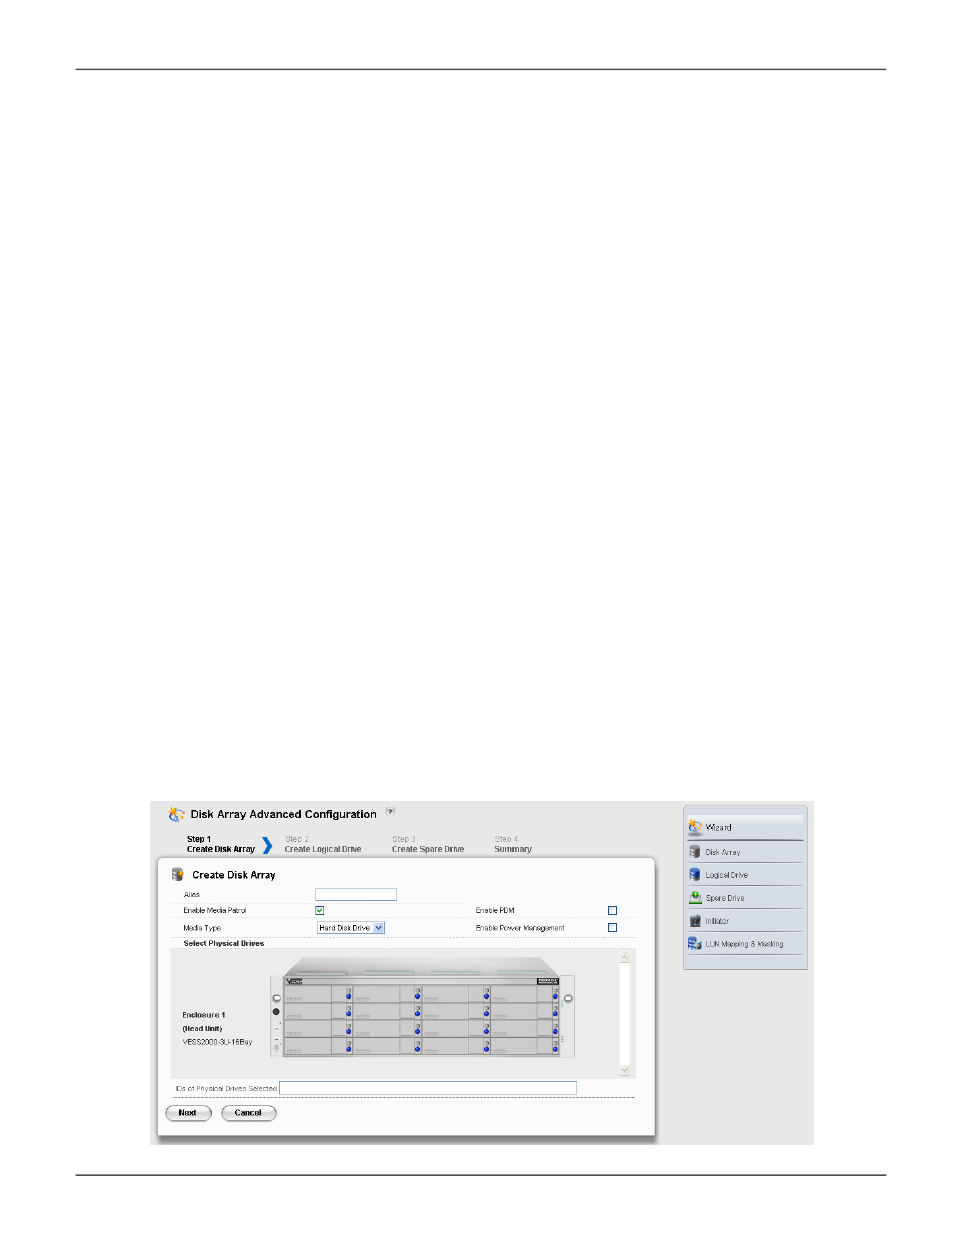
Advanced configuration, Step 1 – disk array creation, Dvanced – Promise Technology 2-Year Extended Warranty for VessR2000 RAID Head User Manual
Page 113: Onfiguration, 1 – d, Rray, Reation

a
dVaNCed
C
oNFiguratioN
When you choose the
Advanced
option, the
Create Disk Array
menu appears.
s
teP
1 – d
isk
A
rrAy
c
reAtiOn
1. Enter your information and choose your options.
• Enter a disk array alias in the field provided.
• Check the box to enable Media Patrol
• Check the box to enable Predictive Data Migration (PDM)
• Check the box to enable Power Management
• Choose a media type – Hard disk drive (HDD) or solid state drive (SSD)
2. Click the enclosure graphic to view information about physical drives.
Look for drives with a green LED dark, a blue LED lit, and no crosshatching over the carrier.
3. Click a physical drive to select it for your array.
The physical drive’s ID number is added to the Selected list.
4. Click the
Next
button to continue.
The
Create Logical Drive
screen appears.
Advanced configuration menu - select physical drives
86
Vess R2000 Series Product Manual
Promise Technologies
