Rescan disk pool, Import nas settings for transported disk pool, Escan – Promise Technology 2-Year Extended Warranty for VessR2000 RAID Head User Manual
Page 292: Mport, Nas s, Ettings, Ransported

265
Product Manual
r
escAn
d
isk
P
OOl
After the complete Disk Pool (i.e. all the physical drives of the transported Disk Pool) has been installed on
the other Vess R2000 enclosure, it will be detected automatically. In order to begin using it however, one more
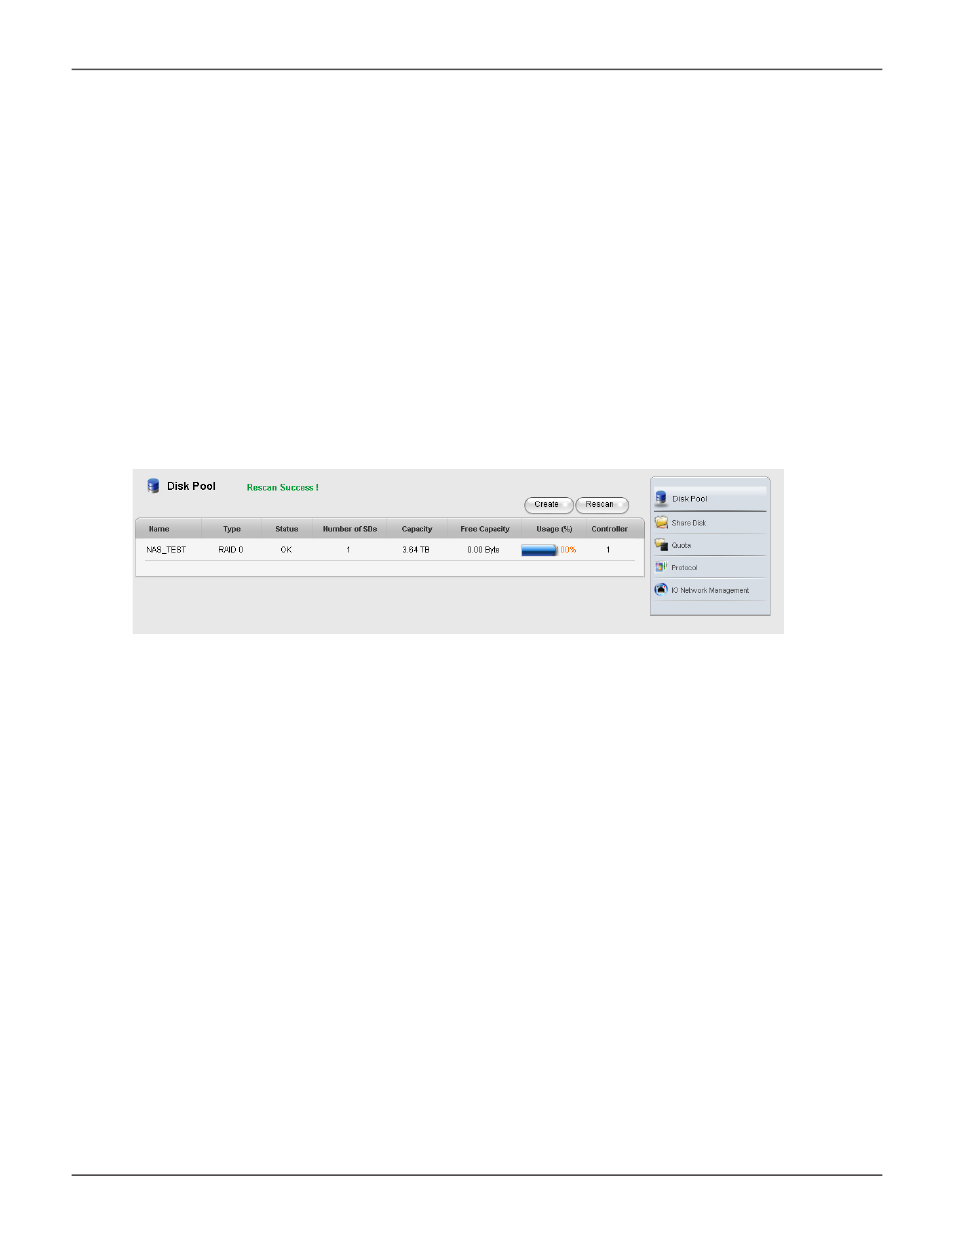
procedure remains, to Rescan the Disk Pool.
1. Go to the Disk Pool list , NAS configuration:
File System > Disk Pool
.
2. Notice there is now a button,
Rescan
, that appears above the list. Click on the
Rescan
button.
When the Disk Pool has been scanned, a
Success
message appears. It is now ready for use.
i
MPOrt
nAs s
ettings
fOr
t
rAnsPOrted
d
isk
P
OOl
Now that the Disk Pool has been physically installed and rescanned, you can apply the same settings for it from
the previous enclosure. To import NAS settings:
1. In NAS configuration:
Misc
and click the
Backup/Restore Settings
button.
2. Click on
the
Import
tab and click
Browse
to locate the imp settings file.
3. Click the
Submit
button and then the
Confirm
button. A message appears that the settings
have been changed. The Disk Pool should now be functionally the same as it had been in the
enclosure it occupied previously.
Rescan transported Desk Pool
