Caution – Promise Technology 2-Year Extended Warranty for VessR2000 RAID Head User Manual
Page 58
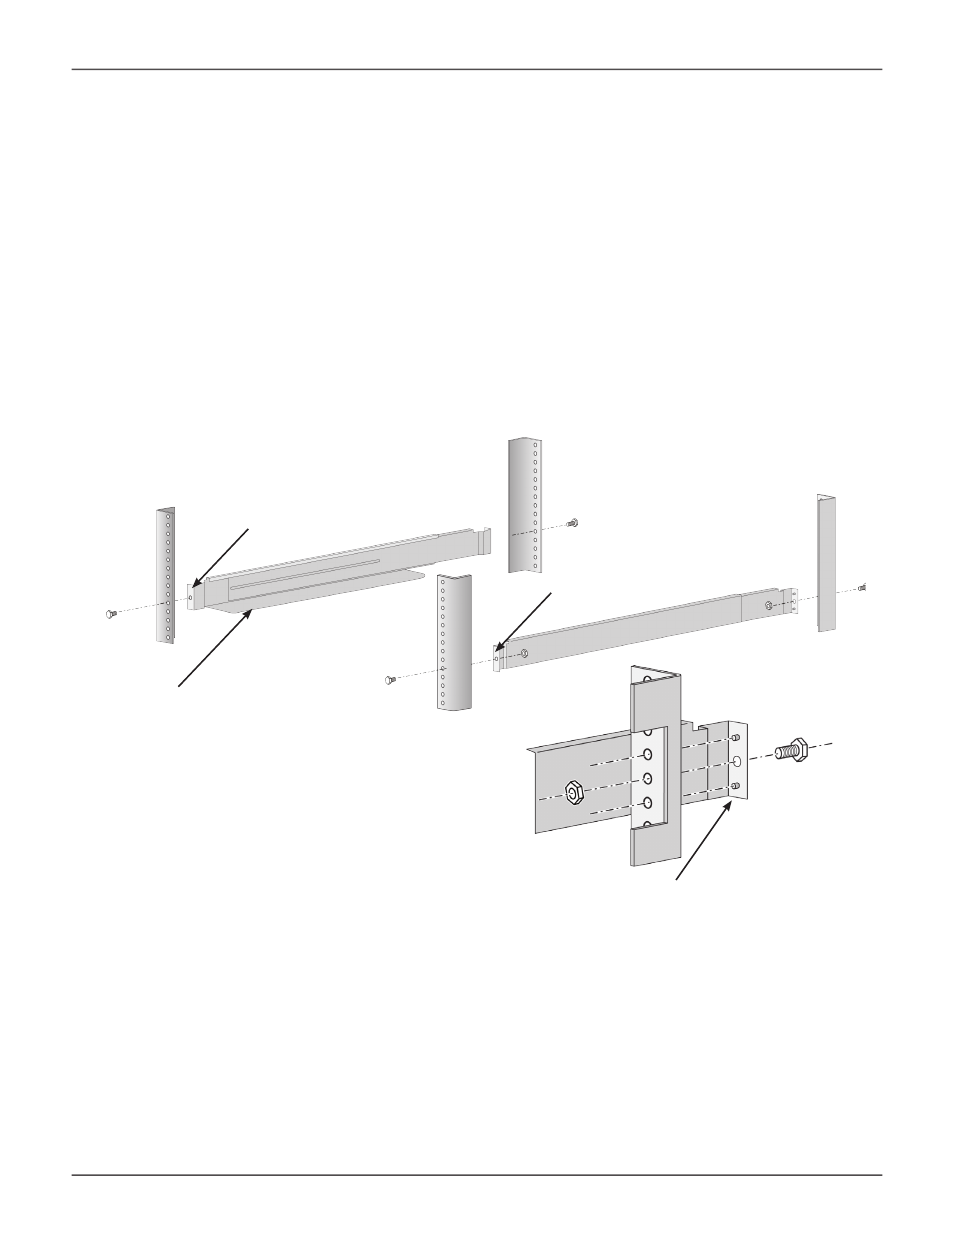
Support flange on the front
end of each rail
Front right label
Front left label
Guide pins on rails align with holes in the rack post
Caution
To lighten the enclosure, remove the power supplies, and remove all
hard drive carriers. Replace the power supplies and drive carriers
after the unit is mounted in your rack.
To install the Vess into a rack with the supplied mounting rails:
1.
Check the fit of the mounting rails in your rack system.
2. Adjust the length of the mounting rails as needed.
• The rear rail slides inside the front rail. The rails are composed of two sliding sections and do not require
adjusting screws.
• The front-left and front-right mounting rail ends are labeled.
• Be sure the front rail support is on the bottom facing inward.
Installing the rails onto the rack
• All rail ends, front and rear, attach at the outside of the rack posts.
• The guide pins at the rail ends align with the holes in the rack posts.
• Use the attaching screws and flange nuts from your rack system. Tighten the screws and nuts according
to instructions for your rack system.
31
Product Manual