Create a nas portal, Reate, Portal – Promise Technology 2-Year Extended Warranty for VessR2000 RAID Head User Manual
Page 296
269
Product Manual
C
reate
a
Nas
portal
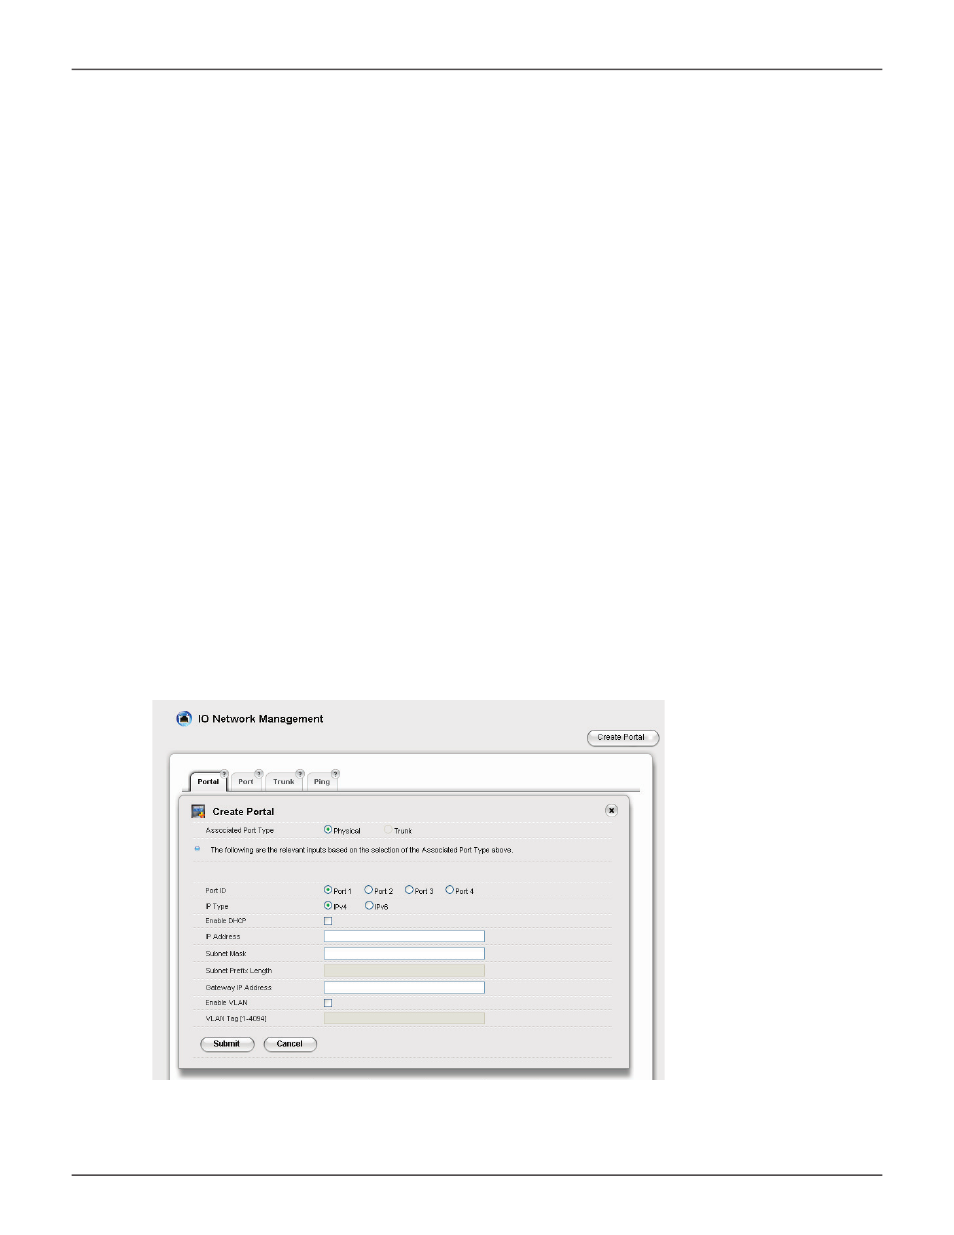
The final step to configuration of NAS is to create a NAS portal. In order to better understand the
configuration options for port and portal configuration, a few different examples of cabling schemes
and the configuration of I/O ports used with the cabling arrangement are presented with illustrations.
To create a portal for NAS:
1. In NAS Configuration, click on the
File System
menu tab, then the
I/O Network Management
menu
link. The top menu displayed lists any current Portal configurations including the IP address used for the
portal.
2. Click on the Create Portal button, a new menu appears.
3. Configure the NAS portal. The choices include options to create a port trunk or to use individual ports
without trunking, configuration of IP settings, and VLAN settings. Please refer to the examples that follow
for explanations of these portal settings.
Create Portal menu