Adjust a range of control points, Record live automation – Apple Logic Pro X User Manual
Page 538
Chapter 17
Automate mix and effects settings
538
Adjust a range of control points
You can adjust the automation data for an entire track in one go. If the track is part of a group,
and if the relevant settings are selected in the group inspector, the track automation data across
all tracks in the group will adjust accordingly. However, the relative parameter values of each
track are maintained.
You use the trim behavior in the track header to adjust control points for:
•
An entire track
•
A partial selection (marquee) across a track
•
Multiple selected tracks
•
Multiple selected subtracks
Adjust a range of control points
m
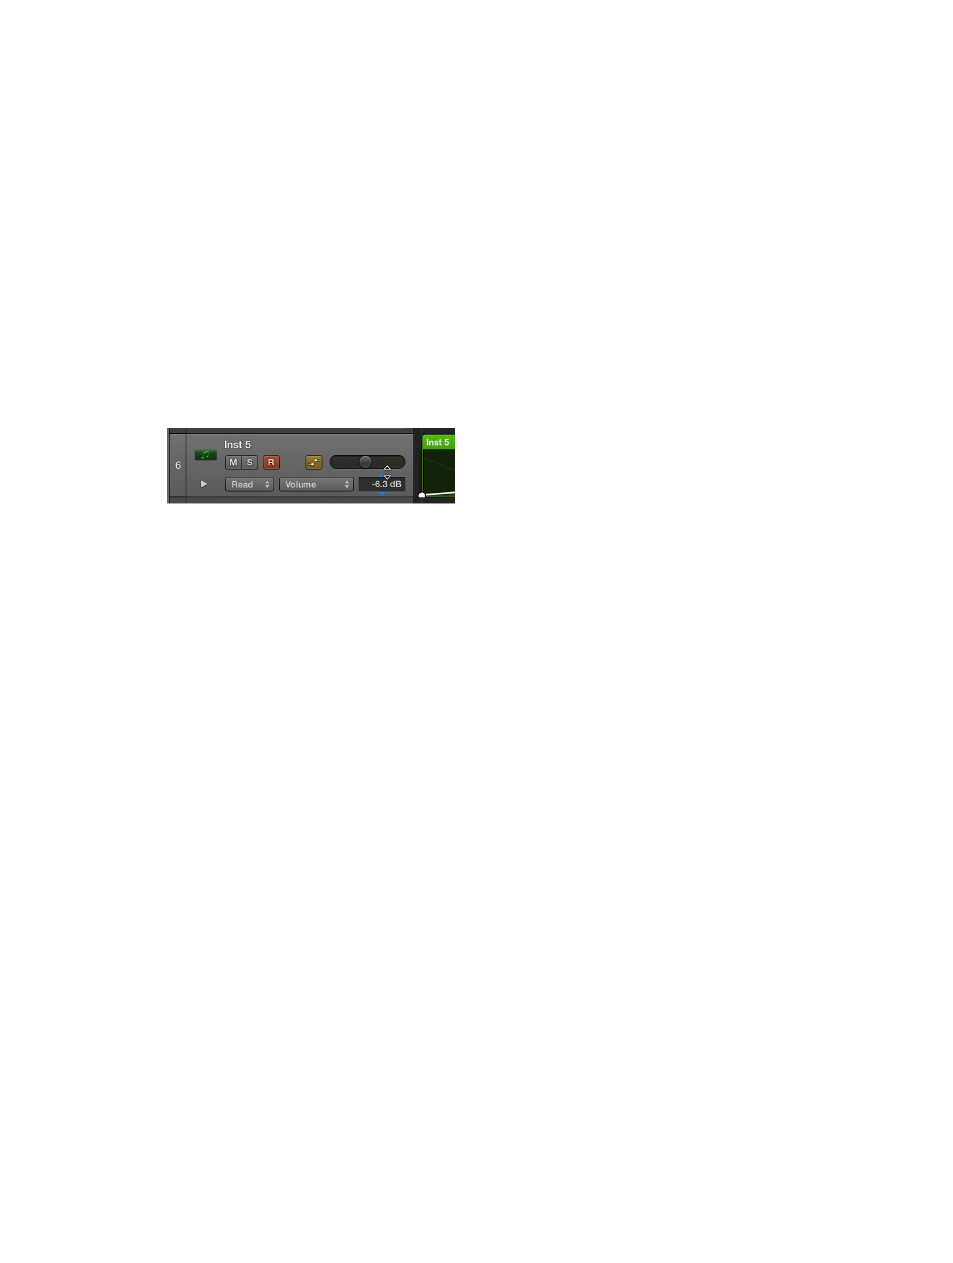
After making your selection, place the pointer over the numerical display in the track header (the
parameter value changes to Trim), then drag vertically to change the value (the offset or trim
amount).
Tip: If the Trim field is not visible, position the pointer over the line dividing the track headers
from the left edge of the tracks, then (when you see the Resize pointer) drag the line left or right
to resize the track headers.
When you release the mouse button, the numerical display reverts to showing the value of the
active automation parameter at the playhead position.
Record live automation
When either Touch, Latch, or Write mode is active, you can record automation in record or
playback mode. Whatever you touch or move is recorded, based on the chosen mode. When not
recording or playing, the modes are ignored, and no data is written if a control is moved.
You have the following Write options for track automation:
•
Move any fader or control on the selected channel strip with the automation mode set to
Touch, Latch, or Write. In real-world usage, you’ll rarely (if ever) use the destructive Write mode,
which erases all automation. The standard Write modes are Touch and Latch.
•
Choose a parameter from the Automation Parameter pop-up menu in the track header, then
adjust the numerical display in the track header, with one of the modes turned on.
•
Move the faders or knobs of a connected hardware controller, with one of the modes
turned on.
•
Use the Pointer or Pencil tool to draw your automation curve.
You can specify the mode that the application switches to after a Write operation has been
performed using the Automation Preferences pane.