Select parts of regions in the tracks area – Apple Logic Pro X User Manual
Page 290
Chapter 10
Create a song arrangement
290
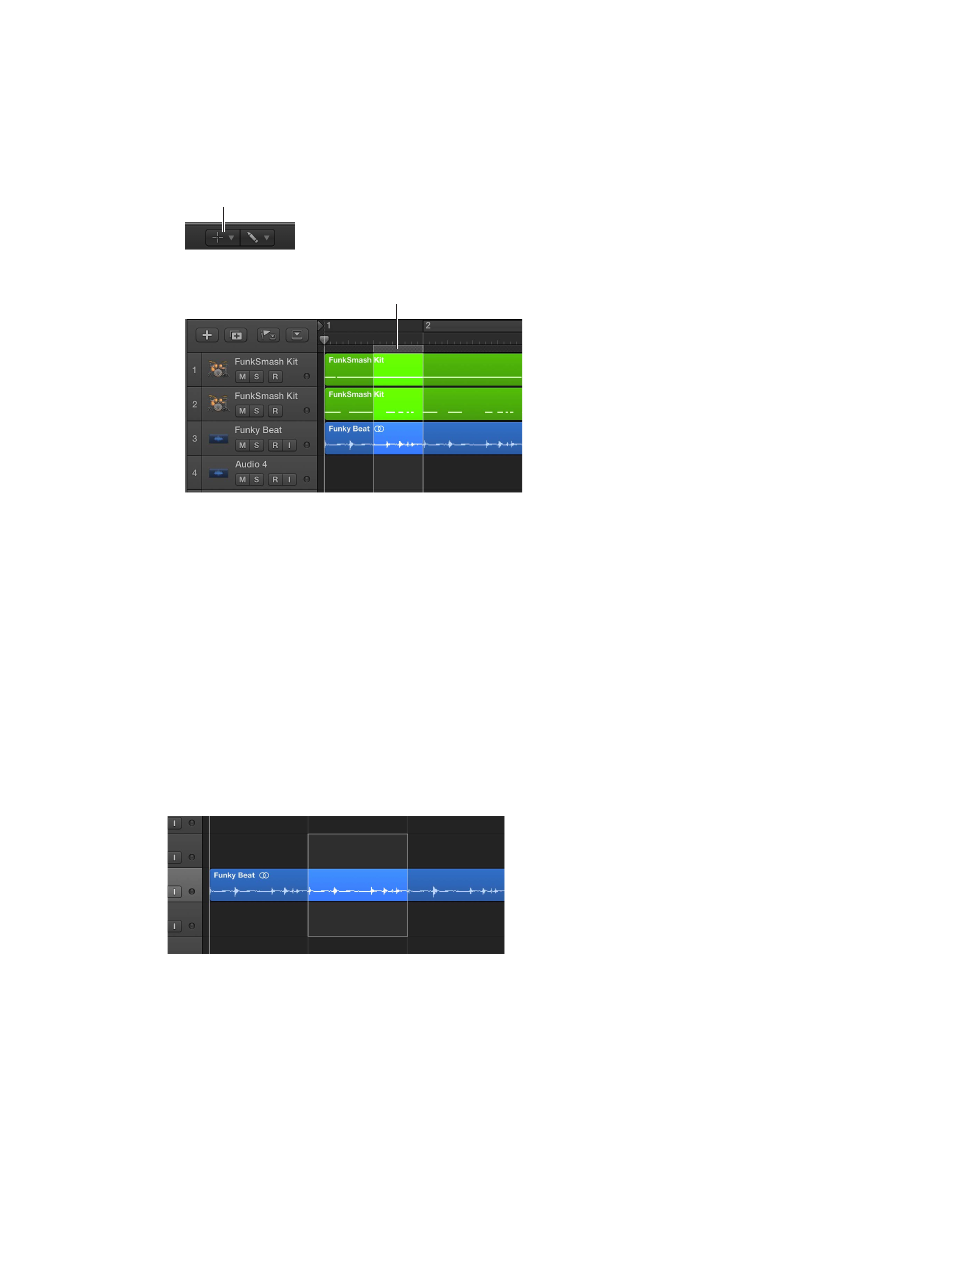
Select parts of regions in the Tracks area
You can select and edit parts of one or more regions, using the Marquee tool or the marquee
stripe:
•
Marquee tool: Use to select and edit region parts (parts of audio and MIDI regions) by dragging
across them; looks like a crosshair
Marquee tool
•
Marquee stripe: A thin stripe shown at the top of the ruler
Marquee stripe
Only the part of the region inside the marquee is selected, letting you select inside, or across
portions of, regions. You can perform most edits, such as moving, cutting, copying, and deleting,
in the selected area. After editing, the selected area becomes a new, separate region. The
marquee selection uses the current Tracks area Snap value.
If you play a project after making a marquee selection, playback starts at the left edge of the
selection, and ends at the right edge. If you create a marquee selection while the project is
playing, playback continues past the end of the selection.
If you start recording after making a marquee selection, Autopunch mode is activated, and the
marquee selection is replaced by the punch locators. All tracks within the marquee selection are
record-enabled, and all other tracks are record-disabled.
Select parts of regions using the Marquee tool
m
Select the Marquee tool, then drag in the Tracks area to select parts of one or more regions.
Select parts of regions using the marquee stripe
1
Choose View > Marquee Ruler from the Tracks area menu bar.
2
Drag in the thin marquee stripe area of the ruler to select parts of one or more regions (also
shown on selected tracks).
Add or remove individual tracks from the selection
m
Shift-click the track headers of the tracks you want to add or remove.