Apple Logic Pro X User Manual
Page 207
Chapter 8
Record your voice or a musical instrument
207
Record on the fly
1
Turn on Punch on the Fly mode by doing one of the following:
•
Choose Record > Allow Quick Punch-In.
•
Control-click the Record button
in the control bar, then choose Allow Quick Punch-In from
the shortcut menu.
2
Click the Play button in the control bar, then use the Record Toggle key command at the point
where you want to start recording.
Audio recording starts immediately.
3
Click the Stop button in the control bar, or use the Record Toggle key command a second time
to stop recording.
If you use the latter option, recording ends, but playback continues.
Note: You can also use the Record Toggle key command when not in Punch on the Fly mode.
However, this will cause a delay when you switch between playback and record modes,
accompanied by a dropout of all audio tracks.
Record in Autopunch mode
1
Click the Autopunch button
in the control bar.
Note: You can add the Autopunch button by customizing the control bar. For information, see
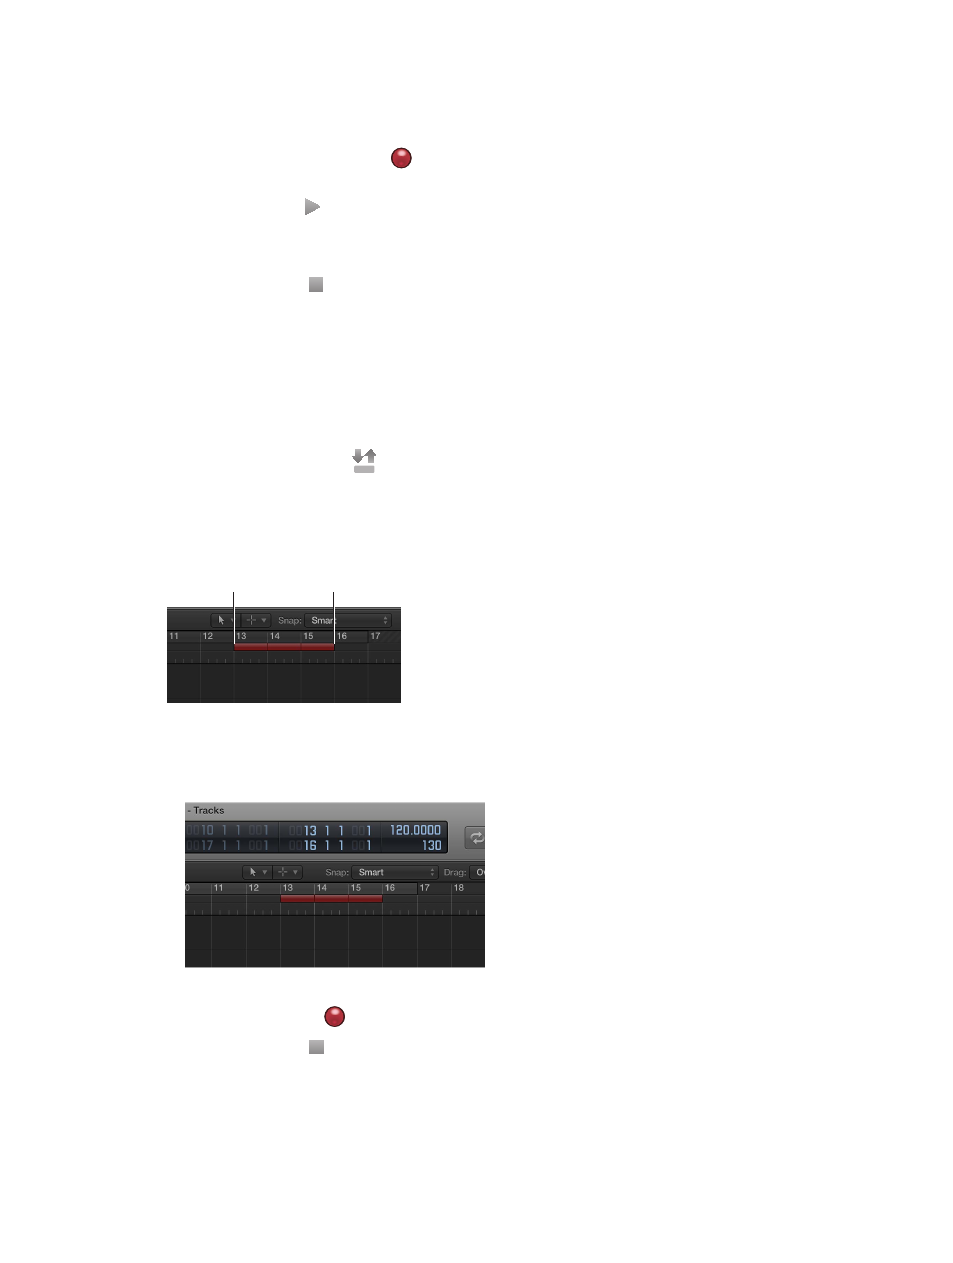
The autopunch area is indicated by a red stripe in the middle third of the ruler, with the left and
right autopunch locators serving as punch-in and punch-out points.
Punch in locator
Punch out locator
2
Set the autopunch area by doing one of the following:
•
Drag the Punch In and Punch Out locators in the ruler.
•
Drag vertically in the autopunch locator fields in the control bar.
3
Place the playhead at any position before the punch-in point.
4
Click the Record button
in the control bar (or press R) to start recording.
5
Click the Stop button in the control bar (or press the Space bar) to stop recording.
A region that matches the length of the autopunch area is created. Any audio input received
before the punch-in or after the punch-out point streams through Logic Pro as usual, but is
not recorded.