Table 3-1: start product application process – TeeJet Legacy 6000 CAN Guide User Manual
Page 73
Fieldware for the Legacy 6000
Software Version 2.11
Chapter 3 - Real-time Setup
3-3
Operation Overview
Step
Description
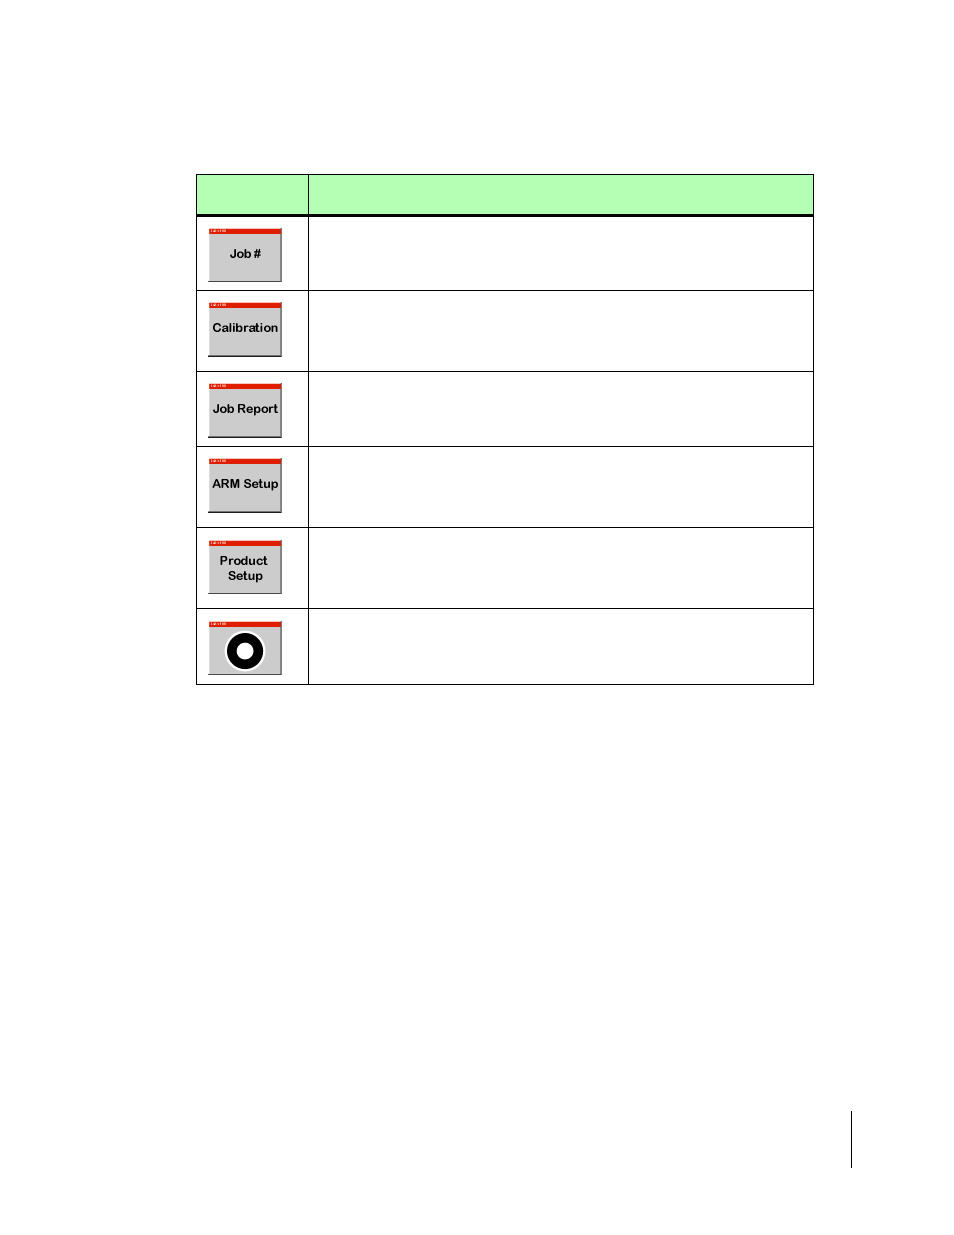
Job: When the ARM Bullseye button is pressed, the Job page appears. Select
or create the desired job. A PC Card must be inserted in the console to store a
job. Press the forward key to continue to the ARM Launcher page.
System Calibration: If the delivery system (PCMs) has not been calibrated it
will be necessary to do this prior to starting product application. Distance cali-
bration can also be accomplished here. If the system is calibrated, skip this
step.
Job Report: If an application report will be generated when the job is complete,
it will be necessary to run Job Report to enter Weather, Crop, Field and Soils
information.
ARM Setup: This is where all files to be generated for the current job are auto-
matically named. There are two ARM settings: Auto Hold and System Delay.
When these settings are selected, they may not need to change. If the auto-
named files are satisfactory, skip ARM setup.
Product Setup: Allows the assigning of a products name, density and starting
quantity to a PCM. If using a prescription map, the product name can be auto-
matically extracted from the prescription file. Five preset application rates (A-E)
can also be defined.
When the above steps are accomplished and the console is properly setup,
begin product application by pressing the ARM Bullseye. (See “Chapter 4 -
Real-time Operation” on page 4-1.).
Table 3-1: Start Product Application Process