Product control module (pcm) setup, Product control module (pcm) setup -20 – TeeJet Legacy 6000 CAN Guide User Manual
Page 49
Fieldware for the Legacy 6000
Software Version 2.11
Chapter 2 - Getting Started
2-19
Product Control Module (PCM) Setup
Product Control Module (PCM) Setup
The Product Control Module (PCM) setup is used to configure a PCM that is connected to the Mid-
Tech Legacy 6000 CAN Bus. A PCM can not be configured if it is not connected to the Mid-Tech
CAN Bus.
Setting up a PCM is typically required in the following scenarios: The initial Legacy 6000 hardware
installation, when an additional PCM is added to the system, or to modify an existing, already con-
figured, PCM. PCM setup consists of ten Main Setup Headers, (Favorites, Application, Drive Type,
Units, Primary Sensor, Secondary Sensor, Monitors 1, Monitors 2, Monitors 3, and Monitors 4)
Table 2-5, each Header has detailed setup parameters to fit the operators application.Information
entered in a PCM setup Main Setup Headers may effect subsequent PCM settings and pages.
Review the setup procedure before running PCM setup. If in doubt, contact your Mid-Tech cus-
tomer service representative.
To access PCM Setup, select System Setup from the main Launcher page. This brings up the Sys-
tem Setup page. From the System Setup page, select PCM Setup. This brings up the PCM Setup
page. The PCM Setup page will have a button for each PCM the software detects on the CAN bus.
If there is only one PCM connected this page will not appear and will advance directly to the First
Main Setup Header (Favorite). Each button will display the PCM number, Serial Number and PCM
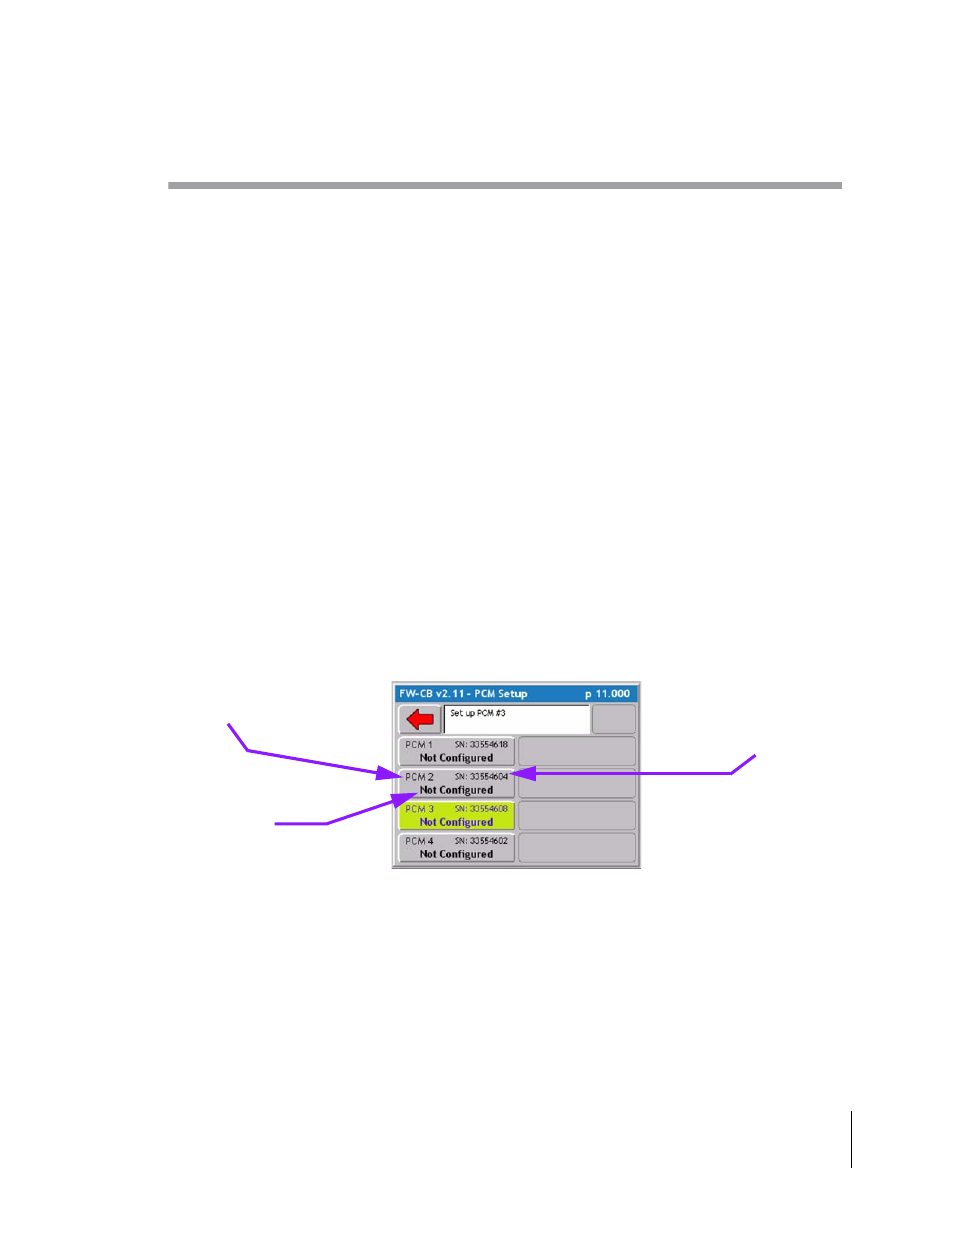
Name(Figure 2-26). Select the desired PCM to be setup and press enter.
Figure 2-26: The PCM Setup Launcher Page
PCM Serial Number
PCM Number
PCM Name