9 windows mobile device - checking out inventory – Wasp Barcode Inventory Control User Manual
Page 463
InventoryControl Printable Help
ventory
th
e on-hand, but does not
remove the inventory from your database (since it is assumed the inventory will be checked back in). The
k-out inventory that has been added. This means that when you create an item, you
uantity) to it before you can check out that item to a customer. Remember that
n item either on the Add
To Check Out Inventory:
1. From
the
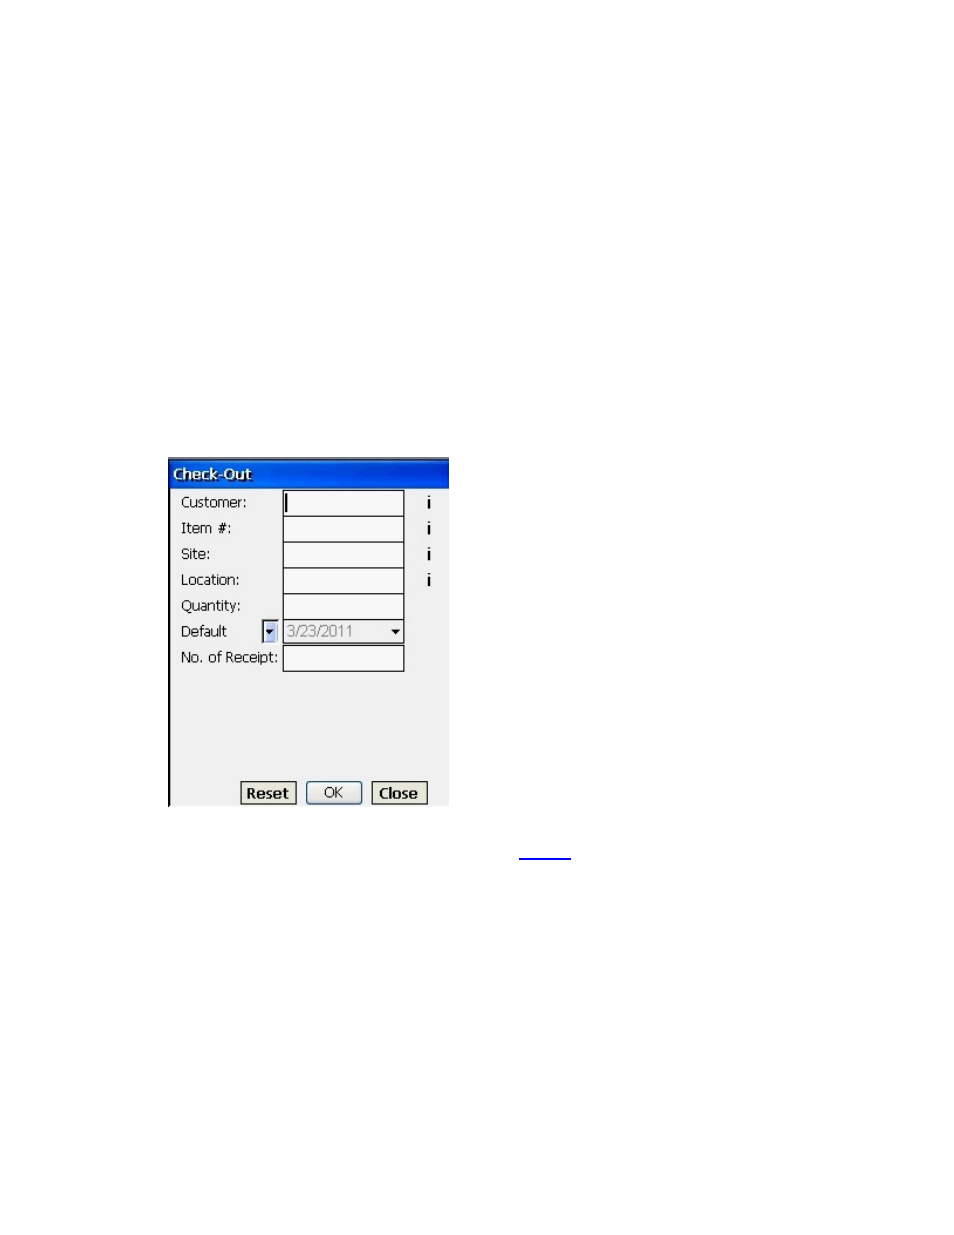
Main menu, click the Check Out icon. The Check Out screen appears:
20.11.9 Windows Mobile Device - Checking Out In
The Check-Out screen allows you to check-out, or assign, inventory to customers for a specified leng
of time. Checking out inventory decreases the quantity of that item that you hav
check-out function is useful if you lease equipment to customers or have a need to temporarily loan-out
inventory.
You can only chec
must add inventory (q
inventory is the amount or quantity of an item. You can add inventory to a
Inventory screen or by Receiving inventory.
Note: You can enter characters manually, scan in data (see Entering Alphanumeric Data on
the Window Mobile Device for details) or use the
Search
function.
2. Enter
search for a customer.
3. Enter
the
Item # you want to check out.
4. Enter
the
Site and Location of the item you want to check out. Click the i icon to search for a
site or location.
5. Enter
the
Quantity you want to check out. You cannot check out more than you have available
stock.
6. Select the due date for this item from the drop down menu. You can choose the Default date
(today's date), No Due Date or Custo
the
Customer to whom this piece of inventory will be checked out. Click the i icon to
Click the i icon to search for a item.
in
m (select your own due date). Below is an example of the
448