Luminex 100 IS Version 2.2 User Manual
Page 89
x
MAP Technology
Using Luminex 100 IS 2.2 Software
PN 89-00002-00-069 Rev. A
6 - 35
2. Enter the CAL1 lot number in the Lot Number field.
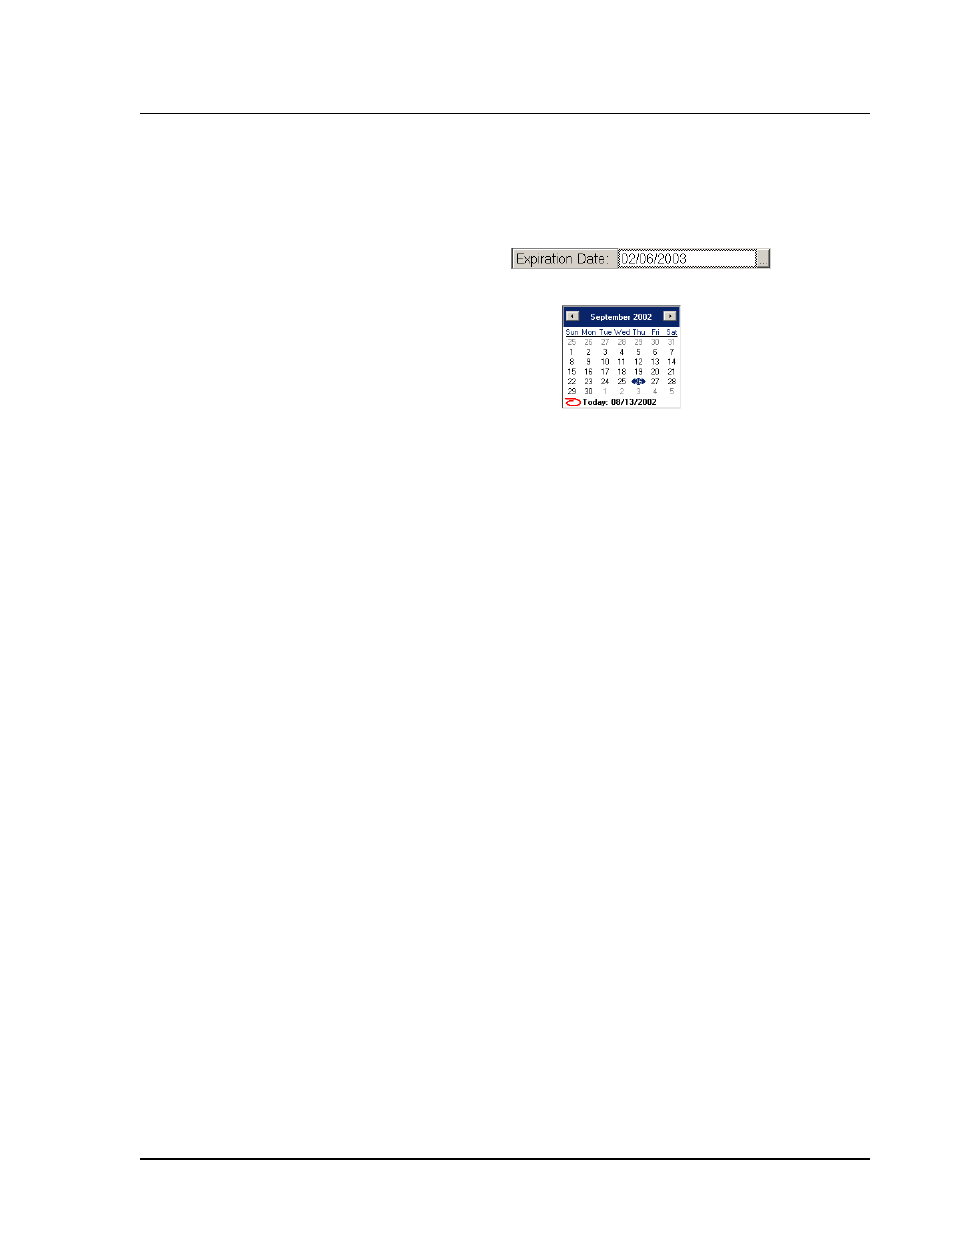
3. Enter the expiration date. Click the Expiration Date field. A
Select Calendar button appears on the right side of the field.
Click the button to display the calendar.
Use the arrows at the top left and right side of the calendar to
select past or future months. Alternately, select the month in
header. To select the year, click the displayed year in the header.
Use the up and down arrows that appear to select a past or future
year. Once you select the correct month and year, click the
desired expiration day on the calendar. The calendar closes and
the new month and year appear in the Expiration Date field.
4. Enter the values listed from the Certificates of Quality (COQ)
included with your CAL1 calibrators. You can also find the
target value information on the Luminex website at
http://
luminexcorp.custhelp.com
.
5. Enter the CAL2 lot number.
6. Enter the expiration date.
7. Enter the values, listed in the Certificate of Quality that is
included with your CAL2 calibrators, into the CAL2 entry fields.
8. Click OK.
Enter System
Control Targets
Luminex xMAP control microspheres verify the calibration and
optical integrity for the system.
To update system control targets, you can add new lots, select
existing lots for reuse and import or export lots information using the
Import CON and Export CON buttons.
To enter new and updated control targets:
1. Click New CON Targ on the Maintenance tab. An Update CON
Targets dialog box appears. See Figure 41.
Note:
Ensure that you enter
the correct target values for
each parameter before clicking
OK. You can re-enter any
incorrect information.