Getting started – Luminex 100 IS Version 2.2 User Manual
Page 56
Luminex 100 IS User Manual Version 2.2
x
MAP Technology
6 - 2
PN 89-00002-00-069 Rev. A
Getting Started
When using a new system for the first time, the system has no pre-
existing data in its database. After the initial splash screen
disappears, the system prompts you to enter xMAP calibration and
control target values.
You must enter these values before the system may proceed to the
main menu. Enter the calibration and control target values found on
the Certificate of Quality (COQ) included in the shipment of
products. You can also find the target value information on the
Luminex website at
http://luminexcorp.custhelp.com
.
The system stores the information you enter into the database and
proceeds to the main software screen.
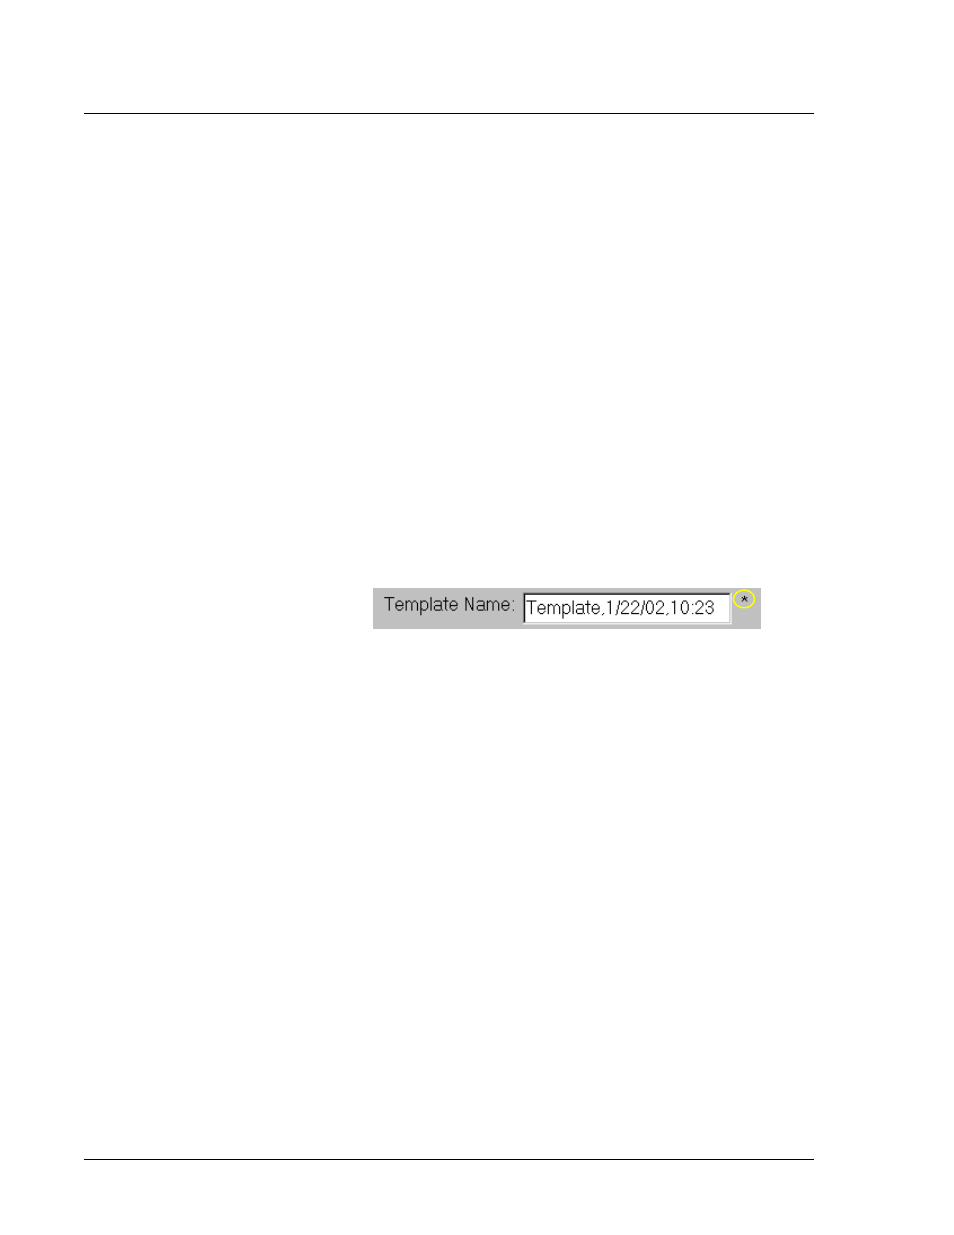
When entering information into the system, you may see an asterisk
character at the top-right corner of the entry field. Figure 17
identifies the asterisk with a circle. The asterisk indicates that this
information is required. If a field does not have an asterisk by it, then
that information is optional and not required.
Figure 17. Example of An Entry Field With An Asterisk
Enter Initial
xMAP Calibration
and Control
Targets
If you have not previously entered these values into the system a
dialog box appears prompting you to enter xMAP calibration and
control target values. See “Calibrate the System” on page 5-2 for
additional information.
To enter xMAP calibration and control targets:
1. When prompted to enter Calibration Target Values, click OK. At
the Update Cal Targets dialog box, enter the lot number,
expiration date, and target values for CAL1 and CAL2. This area
includes an optional area where you enter comments regarding
the calibration and control lots. Click OK to close the Update
Cal Targets dialog box.
2. When prompted to enter Control Target Values, click OK. At the
Update Con Targets dialog box, enter the lot number, expiration
date, and target values for CON1 and CON2. Click OK. The
Update CON Targets dialog box closes. The main screen of the
IS software appears.