Luminex 100 IS Version 2.2 User Manual
Page 216
Luminex 100 IS User Manual Version 2.2
x
MAP Technology
A - 10
PN 89-00002-00-069 Rev. A
Enter Target
Values
When using a new system for the first time, the system has no pre-
existing data in its database, so the system prompts you to enter
xMAP calibration and control targets. You must enter these values
before the system may proceed to the main menu.
Enter the calibration and control target values found on the
Certificate of Quality (COQ) included in the shipment of products.
You can also find the target value information on the Luminex
website at
http://luminexcorp.custhelpcom
. Then, at the web page
select item number 2 under the “Subject” column See “Enter Initial
xMAP Calibration and Control Targets” on page 6-2 for more
information.
The system stores the information you enter into the database and
proceeds to the main software screen.
Adjust the Sample
Probe Vertical
Height
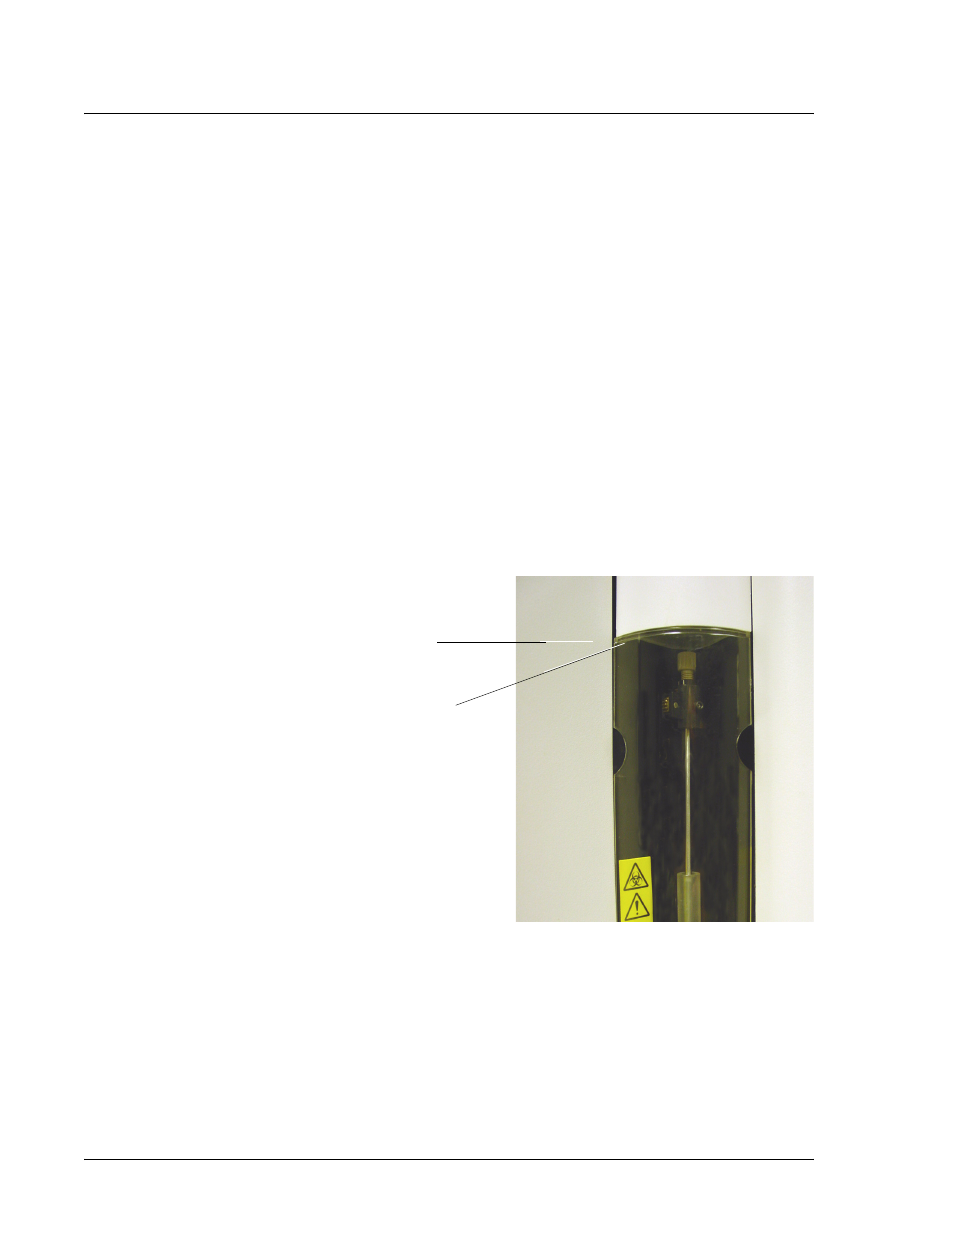
You must adjust the Sample Probe vertical height each time you
change the type or style of microtiter plate. See Figure 141.
Figure 141. The Thumb Wheel and Height Adjustment Locking Screw
To adjust the Sample Probe vertical height:
1. Turn on the Luminex XYP instrument, the Luminex 100
analyzer, and PC. Wait for the Luminex 100 IS software to start.
1. Thumb Wheel
2. Height Adjustment Locking Screw
2
1