Luminex 100 IS Version 2.2 User Manual
Page 112
Luminex 100 IS User Manual Version 2.2
x
MAP Technology
6 - 58
PN 89-00002-00-069 Rev. A
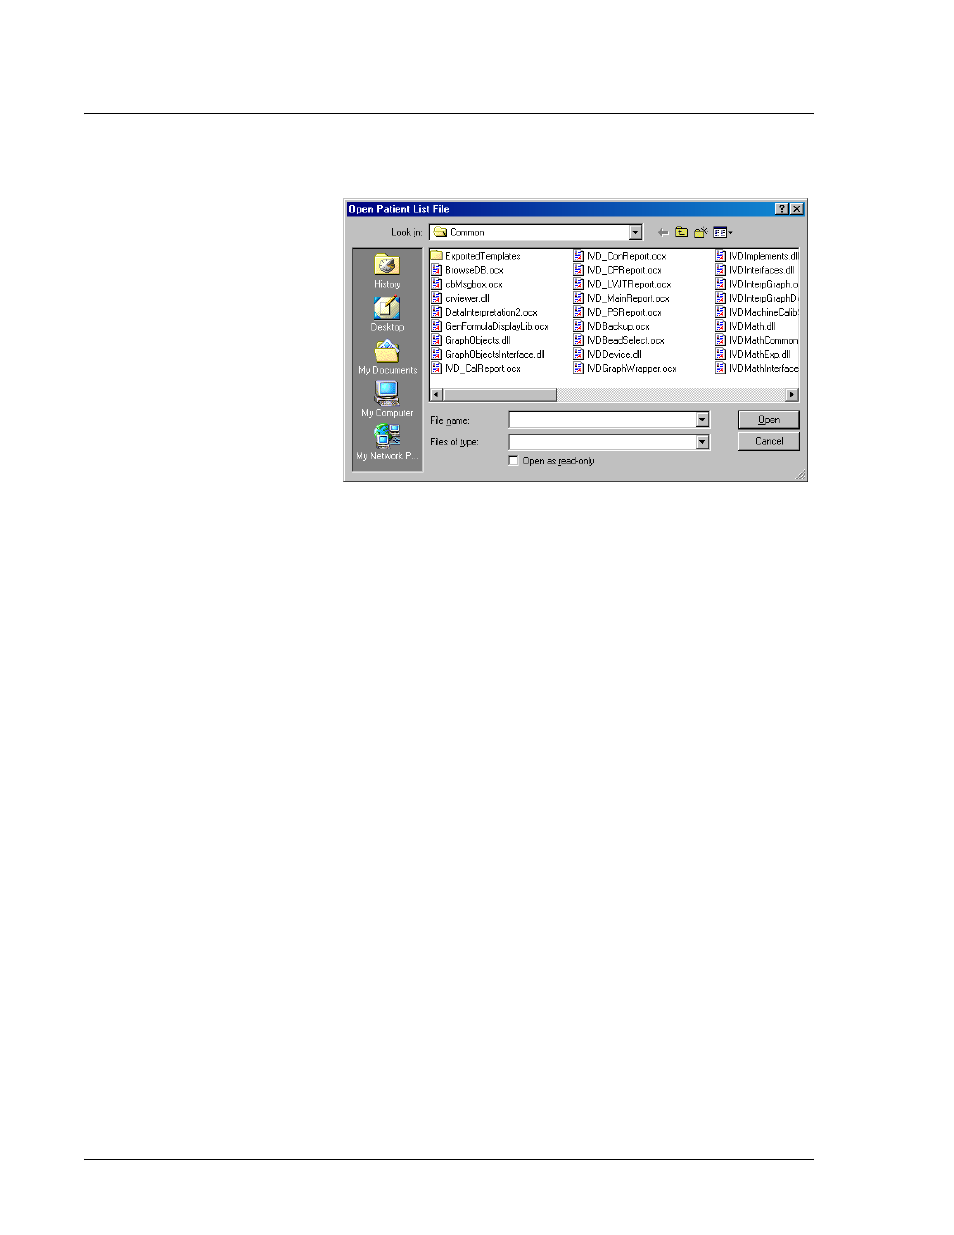
Figure 56. Open Patient List File Dialog Box
9. Select a patient file to append to the batch and click Open. The
system appends the patients to the batch.
If all patient IDs in the batch are identified, the system appends
the patient list items to the first empty location following the
batch’s last command list activity.
See “Add a Patient List” on page 6-66 for information regarding
the patient file format.
10. Ensure that the dilution factor settings are correct for the samples
in the batch. If any are incorrect, enter the appropriate dilution
factor. See “Assign Sample Dilution Factors” on page 6-71 for
more information.
11. Click Save and Load (default) or Save Only.
12. Click Finish. If you selected Save and Load, the Run Batch tab
appears displaying the batch, including the samples you added. If
you selected Save only, the system becomes idle as it waits for
you to initiate a command.
13. If you selected Save and Load, then load the microtiter plate
using the Eject/Retract button. Once the plate loads to the
system, click Start Plate to initiate batch acquisition.
Insert Command
(Batch Setup)
Above the command list in the Luminex Batch Setup dialog box is
the Insert command section. See Figure 57. It allows you to add a
user defined number of patients to the command list or skip a user
Note:
If any of the acquire
sample commands within the
template of the batch has an
unassigned Sample ID, the
system applies the first patient
ID in the list to the unassigned
sample acquisition command.
The system appends any
remaining patient IDs to the
end of the command list in the
order as they appear in the
patient list.