Start-up & commissioning, Controller addressing – WattMaster WM-WCC3-TGD-01B User Manual
Page 782

VAV/Zone Controller Technical Guide
Operator Interface
14
In order to have a trouble free start-up it is important to follow a few
simple procedures. Before applying power for the fi rst time it is very
important to correctly address the controller and run through a few
simple checks.
Controller Addressing
All VAV/Zone Controllers are equipped with address switches. When
the VAV/Zone Controller is to be connected to other controllers on a
Start-Up & Commissioning
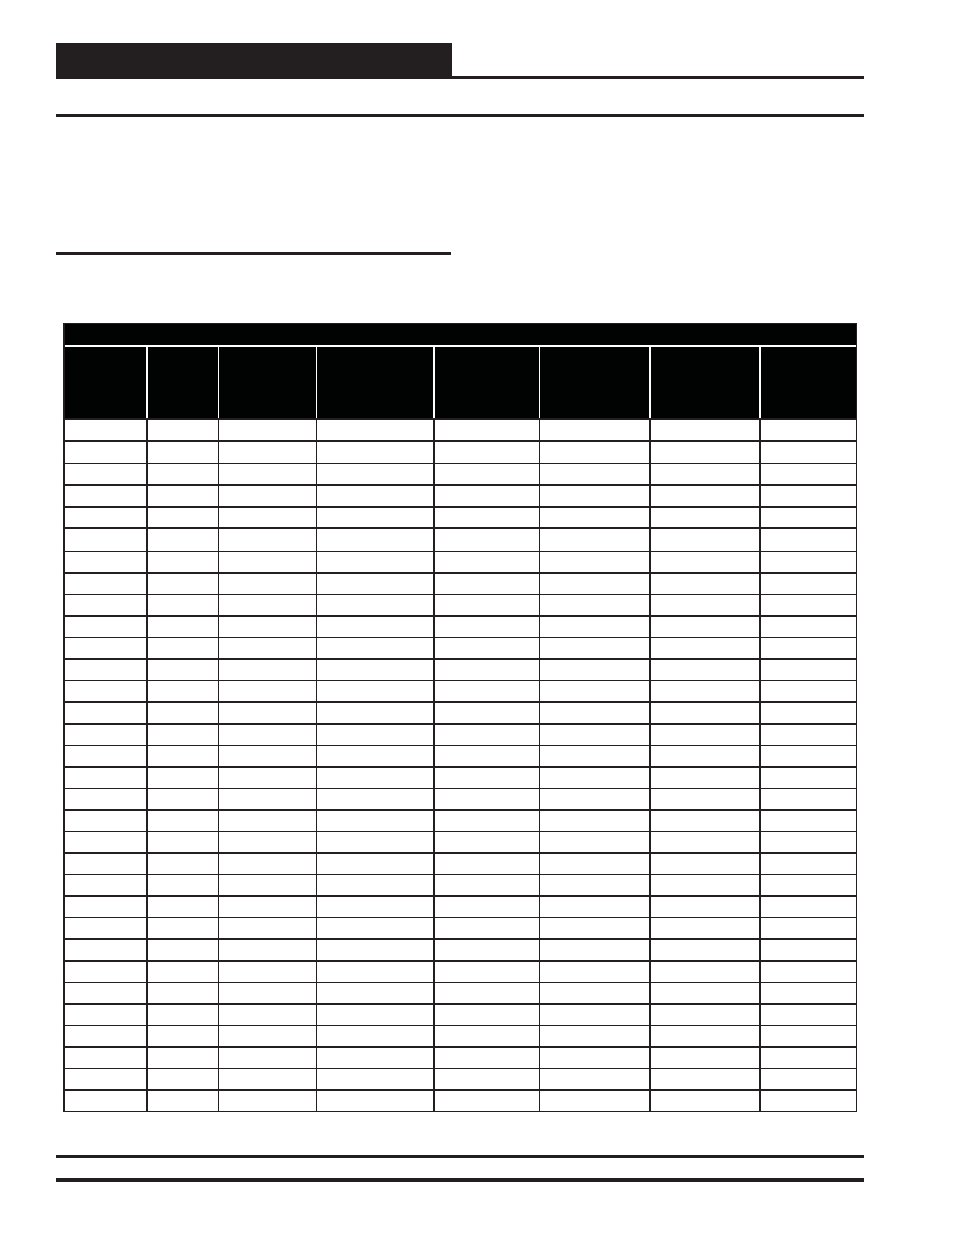
Table 2: SAT 3D Addressing to TUC Control Points
communication loop, each VAV/Zone Controller’s address switch must
be set with a unique address between 1 and 32. See Figure 10 for a
diagram depicting address switch settings.
For detailed information regarding communication wiring and connec-
tion for systems, please see Section 10 - RS-485 Communication and
Troubleshooting.
SAT 3D Addressing to TUC Control Points
SAT 3D
Address
TUC2R
Address
SAT 3D
Analog IN
Data Register
“RXA” Cooling/
Heating
Demand
Data Register
“RXB”
Airfl ow (CFM)
Zone Damper
Position
Analog Output
Address
Push-Button
Override
Binary Input
Address
General
TUC Alarm
Binary Input
Address
1st SAT #
TUC #1
Analog IN #1
R1A
R1B
P1
L1
L9
1st SAT #
TUC #2
Analog IN #2
R2A
R2B
P2
L2
L10
1st SAT #
TUC #3
Analog IN #3
R3A
R3B
P3
L3
L11
1st SAT #
TUC #4
Analog IN #4
R4A
R4B
P4
L4
L12
1st SAT #
TUC #5
Analog IN #5
R5A
R5B
P5
L5
L13
1st SAT #
TUC #6
Analog IN #6
R6A
R6B
P6
L6
L14
1st SAT #
TUC #7
Analog IN #7
R7A
R7B
P7
L7
L15
1st SAT #
TUC #8
Analog IN #8
R8A
R8B
P8
L8
L16
2nd SAT #
TUC #9
Analog IN #1
R1A
R1B
P1
L1
L9
2nd SAT #
TUC #10
Analog IN #2
R2A
R2B
P2
L2
L10
2nd SAT #
TUC #11
Analog IN #3
R3A
R3B
P3
L3
L11
2nd SAT #
TUC #12
Analog IN #4
R4A
R4B
P4
L4
L12
2nd SAT #
TUC #13
Analog IN #5
R5A
R5B
P5
L5
L13
2nd SAT #
TUC #14
Analog IN #6
R6A
R6B
P6
L6
L14
2nd SAT #
TUC #15
Analog IN #7
R7A
R7B
P7
L7
L15
2nd SAT #
TUC #16
Analog IN #8
R8A
R8B
P8
L8
L16
3rd SAT #
TUC #17
Analog IN #1
R1A
R1B
P1
L1
L9
3rd SAT #
TUC #18
Analog IN #2
R2A
R2B
P2
L2
L10
3rd SAT #
TUC #19
Analog IN #3
R3A
R3B
P3
L3
L11
3rd SAT #
TUC #20
Analog IN #4
R4A
R4B
P4
L4
L12
3rd SAT #
TUC #21
Analog IN #5
R5A
R5B
P5
L5
L13
3rd SAT #
TUC #22
Analog IN #6
R6A
R6B
P6
L6
L14
3rd SAT #
TUC #23
Analog IN #7
R7A
R7B
P7
L7
L15
3rd SAT #
TUC #24
Analog IN #8
R8A
R8B
P8
L8
L16
4th SAT #
TUC #25
Analog IN #1
R1A
R1B
P1
L1
L9
4th SAT #
TUC #26
Analog IN #2
R2A
R2B
P2
L2
L10
4th SAT #
TUC #27
Analog IN #3
R3A
R3B
P3
L3
L11
4th SAT #
TUC #28
Analog IN #4
R4A
R4B
P4
L4
L12
4th SAT #
TUC #29
Analog IN #5
R5A
R5B
P5
L5
L13
4th SAT #
TUC #30
Analog IN #6
R6A
R6B
P6
L6
L14
4th SAT #
TUC #31
Analog IN #7
R7A
R7B
P7
L7
L15
4th SAT #
TUC #32
Analog IN #8
R8A
R8B
P8
L8
L16
