Chapter 8 - caterpillar engine and related systems – Cub Cadet 4 x 4 Volunteer User Manual
Page 274
Chapter 8 - Caterpillar Engine and Related Systems
270
24a. Contact the partnering Caterpillar dealer
for major engine repair or a service
replacement engine.
24b. Transfer all of the ancillary components
from the removed engine to the replace-
ment engine.
24c. Prior to engine installation, check the
replacement (or repaired) engine for any
fit or service issues that need to be
addressed.
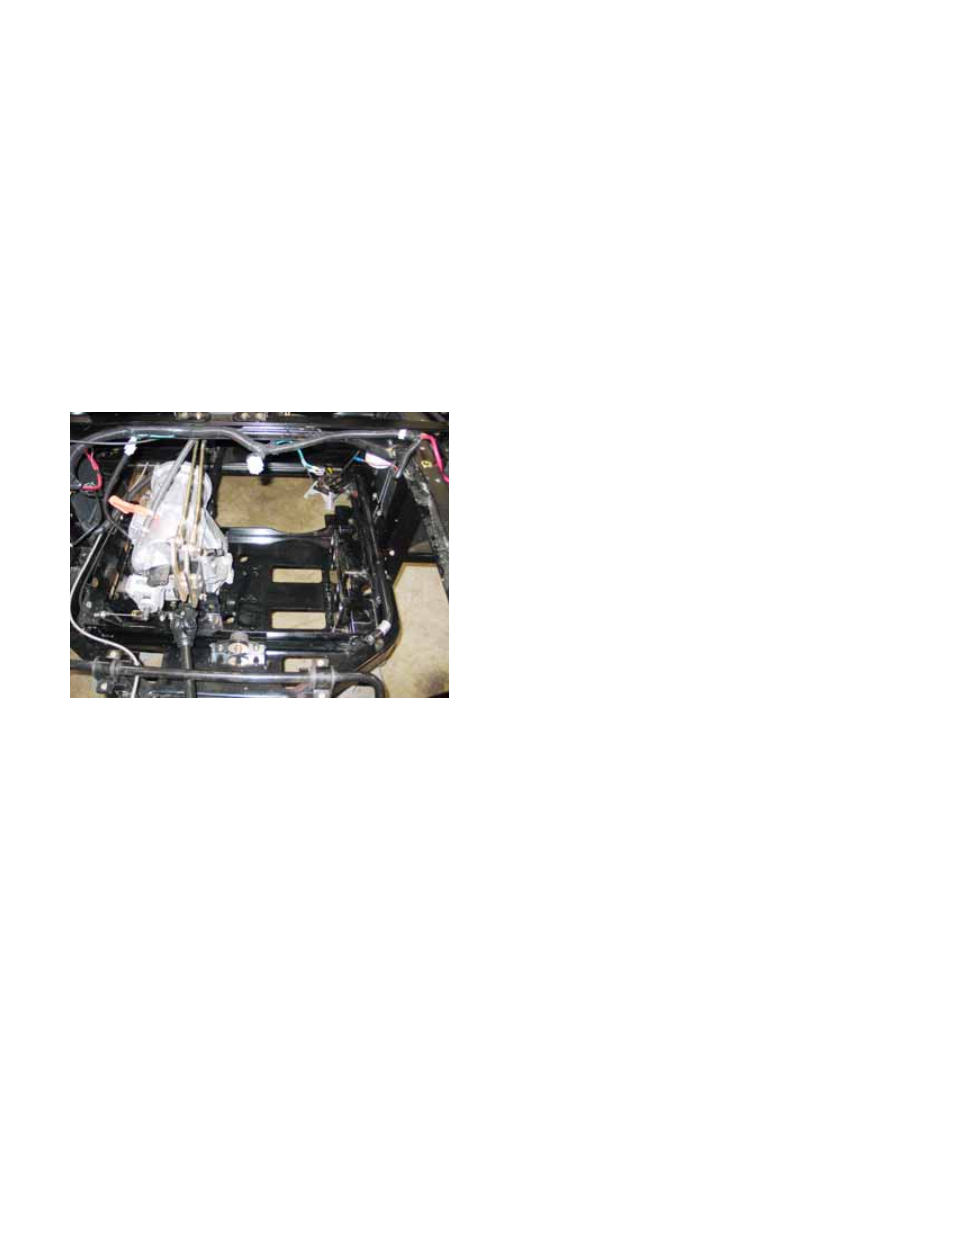
24d. Prior to engine installation, check all of the
service points on the chassis that are eas-
ily reached while the engine is removed.
See Figure 8.141.
•
Check the rubber isolator mounts that connect
the engine and transfer case tray to the frame.
Replace any that are suspect.
•
Pay close attention to the steel coolant tubes to
and from the radiator. They can be removed
with relative ease while the engine is out.
Replacement of the tubes with the engine in-
place requires each new tube to be cut in two.
•
Check the tray itself for damage.
•
Check or replace any engine-related compo-
nents that may have contributed to the failure.
•
Replace any belts, hoses, or filters that may be
nearing the end of their service life.
•
If the reason for the engine failure was external
to the engine, identify and correct the problem.
•
Inspect the wiring harness and connections.
25.
Reverse the removal steps to install the engine:
•
Connect the ground wire and cable to the engine
before lowering it into position.
•
Connect both neutral safety switches and the
engine oil pressure sender while the engine can
still be shifted on its’ mountings for clearance.
•
Install the engine mounting bolts loosely, then
tighten them after the engine is positioned and
heavy plate connecting the engine to the transfer
case is installed.
•
Refer to the torque table tightening fasteners.
•
If the locking feature on any of the nuts are worn,
replace them or apply a small amount of thread-
locking compound such as Loctite®
242 (blue) to
the threads. Exhaust nuts should be replaced if
the locking feature is worn.
•
Check the dipstick to confirm that the engine
crankcase contains the correct amount of SAE
10W30 oil before starting it.
•
Fill and purge the cooling system as described in
the COOLING SYSTEM MAINTENANCE sec-
tion of this chapter.
•
Test the operation of the vehicle in a safe area,
and make any needed adjustments before
returning it to service.
Figure 8.141