Chapter 6 - hydraulic brakes – Cub Cadet 4 x 4 Volunteer User Manual
Page 196
Chapter 6 - Hydraulic Brakes
192
8.
Install the repair kit components on the rear pis-
ton:
8a. Carefully fixture the front piston in a vice,
gripping it by the necked-down section of
the piston.
8b. Remove the shouldered screw that
secures the transfer cup, transfer spring,
and spring seat, to the rear piston using a
phillips head screwdriver.
See Figure 6.51.
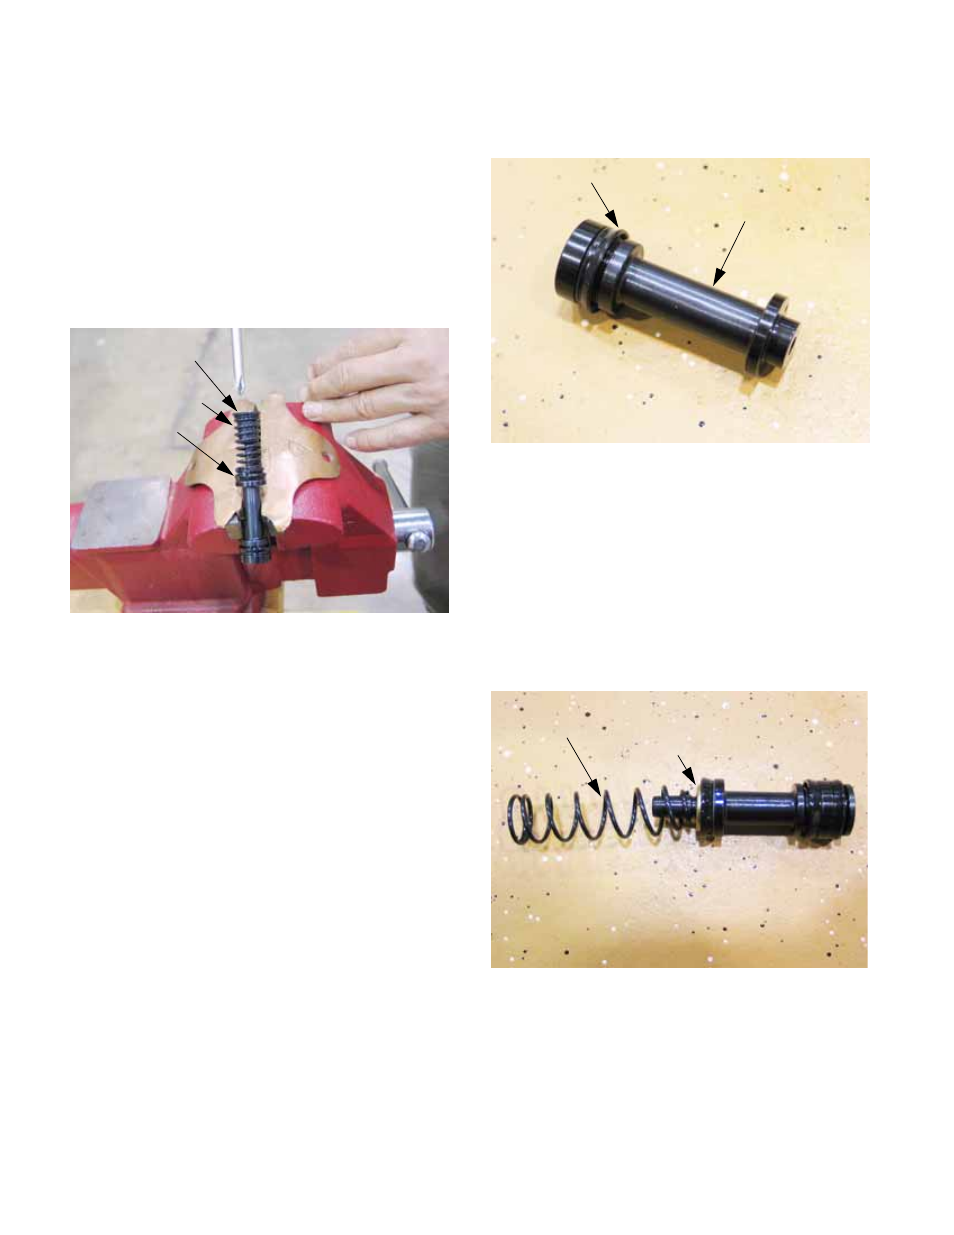
8c. Remove the power seal and flat washer
from the spring end of the rear piston.
8d. Remove the make-up seal from the rear
end of the rear piston. See Figure 6.52.
NOTE: The open side (lip) of both seals faces
the spring end of the rear piston. The makeup
seal is different from the power seal. The
makeup seal has a secondary lip near the
closed (rear) side of the seal.
9.
Disassemble the front piston:
9a. Carefully pry the return spring and spring
seat off of the barb at the front end of the
front piston. See Figure 6.53.
Figure 6.51
Transfer cup
Transfer spring
Spring seat
Figure 6.52
Rear piston
Makeup seal
Figure 6.53
Spring seat
Return spring