Installing the dds auto loader – Toshiba Magnia 3030 User Manual
Page 102
Installing and Removing Hardware
Installing the DDS Auto Loader
84
Installing the DDS Auto Loader
Install the DDS auto loader in the procedure below referring to “Before starting
operation” in Chapter 2.
1 If the server is running, shut it down and turn off the power.
2 For the EPS model, unplug the power cable.
3 For the EPS-R model, set the DC operate switch on the back of the server to
OFF and then unplug the power cable.
NOTE: Installing the DDS auto loader while the power is on may damage the
server and DDS auto loader.
4 Remove the server panels.
See “Removing and replacing the server panels”
5 For the EPS-R model, remove the fan duct.
For the EPS model, the removal of the fan duct is not required. Proceed to
step 8.
See “Removing the cooling fan” on page 58.
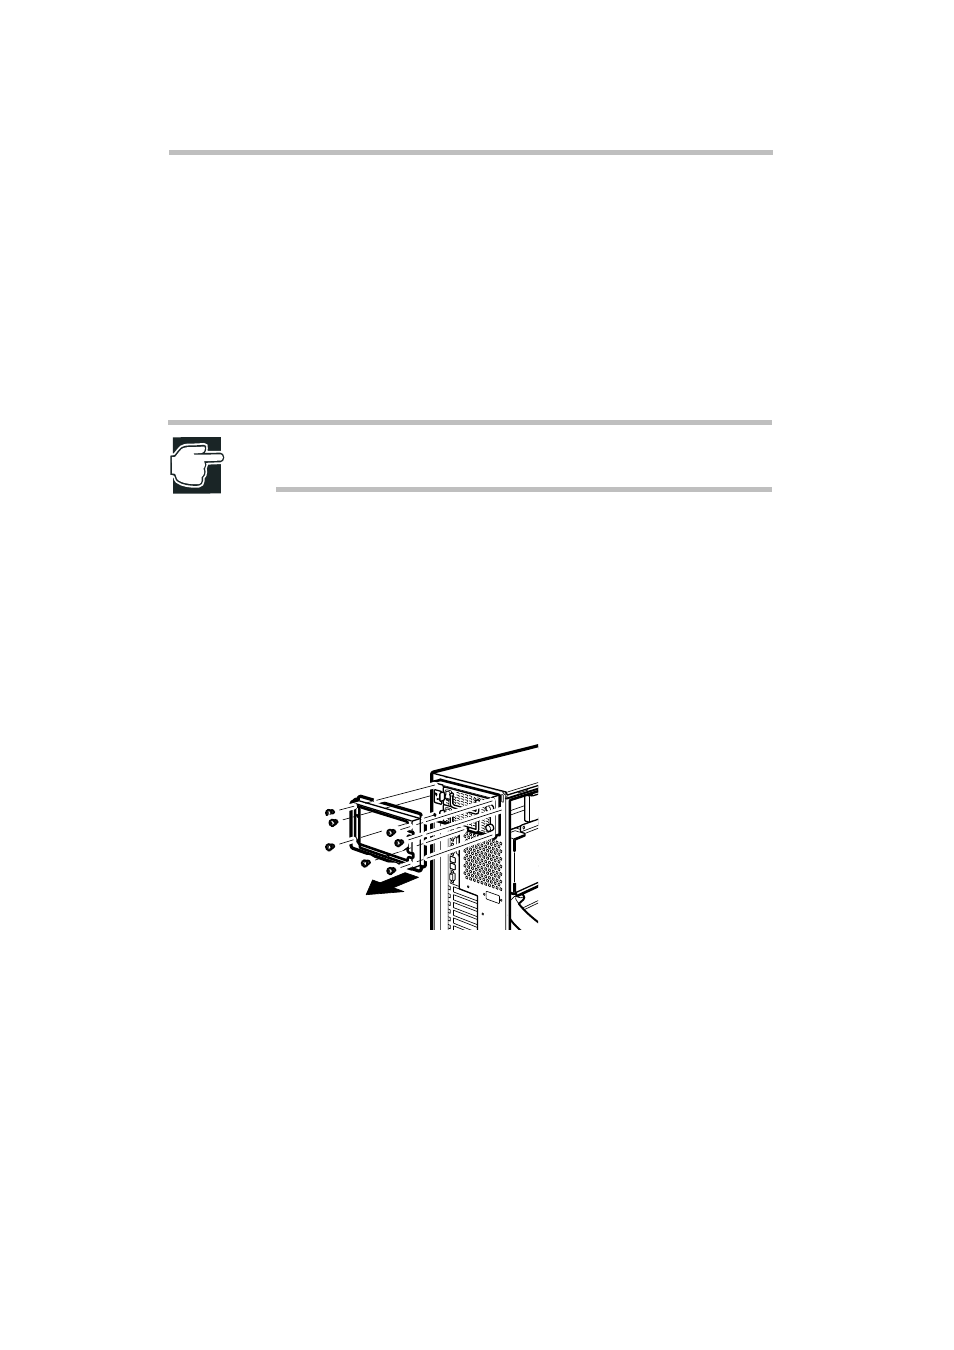
6 Remove the rear cover of the power unit.
The four screws fixing the EPS-R cage and the three screws fixing the chas-
sis are different. Take care that these screws are not mixed.
Removing the rear cover of power unit
7 Slide the EPS-R cage in the rear direction and install the auto loader mount-
ing kit.